
Related Manuals for Robinson Willey A99003


Summary of Contents for Robinson Willey A99003
- Page 1 FIRECHARM R.S. LPG Room Sealed Live Fuel Effect Gas Fire PRODUCT No. A99003 (BLACK) A99004 (BRONZE) Installation and Servicing Instructions ‘CE MARKED’ FOR USE IN G.B. & I.E. LEAVE THESE INSTRUCTIONS WITH THE USER SERVICE & INSTALLATION...
-
Page 2: Technical Requirements
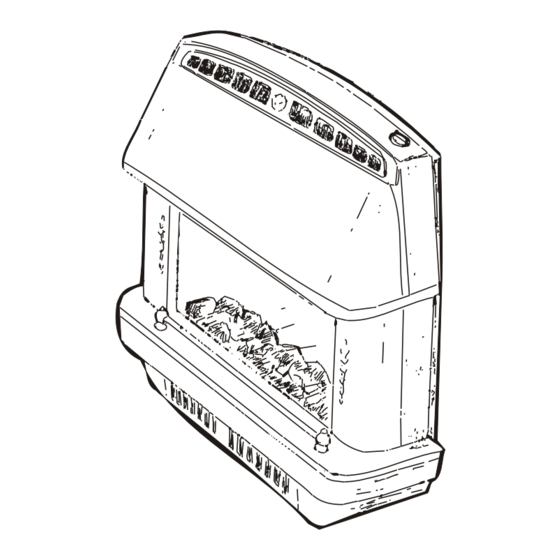
DESCRIPTION The FIRECHARM R.S. LPG is a room sealed, live fuel effect gas fire with coals. The outer case is available in antique bronze or black finish. The fire can be wall or hearth mounted on a non-combustible wall or hearth, and can be fitted into a suitable fire surround. It can be installed from the inside of a building making it ideal for rooms where access from the outside is difficult, for example multi-storey buildings. -
Page 3: Siting General
2.0 UNPACKING The fire is packed in a carton together with the following items (See Fig. 1):- Medium flue assembly and sealing tape. Gasket pack comprising flue and air duct gaskets and sealing gasket. Flue sealing plate. Pack of fittings comprising: 4 Wall fixing screws (2in wood) 810500 4 Wall plugs... - Page 4 FOAM SEAL SEALING PLATE AND ROPE GASKET Fig. 2 Fig. 3 3.1 SITING THE FIRE Outside (Fig. 3): Check that the terminal location complies with the requirements of the table below. TERMINAL POSITION MINIMUM DISTANCE Directly below an openable window or other opening e.g. air brick 300mm Below guters, soil pipes or drain pipes 300mm...
- Page 5 (6ft 6in) from the level of any ground, balcony, flat roof or place to which any person has access and which adjoins the wall in which the outlet is situated. A suitable guard assembly is available from Robinson Willey Limited. The part number is 994371.
-
Page 6: Preparation Of Fire
Fig 3B Fig 1. ROPE SEAL FLUE SEAL WALL LINER OUTER WALL PLATE WALL LINER INNER WALL FLUE SEAL PLATE FLUE FLUE MOISTURE BARRIER ROPE SEAL TIMBER FRAME CONSTRUCTION WHOLLY COMBUSTIBLE CONSTRUCTION 5.0 PREPARATION OF FIRE 5.1 Remove Outer Case (a) Remove the door mask by first lifting upwards to clear the retaining pins and then swinging it out from the fire bottom first. - Page 7 (c) Adjust the flue length: First measure the wall thickness and add 140mm to give the overall length of flue ‘A’. Fit the terminal assembly to the ducts already fitted to the heater. The top of the assembly is marked ‘TOP’. Set the overall length of the flue to the dimension ‘A’...
- Page 8 6.0 COMMISSIONING 6.1 Check the Gas Pressure and F.S.D. Operation Remove the pressure test point sealing screw located on the gas tap and connect a pressure gauge to the test point. Temporarily fit the control knob. (a) Light the fire. Please refer to the Users Instructions. Turn the control knob to the full on position marked HIGH. (b) Check that the burner pressure is 36mbar ±...
- Page 9 3. BURNER ASSEMBLY Remove the outer case (1. above). Isolate the fire from gas and disconnect the inlet elbow. Remove the glass door (10 wingnuts) and coal bed and put in a safe place. Remove the wingnut on the left side of the firebox, 6 screws holding the burner mounting plate to the right side of the firebox and 2 screws securing the gas tap to its mounting bracket.
-
Page 10: Short List Of Parts
Coal Bed 991967 Control Knob 822197 Gas Tap 820363 Spark Electrode 822131 Pilot Filter 822183 Thermocouple 991635 Door Assembly 991976 Spark Lead 991323 Issue 3 ROBINSON WILLEY LIMITED Mill Lane, Old Swan, Liverpool L13 4AJ Telephone: 0151-228 9111 Fax: 0151-228 6661...
Need help?
Do you have a question about the A99003 and is the answer not in the manual?
Questions and answers