Advertisement
Advertisement
Table of Contents

Summary of Contents for Technika JP07
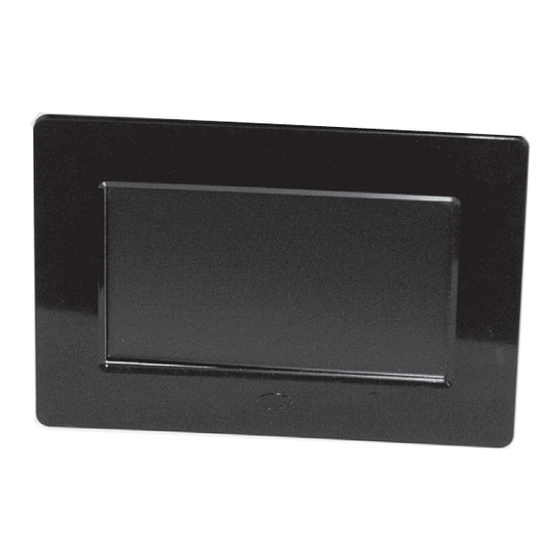
- Page 1 User Guide JP07 7” Digital Photo Frame...
-
Page 2: Important Safety Information
This symbol indicates that dangerous voltage constituting a risk of electric shock is present within this unit. This symbol indicates that there are important operating and maintenance instructions in the literature accompanying this unit. IMPORTANT SAFETY INFORMATION has been exposed to rain or moisture, does not oper- This equipment generates, uses and can radiate ra- ate normally, or has been dropped. -
Page 3: Picture Formats
If any items are missing or damaged, contact your nearest TESCO store INTRODUCTION for a replacement. Have your receipt ready when you call. Retain the Your Photo Frame (DPF) enables you to view digital pictures from packaging. If you dispose of it, do so having regard to any recycling either a memory card or from a USB drive. -
Page 4: Controls And Functions
CONTROLS AND FUNCTIONS 1 9V DC Input socket 7 LEFT/PREVIOUS button 2 USB port: USB 2.0 Host 8 DOWN/ROTATE RIGHT button` 3 ENTER/ZOOM button 9 UP/ROTATE LEFT button 4 MENU button 10 3-in-1 card slot (SD/MMC/MS) 5 EXIT button 11 Power on / off 6 RIGHT/NEXT button 12 STAND Page 4... -
Page 5: The Control Panel
THE CONTROL PANEL The DPF controls operate in two modes: The Control Panel in Viewing Mode Viewing Mode allows you to view and Rotate the Picture 90º Left (In Zoom mode move up) manipulate pictures. Rotate the Picture 90º Right (In Zoom mode move down) You can view pictures in two ways. -
Page 6: Getting Started
INSERTING MEDIA GETTING STARTED CONNECTING POWER Insert the media as shown in the drawings USB DRIVE SD,MMC, etc The DPF will display the message Loading.. When first switched on the pictures will display as a Slide Show. There- after the display will depend on the setup you have customised. NOTES: You should only insert one media source at any time. -
Page 7: Rotating A Picture
VIEWING PICTURES IN SLIDE SHOW MODE When the Zoom is positive: 150% or 200% Slide show mode displays all viewable pictures in sequence. To move to the next picture: Press the NEXT key once To move on several pictures repeatedly press the NEXT key. To move to the previous picture: Press the PREV. -
Page 8: The Setup Menu
NAVIGATING THUMBNAILS THE SETUP MENU To move forward a picture: Press the NEXT key. The Setup menu can be accessed whether or not there are media devices inserted in the DPF. To move back a picture: Press the PREV. key. To move to the next set of 15thumbnails: 1. - Page 9 MAKING A SELECTION The new value is now indicated with a tick. When you enter a menu the current value is indicated with a tick Setup Menu - Photo Setting 5 Sec Setup Menu - Photo Setting Interval Time 10 Sec 5 Sec Transition Effect P 15 Sec...
-
Page 10: The Display Menu
• Show Type: Because most digital cameras use an aspect ratio THE DISPLAY MENU different to the Frame you may see black bars at the sides of some This menu allows you to alter the colour values of your DPF. pictures. - Page 11 THE CUSTOM SETUP MENU • Folder: From thumbnail view, select a picture from a known folder. Enter Menu Mode and select Folder from the Display Setup Setup Menu - Custom Setup screen. All the pictures in the selected folder will continuously display. OSD Language u •...
-
Page 12: Specifications
112,500 pixels (0.125MP). household waste. Separate High resolution pictures will slow loading Your Technika appliance is covered by a war- disposal facilities exist, for your times without improving viewability. ranty for 12 months from the date of purchase.


Need help?
Do you have a question about the JP07 and is the answer not in the manual?
Questions and answers