Table of Contents
Advertisement
Advertisement
Table of Contents

Related Manuals for Reebok REV-10101


Summary of Contents for Reebok REV-10101
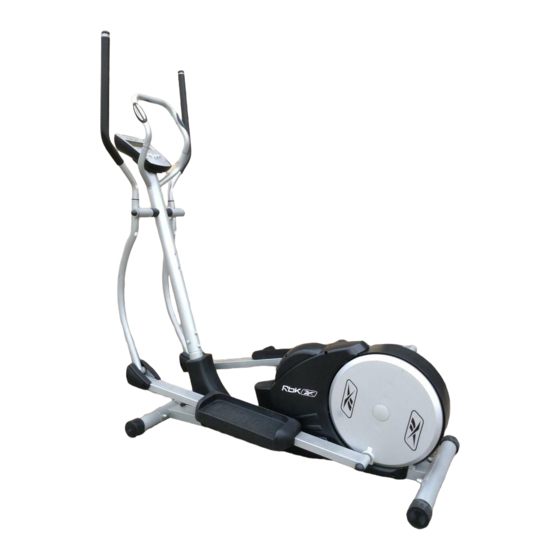
- Page 1 User Manual REV-10101 Elliptical Trainer...
- Page 2 SAFETY PRECAUTIONS Before beginning any exercise program, you should consult with your doctor. It is recommended that you under go a complete physical examination. Work within your recommended exercise level, do not work to exhaustion. If you feel any pain or abnormal pains, stop your workout immediately.
- Page 3 HARDWARE PACKING LIST Key# Description Quantity 13. CARRIAGE BOLT M10*75 14. DOMED NUT M10 15. ARC WASHER Φ10.5*Φ25*T1.5 16. ROUND HEAD BOLT M8*15 17. ARC WASHER Φ8.5*Φ22*T1.5 18. HEX HEAD BOLT M10*80 φ10.5xφ20xT1.5 19. FLAT WASHER 20. NYLON LOCKNUT M10 SLEEVE TUBE 24.
- Page 4 Explode Drawing...
- Page 5 Part List PART NAME Q'TY PART NAME Q'TY Main frame Clip Front stabilizer Belt Drive Wheel Rear Stabilizer Flywheel Front Post Nylon Lock Nut M6 Left Lower Hand Rail Adjust Screw Washer Right Lower Hand Rail Flat Washerφ10.5xφ25xT1.5 Left Foot Rail Belt Adjust Screw M6x40 Right Foot Rail Cross Crank...
- Page 6 Adjust Knob for Foot Pad Screw M6x25 Flat Washerφ8.5xφ22xT2 Transmission Belt Screw M5x10 Bottle Holder Bearing 6004Z Assembly Drawing...
- Page 7 Assembly # STEP 1. A) Attach the rear foot tube (3) to the main frame (1) fasten and secure carriage bolts (13) with Arc washers (15) and domed nuts (14). B) Attach the front foot tube (2) to the main frame (1) fasten and secure carriage bolts (13) with Arc washers (15) and domed nuts (14).
- Page 8 # STEP 3. A) Place the Left Foot Rail (7) on the rear disk of the main frame (1) then fasten and secure with flat washers (23)(19) and Nylon Nut (20). Slide Lower Hand Rail-L (5) into the Left Foot Rail (7) then Insert the Sleeve Tube (21).
- Page 9 # STEP 4. A) Connect right-hand pulse wire (31R + 32R) and left (31L + 32L) then insert the Front handlebar (11) into the lower section and secure with 4 screws (26). B) Connect computer sensor wire-upper portion (33) and middle Computer Wire (29). Connect hand pulse upper wire (34) with the other section of the hand pulse middle wire (31 L+R) now attach the computer (12) onto the plate on front post (4) and use 4 screws (39) to fasten.
- Page 10 COMPUTER INSTRUNCTION FRONT VIEW KEY GUIDE ENTER/MODE: Press this button to enter the function setting from Time, Distance, Calorie, and pulse limit. Press this button to confirm the setting values. : 1. Press this button to select the program form Manual and Program 1 to Program 6. 2.
- Page 11 FUNCTIONS AND OPERATIONS · AUTO ON/OFF The monitor will wake up automatically if the exercise machine is in motion. If stop exercising for over 4 minutes, monitor will turn off and reset all function values to zero. SCAN While at “start” operation, Press the MODE button until mark appear on the position of Scan.
- Page 12 NOTE: 1. If no pulse signal input within 16 seconds, the display will indicate “P”. 2. In the stop mode, the monitor can not measure heart rate. OPERATION: This system contains one manual and 6 programs. You can preset the workout time and system will divide the time by 10 intervals.
- Page 13 For digital adjustment, simply follow the computer instruction to vary intensity of workout as you exercise. Reversible movement Remember, your strider has REVERSIBLE movement! Forward pedaling emphasizes your quadriceps muscles (front thighs), while backward pedaling emphasizes your hamstrings (back thighs). Take advantage of this fact to make your workout less fatiguing, and more fun.
- Page 14 This stage should last for a minimum of 12 minutes though most people start at about 15-20 minutes 3. The Cool Down Phase This stage is to let your Cardio-vascular System and muscles wind down. This is a repeat of the warm up exercise e.g.
Need help?
Do you have a question about the REV-10101 and is the answer not in the manual?
Questions and answers
Where to plug in the adapter
The adapter for the Reebok REV-10101 Fusion Cross Trainer should be plugged into the designated power input port on the machine, typically located near the base or rear of the unit.
This answer is automatically generated