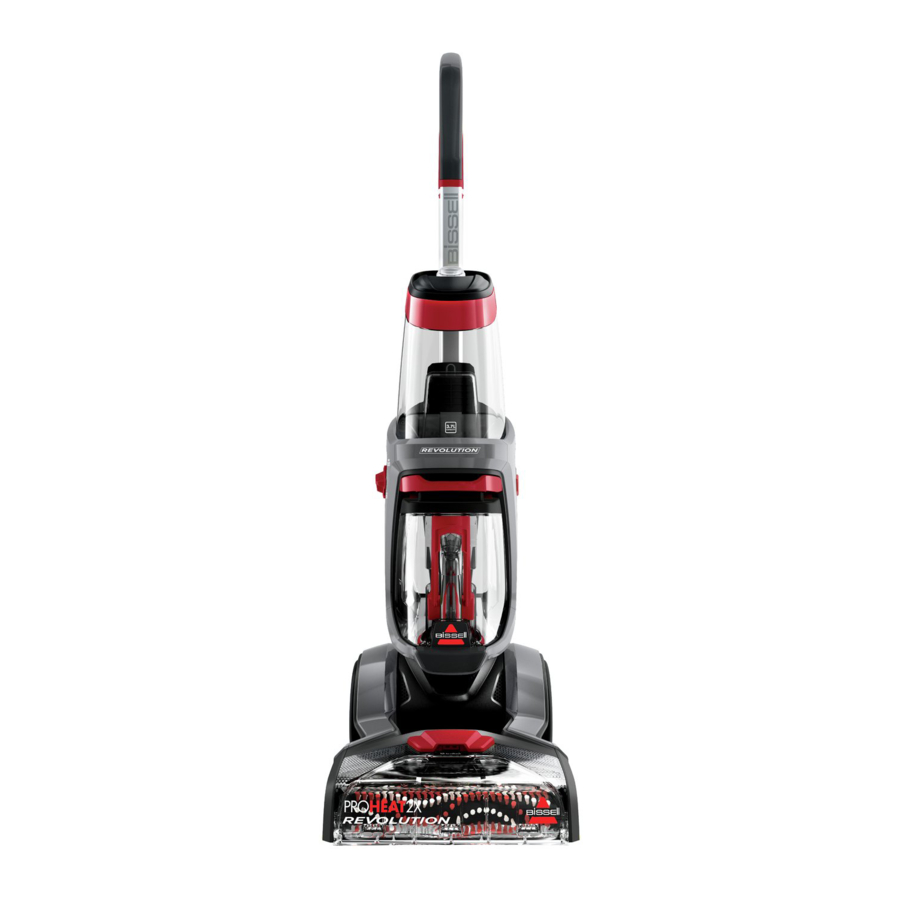
Bissell PROHEAT 2X REVOLUTION 1548 series User Manual
Deep cleaner
Hide thumbs
Also See for PROHEAT 2X REVOLUTION 1548 series:
- User manual ,
- Quick start manual (4 pages) ,
- Quick start manual (2 pages)
Subscribe to Our Youtube Channel
Summary of Contents for Bissell PROHEAT 2X REVOLUTION 1548 series
- Page 1 PROHEAT 2X ® REVOLUTION ™ Deep Cleaner _______________ USER GUIDE 1548, 1550, 1551 SERIES More of a video person? Look for this icon and go online for an instructional how-to video at www.BISSELL.com...
-
Page 2: Safety Instructions
» Do not put any object into open- » Use indoors only. ings. Do not use with any opening » Use only BISSELL cleaning » Do not allow to be used as a toy. blocked; keep openings free of products intended for use... -
Page 3: Table Of Contents
Thanks for buying a BISSELL carpet cleaner! We love to clean and we’re excited to share one of our innovative products with you. We want to make sure your carpet cleaner works as well in three years as it does today, so this guide has tips on using (page 9-11), maintaining (page 12-15), and if there is a problem, troubleshooting (page 16). -
Page 4: Product View
Belt/Brush Access Plate EdgeSweep (1 Gallon Capacity) Brushes Power Button Carry Handle Float Stack Rubber Tab Dirty Water Tank (on Dirty Water Tank) Belt Access Door Quick Release for Foot Wrapped Cord Spray Trigger Recline Pedal 10 In-Use Cord Clip www.BISSELL.ca... -
Page 5: Assembly
Using a Phillips screwdriver, Wrap the cord around clean water tank with secure the carry handle with the carry handle and quick the grooves and slide the screw that’s taped to the release hook. the tank into place. upper handle. www.BISSELL.ca... -
Page 6: Cleaning Formulas
• If cleaning an entire room, consider moving your furniture to another area. • Use a dry vacuum cleaner over area before using your deep cleaner. • Pre-treat stains with BISSELL PreTreat to improve performance on coffee stains and ground-in dirt. - Page 7 BISSELL Deep Clean + Protect plus Scotchgard™ Protector. Add BISSELL Boost Prevent for enhanced performance. Always use genuine BISSELL deep cleaning formulas. Non-BISSELL cleaning solutions may harm the machine and may void the warranty. www.BISSELL.ca...
-
Page 8: Cleaning Formulas
BISSELL Boost RENEW With RENEW boost, you can say goodbye to those heavily-soiled, high-traffic areas. Bring new life to dingy, matted carpet. Always use genuine BISSELL deep cleaning formulas. Non-BISSELL cleaning solutions may harm the machine and will void the warranty. www.BISSELL.ca... -
Page 9: Operations
Pour in more power with BISSELL Boosts • Fill tank with water and 2X formula (Step 3 above). • Add 2 ounces of any BISSELL Boost per 1 gallon of water. • The ProHeat 2X Revolution has a 1 gallon clean water tank. - Page 10 NOTE: In Express Clean Mode, the dirty clean with your machine in Deep Clean tank will not get as full as when cleaning Mode. with Deep Clean Mode. ATTENTION: To prevent damage to Berber carpets, avoid repeated strokes in the same area. www.BISSELL.ca...
-
Page 11: Cleaning Area Rugs
NOTE: If using the Mini Deep Reach Tool, be sure the needles of the tool are pressed down into the carpet so the spray gets into the carpet fibers. www.BISSELL.ca... -
Page 12: Maintenance & Care
Did You Know? aligned, the float stack should lock into place. The Float Stack is what prevents Return the ring and your dirty twist to lock. Water tank from may leak if the ring is not fully tightened. overflowing. www.BISSELL.ca... -
Page 13: Cleaning The Nozzle
(see arrows for location) out tool into the thin slot, on the end of the nozzle that touches the floor. Clean Rotate the nozzle up and click into place. until free of pet hair or debris. Close the accessory hose door. www.BISSELL.ca... - Page 14 Step 5. Brush Cover and Cogged Large Pump Belt. Remove the Brush Cover by lifting straight up. Remove the Cogged Large Pump Belt. The brush rolls can be replaced or cleaned at this time, if needed. www.BISSELL.ca...
- Page 15 Make sure that the brushes Access Plate to the end of Access Door back into are aligned and the cover the brush rolls by securing place. You should hear is secure. with the 3 screws. it “click” into place. www.BISSELL.ca...
-
Page 16: Troubleshooting
2. With the cap twisted ON tightly, between the tank and the tank’s Leaking tank hold your tank at an angle, over a handle sink or drain, so any extra water can pour out of the space 3. Wipe the tank dry with a cloth www.BISSELL.ca... -
Page 17: Warranty
Service If your BISSELL product should require service: Contact BISSELL Consumer Care to locate a BISSELL Authorized Service Center in your area. If you need information about repairs or replacement parts, or if you have questions about your warranty, contact BISSELL Consumer Care. -
Page 18: Contact Information
(and millions of your closest friends) For Parts and Supplies, go to BISSELL.ca and know what you think! enter your model number in the search field. For cleaning tips and more visit www.BISSELL.ca or find us at: BISSELL BISSELLClean BISSELLClean BISSELL BISSELL ©2015 BISSELL Homecare, Inc...


Need help?
Do you have a question about the PROHEAT 2X REVOLUTION 1548 series and is the answer not in the manual?
Questions and answers