Table of Contents
Advertisement
Advertisement
Table of Contents

Related Manuals for Bosch HBN531.1B


Summary of Contents for Bosch HBN531.1B
- Page 1 Built-in oven HBN531.1B [en] Instruction manual...
-
Page 3: Table Of Contents
Cleaning the self-cleaning surfaces in the oven ......11 Additional information on products, accessories, replacement Detaching and refitting the rails ............ 11 parts and services can be found at www.bosch-home.com and Detaching and attaching the oven door........12 in the online shop www.bosch-eshop.com Removing and installing the door panels ........ - Page 4 Always slide accessories into the cooking scraper, sharp or abrasive cleaning aids or compartment correctly. See "Description of detergents. accessories in the instruction manual. Risk of electric shock! Risk of fire! Incorrect repairs are dangerous. Repairs ■ Combustible items stored in the cooking may only be carried out by one of our ■...
-
Page 5: Causes Of Damage
Causes of damage the baking tray leaves stains that cannot be removed. If possible, use the deeper universal pan. Caution! Cooling with the appliance door open: only allow the cooking ■ Accessories, foil, greaseproof paper or ovenware on the compartment to cool when it is closed. Even if the appliance ■... -
Page 6: Function Selector
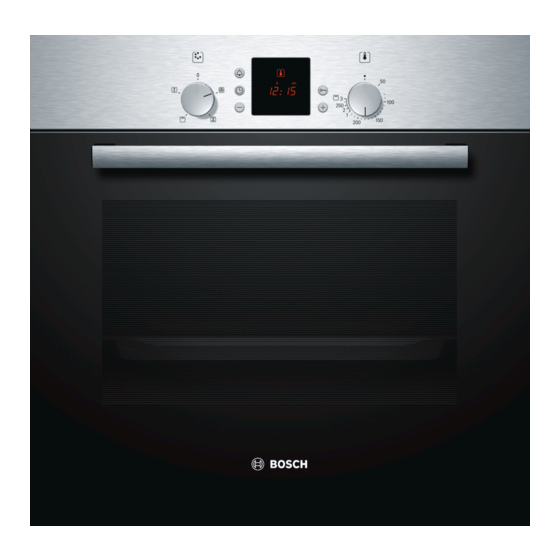
Function selector Temperature selector With the function selector knob you can set the heating mode Use the temperature selector to set the temperature and the for the oven. The function selector knob can be rotated to the grill setting. right or to the left. Positions Function When the required type of heating is set, the oven light lights... -
Page 7: Your Accessories
Your accessories The accessories supplied with your appliance are suitable for Hold the baking tray securely on the sides with both hands and making many meals. Ensure that you always insert the push it parallel into the frame. Avoid movements to the right or accessories into the cooking compartment the right way round. -
Page 8: Before Using The Oven For The First Time
Before using the oven for the first time Heating up the oven In this section, you can find out what you must do before using your oven to prepare food for the first time. First read the To remove the new cooker smell, heat up the oven when it is section on Safety information. -
Page 9: If The Oven Is To Switch On And Off Automatically
Press the Clock button repeatedly until the End symbol Cancelling the setting flashes. Press the Clock button. Press the - button until zero is You can see in the display when the meal will be ready. shown on the display. Switch off the function selector. Setting the cooking time if the clock is hidden Press the Clock button twice and make your settings as... -
Page 10: Setting The Timer
Setting the timer You can use the timer as a kitchen timer. It runs independently Changing the timer duration of the oven. The timer has a special signal. This means that you Press the Timer button. Use the + or - button to change the can tell whether the timer duration or the cooking time has time. -
Page 11: Cleaning The Self-Cleaning Surfaces In The Oven
Then fold the rails upwards and carefully remove them Warm soapy water or a vinegar solution. If Oven floor (Fig. B). there are heavy deposits of dirt, only use oven cleaner on cooled surfaces. Wipe with warm soapy water and a cloth. Dry Glass cover with a soft cloth. -
Page 12: Detaching And Attaching The Oven Door
Detaching and attaching the oven door Fold back both locking levers (figure C). Close the oven door. For cleaning purposes and to remove the door panels, you can detach the oven door. The oven door hinges each have a locking lever. When the locking levers are closed (figure A), the oven door is secured in place. -
Page 13: Troubleshooting
Installation During installation, make sure that the lettering "top right" is upside down at the bottom left. Insert the panel at an angle towards the back (fig. A). Insert the top panel at an angle towards the back into the brackets. -
Page 14: After-Sales Service
After-sales service Our after-sales service is there for you if your appliance needs After-sales service to be repaired. We will always find the right solution in order to avoid unnecessary visits from a service technician. E number and FD number Please note that there will be a fee for a visit by a service technician in the event of a malfunction, even during the When calling us, please give the product number (E no.) and... -
Page 15: Tested For You In Our Cooking Studio
Tested for you in our cooking studio Here you will find a selection of dishes and the ideal settings for Baking and roasting on two or more levels them. We will show you which type of heating and which 3D hot air. temperature are best suited for your dish. -
Page 16: Baking Tips
Food Dish Shelf Type of Temperature Time position heating in °C in minutes Victoria sandwich, 2 levels 2 wire racks** + 4 x Ø 20 cm tins 30-40 Scones*, 2 levels 2 wire racks** + 2 baking trays** 20-30 Biscuits, 2 levels Universal pan*** + wire rack with baking tray** 3+1 20-25 Small cakes*, 2 levels... -
Page 17: Meat, Poultry, Fish
Meat, poultry, fish Meat should be turned half way through the cooking time. When the roast is ready, switch off the oven and leave the roast Ovenware to stand for 10 minutes with the oven door closed. This allows the meat juices to distribute more favourably. You may use any heatresistant ovenware. -
Page 18: Tips For Roasting And Grilling
Tips for roasting and grilling The table does not contain information Select the next lowest weight from the instructions and extend the time. for the weight of the joint. How to tell when the roast is ready. Use a meat thermometer (available from specialist shops) or carry out a “spoon test”. Press down on the roast with a spoon. -
Page 19: Acrylamide In Foodstuffs
Acrylamide in foodstuffs Acrylamide is mainly produced in grain and potato products toast, bread rolls, bread or fine baked goods (biscuits, prepared at high temperatures, such as potato crisps, chips, gingerbread, cookies). Tips for keeping acrylamide to a minimum when preparing food Keep cooking times to a minimum. - Page 20 Robert Bosch Hausgeräte GmbH Carl-Wery-Straße 34 81739 München Germany www.bosch-home.com *9001098782* 110395 9001098782...
Need help?
Do you have a question about the HBN531.1B and is the answer not in the manual?
Questions and answers