
Summary of Contents for FatShark PREDATOR V2
- Page 1 Fat Shark RC Vision Systems PREDATOR V2 RTF FPV KIT USER MANUAL Revision C 09/09/2013 For more product information, please visit: www.fatshark.com All Rights Reserved...
-
Page 2: Table Of Contents
Fat Shark RC Vision Systems Contents Product contents ..................... 3 Controls Diagram ....................4 Controls ........................5 Downlink Overview (Camera, TX, Power) ............... 5 Transmitter ......................6 Camera ........................ 6 Power (via discharge filter supply) ............... 6 ... -
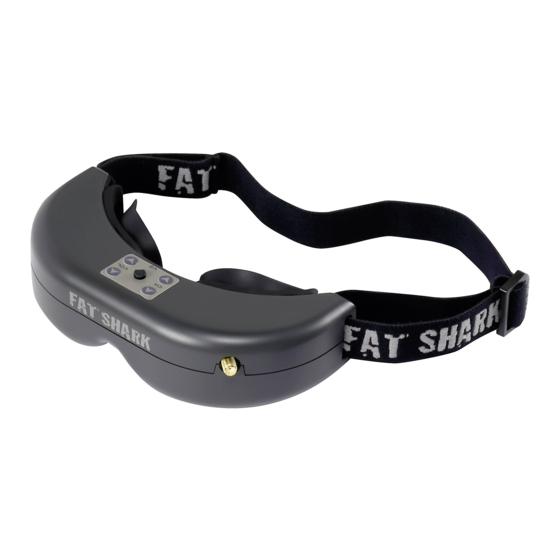
Page 3: Product Contents
Fat Shark RC Vision Systems Product contents Carry case Predator Headset FPV kit (camera, TX, filter) AV cable 5G8 Antenna Battery (with discharge adapter Manual... -
Page 4: Controls Diagram
Fat Shark RC Vision Systems Controls Diagram... -
Page 5: Controls
Fat Shark RC Vision Systems Controls Brightness/contrast control: pressing left and right increases/decreases display contrast. Press forward/back increases/decreases brightness. RX power switch: The receiver module power is controlled by this switch. If viewing video source via the AV cable; the RX module needs to be turned off to avoid image conflict. -
Page 6: Transmitter
Fat Shark RC Vision Systems Transmitter Channel select chart: Ch1 5740 MHz Ch2 5760 MHz Ch3 5780 MHz Ch4 5800 Mhz Ch5 5820 MHz Ch6 5840 Mhz Ch75860 MHz WARNING: DO NOT POWER TRANSMITTER WITHOUT ANTENNA ATTACHED. NO ANTENNA LOAD WILL DESTROY RF AMPLIFIER – NOT COVERED BY WARRANTY Small white connector on back of transmitter is for ImmersionRC Tiny Telemetry. -
Page 7: Using An External Receiver
Fat Shark RC Vision Systems Using an external receiver: Use the AV cable to connect headset to the RCA AV port of external devices. To share the base station power supply with your goggles, pick up a 3m Dominator AV cable accessory from your retailer. -
Page 8: Accessories
Fat Shark RC Vision Systems Accessories Diopter lens For near sighted users, diopter lens insert sets are available that include -2, -4 and -6 dpt. See below insert instructions. Lens orientation is not critical. SpiroNET Circular Polarized Antenna The best performance enhancement for your dollar; SpiroNET circular polarized antennae are manufactured to machine tolerances and final tested with top end RF equipment for the best performing CP antenna on the market. -
Page 9: Specifications
Fat Shark RC Vision Systems Specifications Headset Specifications Optics: FOV 25 degrees diagonal Interpupillary (IPD) distance: 63.5mm (fixed) Optional diopter lens inserts available in -2, -4, -6 dpt Audio: Stereo User Controls: Channel selection Contrast/brightness ... -
Page 10: Camera Specifications
Fat Shark RC Vision Systems Camera Specifications: Electrical: Power supply: 3.5-5V (powered off TX) Power consumption: 60mA @5V) Imager: 1/3” CMOS 600TVL FPV tuned white balance and sampling. NTSC/ PAL selectable via jumper on camera (jumper on = NTSC). Lens: ... -
Page 11: Operational Advice
Fat Shark RC Vision Systems Operational advice For best performance, select a channel that has the least amount of interference. While the transmitter is turned OFF, turn on the video headset and look at the screen as you check each channel. Clear channels will have a consistent static background. -
Page 12: Trouble Shooting
Fat Shark RC Vision Systems Trouble shooting Observation Possible cause/solution No image, display is - No power supplied. Check power connections. completely dark No image, display is glowing - If using wireless module, turn on RX power on dark grey bottom of headset.
Need help?
Do you have a question about the PREDATOR V2 and is the answer not in the manual?
Questions and answers