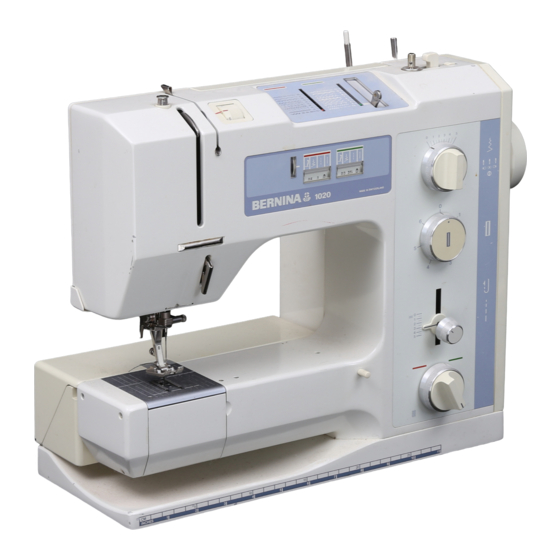
Bernina 1030 Service Manual
Hide thumbs
Also See for 1030:
- At-a-glance reference manual (84 pages) ,
- Service manual (67 pages) ,
- Service manual (33 pages)
Summary of Contents for Bernina 1030
- Page 1 Service Manual B E R N I N A p a ge 13 Model 1030 - 1020 1000 1015 f r ee ownload www.occap h ot.ch...
- Page 2 Table of Contents Parts of your machine page 1 Removing covers page 2 Clean and lubricate page 3 – 5 Hook position and timing page 5 – 7 Bobbin tension page 7 Top tension page 8 Troubleshooting guide page 9 - 11...
- Page 5 Removing Covers MAKE SURE THE MACHINE IS NOT PLUGGED IN BEFORE STARTING. On the back of the machine, remove the screws as shown. On the back of the open arm you will find covers on two of the screws. The third screw on the arm is a 2.5mm Allen screw. Carefully lay the machine on its back and remove the three screws as shown.
- Page 6 Clean and Lubricate The best way to remove lint from the machine is with compressed air. Blow all the lint from the machine. Remove all lint from the gears and again from the bobbin area and feed dogs. When oiling your machine make sure you use a good quality oiler and clear sewing machine oil.
- Page 7 Clean and Lubricate Continued Remove the needle plate and hook. Clean the race and race cover of all lint and old oil. Use a bit of oil to clean the race grooves. Re oil the race and hook pin. MAKE SURE YOU ONLY TOUCH THE OUTTER EDGES OF THE BOARD WITH YOUR HANDS.
- Page 8 Clean and Lubricate Continued Clean and oil all moving parts behind the board. Again do not use too much oil. Be careful not to get oil on the plastic parts. Clean off any excess with a soft cloth. The gear set behind the power board requires light gear grease.
- Page 9 Hook Position and Timing Continued If they do not line up, loosen the Allen screw on the hook drive arm ½ turn. Line up the hook. Tighten the screw and recheck the position. Locate the hook crank behind the power board on the back of the machine.
- Page 10 Hook Timing Continued If the crank does not line up, locate the Allen screw on the back of the hand wheel. Loosen the screw ½ turn. Line up the hook and needle as shown. Tighten the screw and recheck the timing. MAKE SURE YOU DO NOT LET THE HAND WHEEL MOVE IN OR OUT.
- Page 11 Top Tension Access to adjust the top tension is through the take–up slot on the front of the machine. The 2.5mm Allen key should be cut off with a saw so less than ½” is left on the small side. After your bobbin tension is set, stitch with your machine and check the result.
- Page 12 SEWING MACHINE TROUBLESHOOTING GUIDE In most cases poor sewing results and breakdowns are caused by three main factors: 1. The condition of the needle. 2. Threading and the quality of thread being used. 3. Mechanical breakdown or damaged parts. The condition of the needle is the most common problem. Bent or damaged needles will cause many different sewing problems.
- Page 13 For best results your machine should be serviced before every large project. This will increase the life of your machine and give you problem free results when sewing. Here is a checklist we have put together for your type of machine. If you have problems while you are sewing run through the list to correct the problem.
- Page 14 LOWER THREAD BREAKS Make sure the bobbin is inserted correctly and the right bobbin for your machine is being used. Generic bobbins should not be used in your machine 2. Check that the thread is in the bobbin tension and the tension is not too tight.
- Page 15 Notes...


Need help?
Do you have a question about the 1030 and is the answer not in the manual?
Questions and answers