Table of Contents
Advertisement
Advertisement
Table of Contents

Related Manuals for Zksoftware IN01


Summary of Contents for Zksoftware IN01
-
Page 1: User Manual
User Manual Version 1.1 Date: November 2011... -
Page 2: Table Of Contents
Table of contents Getting started 1.1 Fingerprint Placement... . .3 1.2 Instruction for Card Swipe ...3 1.3 Precautions ....3 Introduction of device 2.1 Overview of Device Functions . - Page 3 Table of contents...continue 1 Communications...continue 4.4 Wiegand ....17 System 5.1 System settings ....18 5.2 Data Management .
-
Page 4: Getting Started
1. Getting started Summary 1.1 Fingerprint Placement Recommended fi ngers: The index fi nger, middle fi nger or the ring fi nger; the thumb and * Please ensure correct little fi nger are not recommended (because they are usually clumsy on the fi ngerprint placement of fi... -
Page 5: Introduction Of Device
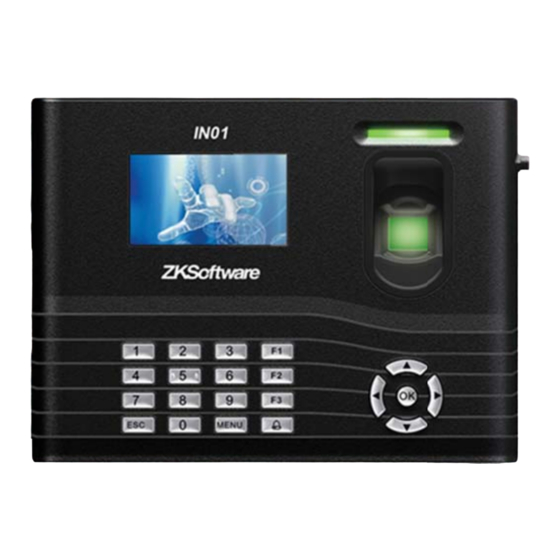
2. Introduction of Device Summary 2.1 Overview of Device Functions * Multiple communication As an integrated fi ngerprint & access control device, our product can be connected modes with either an electronic lock or an access controller. This device features simple and fl... -
Page 6: Date & Time Adjustment
Summary The fi ngerprint terminal provides 4 types of enrolment methods: • Fingerprint enrolment User enrolls his fi ngerprint template into a terminal and the template will be used for future verifi cations. • Password enrolment For user who has diffi culty to enrol fi ngerprint due to poor fi ngerprint quality, enrolment of password is recommended. -
Page 7: Enrol Administrator / User
2.5 Enrol Administrator / User Summary * Ensure to enrol an admin- Once the fi ngerprint terminal is switched on, a display on the screen will appear. Enrol a istrator on the unit. supervisor or an administrator, who is the in-charge person to administer the fi ngerprint templates and the transaction data in the terminal. -
Page 8: Password Enrolment
2.6 Password Enrolment Summary If a user cannot enrol his fi ngerprint, he can choose to use passwords. Follow the steps below: * Password may contain numbers ranging from 1 - 8 digits. • Press 3x times to enrol passowrd •... -
Page 9: Fingerprint & Password Verifi Cation
2.8 Fingerprint & Password Verifi cation Summary *Take note of verifi cation 2.8.1 Fingerprint verifi cation screens • Press fi ngerprint for verifi cation 2.8.2 Password verifi cation • Type your password for verifi cation • Successful verifi cation 2.8.3 Card verifi cation * Declined verifi... -
Page 10: Manage Users
2.9 Manage Users Summary 2.9.1 Search User * Take note: Only Admin- istrator can edit / delete users • Press (menu) once • Press to selected user • Press • Press once • Press • Press (menu) for options window •... -
Page 11: Delete User
Summary 2.9.2 Delete user...continue • Press (menu) once to select available op- • Press to confi rm tions to delete. 3. User Access 3.1 Description of User Access Access option function setting is the settings of user’s accessibility to certain doors. It is known as Time Zone. -
Page 12: Create A Time Zone
Summary Group Time Zones There are a total of 5 Group Time Zones available for use. Every new registered user be- longs to Time Zone 1. Default grouping combination is Group 1 and default Group Time Zone 1. GROUP TIME ZONE TIME ZONES Under a condition where Group 1 and Time Zone 1 are in factory default status, new registered user defaults in unlocking status. -
Page 13: Assign A Holiday Time Zone
Summary 3.2.2 Assign a Holiday Time Zone * Ensure to capture all holi- days when setting up. * Recommended to create holiday time zones to deny access, rather than deny access per user for holidays • Press to select HOLIDAY SETTINGS •... -
Page 14: Unlocking Combination Settings
Summary 3.2.4 Unlocking Combination settings Combo settings are for extra added security, where more than ons user need to sign in before access is granted. * Combo settings for added security * 2 or more user verifi ca- tion needed before access allowed •... -
Page 15: Duress Alarm Parameters
Summary 3.2.6 Duress Alarm Parameters The fi ngerprint reader will trigger alarm system after a duress fi ngerprint is verifi ed sucess- fully. It is advisable : * Duress fi nger enrolment for added security, espe- • 1 to use different fi ngers to do daily clocking mechanism and to trigger duress alarm cially in high risk areas. - Page 16 Summary Defi ne a duress fi nger...continue • The following screen will display • Press on USR MNG, to MANAGE • Select user id for change • Press , USER ACCESS • Select MANAGE • Press (menu) once • Press to save •...
-
Page 17: Communications
4. Communications Summary 4.1 Network (TCP/IP) • Press once • Press on NETWORK • Press once • Press * Ensure to assign a static address, units will not work on DHCP • Press to desired fi eld, and complete the values 4.2 RS232 / 485 * Recommended distance... -
Page 18: Security
4.3 Security Summary * Device related password * Restrict sub-administrator access • Press 2x times to select SECURITY • Press to change values • Press 4.4 Wiegand * Use WIEGAND communi- cation port to connect to maglock or turnstiles • Press 3x times to select WIEGAND •... -
Page 19: System
Summary • Select OUTPUT OPT. • Press to select fi elds • Press to change values or enter values 5. System 5.1 System settings • Press once • Press to enter SYSTEM SETTINGS • Press 2x times to select SYSTEM * Ensure correct system set- tings before handing over to client. -
Page 20: Data Management
5.2 Data Management Summary * Ensure to keep data logs clean, to prevent unit from fi lling up space. • Press to select DATA MNG • Press on a delete function • Press to confi rm 5.2.1 System Update * Ensure to use correct USB drive that is compatible with device. -
Page 21: Display
Summary 5.4 Display • Press to select DISPLAY • Press to select fi eld • Press • Press to change values • Press to save 5.5 System Reset * Reset function are only confi guration of unit, and not to delete users •... -
Page 22: Pendrive (Usb)
5.7 Pendrive (USB) Summary * Pendrive / USB can be used to upload and down- load user ID’s • Select PENDRIVE on the MAIN MENU • Insert a PENDRIVE (USB) and select desired option 5.8 Auto Test * Ensure to run a AUTOTEST to test all functions on unit •... -
Page 23: System Information
5.10 System Information Summary • Select SYS INFO on the MAIN MENU • Press to select desired info page • RECORD screen • • DEVICE info screen DEVICE info screen 5.10.1 Number of Password Users Available in the Terminal (Password User) Users can do verifi... - Page 24 Summary Information available includes: • AttLog (10k): Shows the number of attendance logs that can be stored in the termi- nal, for example for AttLog (10k) 12 means 10,000 x 12 = 120,000 • S Logs: Shows the number of Scanner Logs available for the terminal. •...
Need help?
Do you have a question about the IN01 and is the answer not in the manual?
Questions and answers