
Related Manuals for Fracino Bambino


Summary of Contents for Fracino Bambino
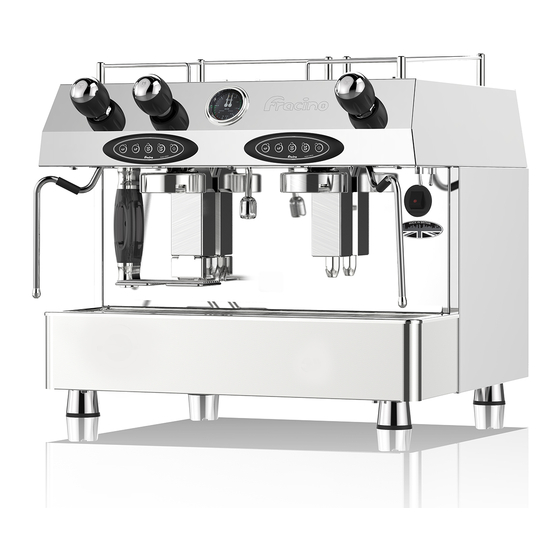
- Page 1 Installation Instructions Only to be carried out by qualified engineers. For Model(s): Fracino Bambino Fracino Classic & Contempo Fracino Romano...
- Page 2 Contents Installation Installing the Before turning overview the machine on coffee machine Legend Remove the red air Connecting the Waste Pipe release valve clip Connecting the Priming the boiler Water Supply with water (except Romano) Connecting the Water Softener Connecting the Power Supply Turning the Installing the...
- Page 3 Installation Overview 300mm Power Power Power (2nd Position Switch or plug) Cold Water (15mm) Waste Coffee Machine. Water Softener (DSU) / inline filter if required. Grinder – 13 amp socket required. Counter. Power connection for coffee machine Under counter or under grinder (must be within 1 metre).
- Page 4 7.5kw 32amp single phase 4 Group 7.5kw 32amp single phase * Except Bambino which is 2.85KW / 13amp. 4kw available as an alternative power rating on 20amp single phase supply Coffee Machines - Alternative Power Ratings Group 2 Group 2.85kw...
- Page 5 Preparing the area for installation (All except Romano) Plan view for drilling counter for Coffee Machine Area for Grinder Depth from the back of the machine to the hole. Length from the side of the machine to the hole. Hole in counter: 2'' Diameter Depth needed for grinder Width needed for grinder Work out the location of the coffee machine on the bar or counter and find the position.
- Page 6 Preparing the area for installation (Romano) Plan view for drilling counter for Coffee Machine Area for Grinder Depth from the back of the machine to the hole. Length from the side of the machine to the hole. Hole in counter: 2'' Diameter Depth needed for grinder Width needed for grinder Work out the location of the coffee machine on the bar or counter and find the position.
- Page 7 Preparing the machine for installation Note: Remove all packaging before working on / installing the machine and remove plastic protective coating from stainless steel. All except Romano Remove the top tray of the machine by locating and unscrewing the two M4 screws at either end of the tray.
-
Page 8: Coffee Machine
Installing the coffee machine Connecting the waste pipe Fit the grey push-on flexible waste hose onto the round waste funnel located in the centre of the machine and tighten with the wormdrive clip provided. Then feed the waste hose under the machine and down through the 2” hole already cut out. Pull taught and ensure no kinks are present in pipe. - Page 9 Ensure the water pressure does not exceed 6 BAR. If it is higher than 6 BAR then t a pressure reducing valve (available from Fracino). Connect the exi hose from the coffee machine to the outlet side of the water softener. Turn on the water...
- Page 10 Connecting The Power Supply Run the mains cable through the hole in the bottom of the machine or underneath to the nearest power supply. Make sure your mains supply is within 1 metre of the machine and has easy access for power isolation. Single phase 13amp / 20amp / 32amp 3 phase...
- Page 11 Before turning the machine on Remove the red air release valve clip. Remove the RED plastic clip from the air release valve on top of the sight glass. Failure to do so will cause air locks and milk to be sucked back into the boiler. Slide the red clip out from under the E-clip.
- Page 12 Manually Filling The Machine (except Romano) Before turning the power on, manually fill the machine using the cold water by-pass valve situated inside the left hand side panel (looking at the machine from the operators side). It is a chrome valve with a black lever. Boiler Water Cold water by-pass valve...
- Page 13 Boiler Water Cold water by-pass valve Ensure the water is turned on then move the lever to the vertical position to commence filling the boiler. Locate the sight glass on the front of the machine on the left hand side as illustrated. Watch the sight glass as you fill the boiler with water.
-
Page 14: Turning The Machine On
Turning the Machine on Turning the power on for the first time Warning: To avoid serious damage to the elements or pump never turn on power before the water level has been reached in the sight glass (except Romano). Switch the machine on. Open the steam valve to allow the air to vent. -
Page 15: Pressure Gauge
Pressure Gauge The heat exchanger, mains water pressure, coffee brew pressure and expanded pressure is shown on the left hand scale of the pressure gauge 2. The steam pressure is shown on the right hand side gauge and should be about 1 BAR when the coffee machine is hot and up to pressure. - Page 16 To adjust the pressure of the coffee machine locate the pressure adjusting screw on the side of the high pressure pump head which is located at the back of the machine. On all models except Romano access is via a hole in the base panel. Tip the machine up at the front to adjust.
- Page 17 Bleeding and Turn both groups on and allow water to flow for approx 2 minutes whilst the machine is Removing heating. This will expel all the air. Leave the machine to come up to pressure and touch the groups to ensure they are hot being careful not to burn yourself. If they are still only warm Airlocks follow the procedure below.
-
Page 18: Coffee Grinder
Installing the coffee grinder Connecting the power supply Extract from the box and remove all the packaging. Fit the hopper to the grinder (C6 fit magnet to mushroom with screw and push mushroom into the hopper (Locating the 3 legs into the holes in the hopper bottom). - Page 19 Adjustment of the grinder blade is necessary to give the correct size of coffee granules. Please follow the instructions below for the model of grinder you have to achieve the correct grind. Model: B/T/S 2008 on Turn the grinder on. Close Open A) Close the grinder blades together by...
- Page 20 Grinding Model B/T/S Model C3/C6/C8 coffee Push to open Pull to open Turn the machine on and push the coffee bean cutoff flap into the open position to release the coffee beans into the grinder. The coffee beans will then be ground into the dispenser.
- Page 21 Use the tamper at the front of the dispenser to compress the coffee in the filter holder. Place your free hand on top of the tamper whilst pushing up with the filter holder to prevent the grinder from being tipped over. Wipe the rim of the filter holder to ensure it is clear of coffee to prevent leaks and damage to the filter holder washers.
- Page 22 Re-adjusting the grinder The grind of the coffee will dictate how quickly water passes through the filter holder into blades the espresso cup. The extraction time to make the ideal cup of espresso should be between 20 and 25 seconds. If the extraction time is incorrect further adjustment to the grinding blades is needed.
- Page 23 Fracino or visit our website We at Fracino wish you many years of satisfaction with your new drinks machine. Please keep this warranty and Operator Instructions in a safe place once you have read the important information contained herein.
- Page 24 Fracino. 17-19 Birch Road East • Birmingham B6 7DA • England tel: +44 (0)121 328 5757 • fax: +44 (0)121 327 3333 email: sales@fracino.com The Fracino company policy is one of continuous improvement. We retain the right to change speci cation without prior notice.
Need help?
Do you have a question about the Bambino and is the answer not in the manual?
Questions and answers