
Related Manuals for Vinotemp IL Romanzo IL-OW006-2Z


Summary of Contents for Vinotemp IL Romanzo IL-OW006-2Z
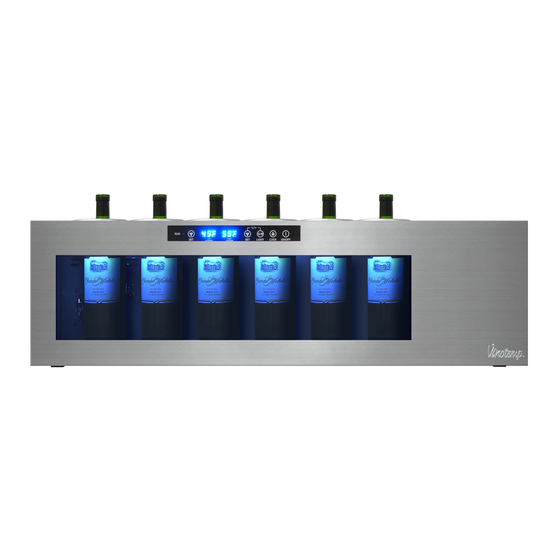
- Page 1 Owner’s Manual 6 - B o t t l e D u a l - Z o n e W i n e C o o l e r I L - O W 0 0 6 - 2 Z ( 6 b o t t l e )
-
Page 2: Table Of Contents
TABLE OF CONTENTS IMPORTANT SAFETY INSTRUCTIONS ............3 ELECTRICAL CONNECTION ..............4 INSTALLATION INSTRUCTIONS ..............4 OPERATING YOUR WINE COOLER ............5 WALL INSTALLATION GUIDELINES ............7 CARE AND MAINTENANCE ..............9 PROBLEMS WITH YOUR WINE COOLER ..........10 TROUBLESHOOTING GUIDE ..............10... -
Page 3: Important Safety Instructions
Please read and follow all safety rules and operating instructions before using. IMPORTANT SAFETY INSTRUCTIONS To reduce the risk of fire, electrical shock or injury when using your appliance, follow these basic precautions: • Ensure that the wine cooler stays in the upright position during transportation. •... -
Page 4: Electrical Connection
ELECTRICAL CONNECTION Improper use of the grounded plug can result in the risk of electrical shock. If the power cord is damaged, frayed or shows cracks or abrasions across its length, have it replaced at an authorized service center. For your protection, this unit is equipped with a 3-conductor cord set that has a molded 3-prong grounding-type plug, and should be used in combination with a properly connected grounding-type outlet. -
Page 5: Operating Your Wine Cooler
Defrosting: 1. Your wine cooler will defrost every 8 hours for a period of approximately 30 minutes. Condensation will accumulate in the evaporator drip tray and will eventually evaporate. While your cooler is defrosting, the temperature displayed may be higher than the temperature set. - Page 6 compartment and 12℃ / 54°F for right compartment. 2. Set the desired cooling temperature by pressing the corresponding buttons for “set lower” program. Pressing the button once will decrease the temperature by 1 degree. The temperature selected will flash in the LED display for approximately 5 seconds and then revert back to display the temperature of the internal cooler.
-
Page 7: Wall Installation Guidelines
WALL INSTALLATION GUIDELINES Add on the adjustable feet/bumpers to the back of each screw on the rear of the wine cooler. This will ensure that your wine cooler has enough room between it and the wall to properly exhaust. Place the M8 boring crowns against the wall and use them as a guide for where to drill your holes. - Page 8 Attach Part A to the back of the unit. Slide Part A into the boring crowns to affix your unit to the wall. Drip Tray Installation 1. Affix the mount for the drip tray to the bottom of the cooler as shown in the diagram above. 2.
-
Page 9: Care And Maintenance
Note: Space for the drip tray is limited. For wall installation, we recommend that the water pipe be routed to a separate container. Check your drip tray regularly for condensation and empty as needed to avoid leakage. CARE AND MAINTENANCE Cleaning Your Wine Cooler IMPORTANT: Always unplug the unit before cleaning or performing maintenance. -
Page 10: Problems With Your Wine Cooler
You can solve many common Wine Cooler problems easily, saving you the cost of a possible service call. Try the suggestions below to see if you can solve the problem before calling the servicer. Contact our Customer Service at 1-800-777-8466 or info@vinotemp.com. TROUBLESHOOTING GUIDE PROBLEM POSSIBLE CAUSE Wine cooler does not operate. - Page 11 Note: Unfinished wood is subject to warping; all wood surfaces must be sealed before placing cellar into service. Improper placement of the unit will void the warranty. By Vinotemp in writing, any third party repair facility must be pre-approved before providing parts free of charge.
- Page 12 For Non-New Units (Scratch & Dent/Refurbished/Floor Models), warranty for compressor units is 90 days from your dated invoice and 30 days for thermoelectric units (parts for function only, not cosmetic defects). These units are refurbished and sold as is; Purchaser assumes risks to the quality and performance of goods and assumes the costs of all necessary service or repair not covered herein.
Need help?
Do you have a question about the IL Romanzo IL-OW006-2Z and is the answer not in the manual?
Questions and answers