Advertisement
Quick Links
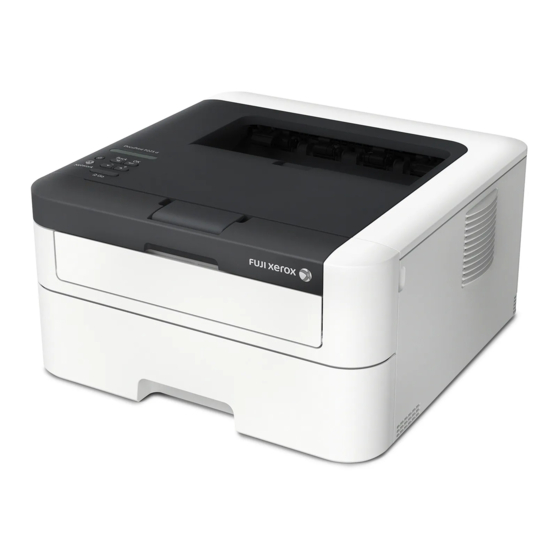
DocuPrint P225 d / DocuPrint P265 dw
LJB476001-00
Quick Setup Guide
604E 77060 MB3547E2-1 (Edition 1)
September 2014
Copyright © 2014 by Fuji Xerox Co., Ltd.
Fuji Xerox Co., Ltd.
Printed in Vietnam
Unpack the machine and check the components
USB Interface Cable
Inbox/Starter Toner
1
Remove the packing materials and install the toner cartridge
2
Load paper in the paper tray
3
Connect the power cord and turn on the machine
Back
4
Select your language (Only for certain models)
1.
Press ▼ or ▲ to select General Setup, and then press OK.
2.
Press OK to select Local Language.
3.
Press ▼ or ▲ to select your language, and then press OK.
5
Connect the machine to your computer/mobile device
• Windows
PC with a CD-ROM drive, go to step
®
• Windows
PC without a CD-ROM drive, go to step
®
• Macintosh, go to step
• Mobile device users with a WPS/AOSS-supported access point/router, go to step
A
Drum Unit
AC Power Cord
(Pre-installed)
(only for certain models)
B
CD‑ROM
Cartridge
Remove the orange part.
5A
5B
5B
Quick Setup Guide
Safety Guide
A
Remove the orange part.
Adjust the paper guides.
Front
5C
Read the Safety Guide first, then read this Quick Setup Guide for the correct installation
procedure.
NOTE:
• The components included in the box and the AC power plug may differ depending on your
country.
• The available connection interfaces vary depending on the model.
• The illustrations in this Quick Setup Guide are based on the DocuPrint P265 dw.
• The USB cable is a standard accessory.
Network cable
Use a straight-through Category 5 (or greater) twisted-pair cable for 10BASE-T or
100BASE-TX Fast Ethernet Network.
A
B
B
B
A
Advertisement

Related Manuals for Fuji Xerox DocuPrint P225 d


Summary of Contents for Fuji Xerox DocuPrint P225 d
-
Page 1: Load Paper In The Paper Tray
DocuPrint P225 d / DocuPrint P265 dw LJB476001-00 Quick Setup Guide 604E 77060 MB3547E2-1 (Edition 1) September 2014 Copyright © 2014 by Fuji Xerox Co., Ltd. Fuji Xerox Co., Ltd. Printed in Vietnam Unpack the machine and check the components Read the Safety Guide first, then read this Quick Setup Guide for the correct installation procedure. -
Page 2: Connection Type
CD-ROM drive or Macintosh) ® Download the full driver and software package by visiting the Fuji Xerox website at http://www.fujixeroxprinters.com/. After you download the driver and software package, follow the on-screen instructions until the Connection Type screen appears. Refer to...
Need help?
Do you have a question about the DocuPrint P225 d and is the answer not in the manual?
Questions and answers