Advertisement
Table of Contents
- 1 Maintenance
- 2 Contents
- 3 Safety Regulations
- 4 Transmitter Overview
- 5 Remote Control Keypad and Lcd Manual
- 6 Wifi Real-Time Aerial Photo Installation
- 7 WIFI Software Download and Installation
- 8 Install Software
- 9 Controller Modes & Instructions
- 10 Operating Direction
- 11 Fine-Tuning Operation
- 12 Function Introduction
- 13 Maintenance Procedure
- 14 Spare Parts
- Download this manual
See also:
Instruction Manual
X
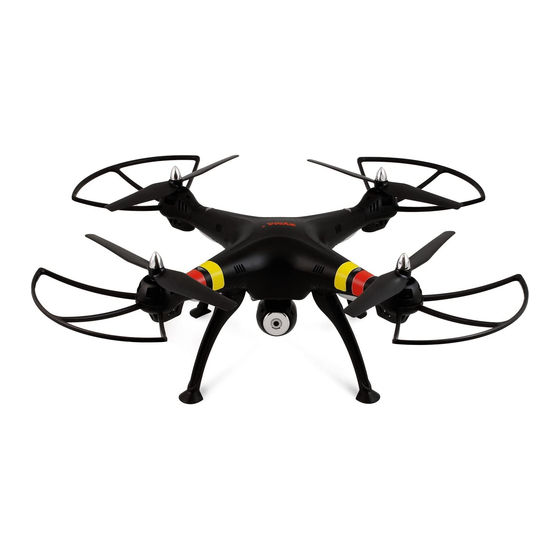
8W
4CH 2.4G REMOTE CONTROL QUADCOPTER
INSTRUCTION MANUAL
2
IMPLEMENT STANDARD: GB/T26701-2011
Main characteristics
Four-axis structure is applied,which makes the quadcopter more flexible and rapid
when flying.It has the characteristics of wind-resistant and can be flied indoor or
outdoor.
Built-in 6 axis gyroscope for precise hovering in the sky.
Modular design structure is applied, more simple for assembly and convenient for
maintenance.
With 360°3D eversion function and throwing flight function .
Added headless function; WIFI real-time aerial photo
The materials and specification mentioned in this instruction manual or the parts inside this package is
for reference only.Our company won't be responsible for any adaption of the outer package.Nor shall
we keep our customers informed in advance.Any information updates or changes,please be subject to
our website .
AGES 14+
Advertisement
Table of Contents

Related Manuals for SYMA X8W


Summary of Contents for SYMA X8W
- Page 1 AGES 14+ 4CH 2.4G REMOTE CONTROL QUADCOPTER INSTRUCTION MANUAL IMPLEMENT STANDARD: GB/T26701-2011 Main characteristics Four-axis structure is applied,which makes the quadcopter more flexible and rapid when flying.It has the characteristics of wind-resistant and can be flied indoor or outdoor. Built-in 6 axis gyroscope for precise hovering in the sky. Modular design structure is applied, more simple for assembly and convenient for maintenance.
-
Page 2: Maintenance
Safety regulations 1. Please put smaller parts of the quadcopter in the place where children can’t reach, avoiding from accidents. 2. Power of this quadcopter is adequate. Therefore, when flying for the first time, it should push remote control’s right/left variable-speed joystick slowly, avoiding from collisions caused by rising quadcopter rapidly. -
Page 3: Transmitter Overview
Get to know your transmitter Introduction of transmitter: Indicator Antenna High/Low speed & Eversion Headless mode switch Right control Left control lever lever Forward and backward trimmer Left Fine -tuning (Mode 1) Mode 1 / 2 switch Sideward Fine- Sideward Fine- tuning (Mode 2) tuning (Mode 1) Left Fine -... -
Page 4: Remote Control Keypad And Lcd Manual
Remote control keypad and lcd manual 01.Sideward Fine-tuning :Power-on start in the centering.(Be turn Left/Right Fine-tuning in Mode2) 02.Forward/Backward fine-tuning:Power-on start in the middle. 03.Turn Left/Right fine-tuning:Power-on start in centering.(Be Sidewoard Fly Fine-tuning in Mode2) 04.Forward shows:Power-on start in the lowest level.(At the center spuare) 05.Backward shows:Power-on start in the lowest level.(At the center spuare) 06.Right sideward fly shows:Power-on start in the lowest level.(At the center spuare) -
Page 5: Wifi Real-Time Aerial Photo Installation
Installation steps of quadcopter’s safety guard Figure 2 Figure 1 Figure 3 1. Pull out decorating parts as shown in Figure (1). 2. Press down decorating parts as shown in Figure (2) and insert blade protective frame into fuselage interface. 3. -
Page 6: Wifi Software Download And Installation
For Android phone, please download from www.symatoys.com or scan two- dimension code to install SYMA FPV software. For iphone IOS, please download from APP STORE to install SYMA FPV software or scan two-dimension code to install SYMA FPV software. Warm remind: Two-dimension code is provided in color box packing and back cover of specification to scan. -
Page 7: Controller Modes & Instructions
Controller modes & instructions The transmitter built-in two modes, Mode 1 & Mode 2, in line with different customer’s usage pattern. Keep pushing button B to right, than turn on the transmitter power to change Mode 1 or Mode 2. MODE 1 Operating direction Hover up and down... -
Page 8: Operating Direction
Fine-tuning operation Forward/Backward fine-tuning Sideward fly fine-tuning Turn left/right fine-tuning When the quadcopter When the quadcopter When the quadcopter keeps flying forward / keeps flying to left / right keeps rotating to left / backward, you can correct side, you can correct it by right, you can correct it it by pressing fine-tuning pressing the fine-tuning... - Page 9 Fine-tuning operation Forward/Backward fine-tuning Sideward fly fine-tuning Turn left/right fine-tuning When the quadcopter When the quadcopter When the quadcopter keeps flying forward / keeps flying to left / right keeps rotating to left / backward, you can correct side, you can correct it by right, you can correct it it by pressing fine-tuning pressing the fine-tuning...
-
Page 10: Function Introduction
Function introduction 1.Low-voltage protection: If four indicator lights in the bottom of aircraft start to twinkle, it means that the aircraft is short of electricity and is not able to roll. At that time, a return voyage shall immediately be made to the aircraft. 2.Over-current protection: In the condition of rotating aircraft’s fan blade, when being crashed or stuck, aircraft’s circuit... - Page 11 2. After aircraft connects with power supply, place the switch in “ON” position, adjust the direction pointed by aircraft’s handpiece and regard it as Front Left Right the dead ahead in headless situation. Read 3. Push the accelerator’s push rod of remote control to the highest point and pull back to the lowest point.
- Page 12 Battery replacement and charging method Steps of battery replacement: 1. Turn off aircraft’s 2. Open aircraft’s 3. Connect battery 4. After battery power supply, battery cover interface with replacement, and push the backward. dash receiver. fasten the switch to “OFF”. battery cover again.
- Page 13 WIFI install camera Disassembly steps of camera: 1. Pull out power supply cable of the camera as shown in Figure (1). 2. Press safe lock of lower main body forcibly and pull back the camera simultaneously. Figure 1 Figure 2 Installation steps of camera: 1.
-
Page 14: Maintenance Procedure
Spare parts Here are alternative accessories. In order to provide convenience for customer purchasing, every component are marked. Accessoriescan be purchased from local dealer. Please specify the color when purchasing. X8W-01 X8W-02 X8W-03 X8W-04 Upper body Lower body... - Page 15 X8W-09 X8W-10 X8W-11 X8W-12 Cear Motor A Motor B Main stand X8W-13 X8W-14 X8W-15 X8W-16 Blade cover Base of Dash Battery cover Blade lockstitch Receiver (White / Black) X8W-17 X8W-18 X8W-19 X8W-20 Receiver board Battery A/B adaptor& Lampshades charge box...
- Page 16 -15-...
- Page 17 Maln parameter 500mm 500mm Length of fuselage:500mm Height of fuselage:190mm Width of fuselage:500mm Battery:7.4V 2000mAh Code of main engine:132 -16-...
- Page 18 Two-dimension code Two-dimension code of Android system of iphone IOS system The company has the right of final interpretation of this instruction manual statement.
Need help?
Do you have a question about the X8W and is the answer not in the manual?
Questions and answers