Advertisement
Advertisement

Summary of Contents for Webasto X100
- Page 1 Diesel Cooker x100 Installation Instructions 08-05-2008...
-
Page 3: Table Of Contents
Webasto Diesel Cooker X100 Index Page 1. Legal notices 2. Overview and function 3. Installation 4. Fuel supply 5. Electrical connections 6. Exhaust system 7. Initial start-up 8. Technical details 1 / ENGLISH... -
Page 4: Legal Notices
Webasto training course and have the appropriate technical documentation, special tools and special equipment. NEVER try to install or repair the Webasto Diesel Cooker if you have not completed a Webasto training course, you do not have the... -
Page 5: Overview And Function
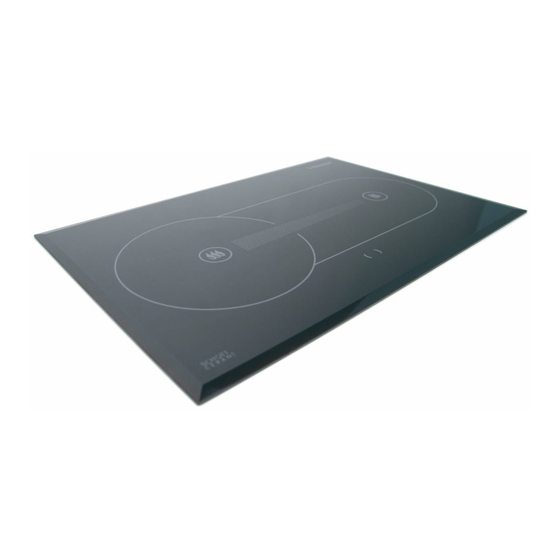
As the diesel fuel burns, the The Webasto Diesel Cooker A cooling fan in the released heat is transferred X100 is a safe diesel cooker ventilation box ensures that to the ceramic plate. The with no open flame. The the temperature in the... -
Page 6: Installation
Webasto Diesel Cooker X100 3. Installation 3.1 Cooker location Do not install the cooker in an area When installing a cooker it where there may be petrol fumes ⇒ risk should be noted that it has to of explosion. be dismounted for servicing. - Page 7 Webasto Diesel Cooker X100 3.2 Installation example Figure 3: 1. Cooker 2. Operating panel 3. Operating panel cords 4. Power cables 5. 15 A main fuse 6. Battery main switch 7. Fuel hose 8. Fuel filter 9.T-piece for fuel to vehicles return line 10.
- Page 8 Webasto Diesel Cooker X100 3.3 Replacement air The cooker needs air for There must be at least a 200 cm combustion and cooling. opening for replacement air in the space There must be sufficient air where the cooker is installed.
- Page 9 Webasto Diesel Cooker X100 3.5 Mounting the cooker Figure 5: Figure 5: Fasten the front plate to the ventilation box with only a few 4.2 x 13 mm screws. Figure 6: Place the cooker in the installation opening and attach the mounting pieces...
- Page 10 Webasto Diesel Cooker X100 The fuel couplings must be properly tightened to prevent any air leaks into the hose. Air will cause malfunction of the cooker. Always check that the coupling surfaces of the fuel hose and the fuel hose itself are clean before tightening them.
- Page 11 Webasto Diesel Cooker X100 Figure 12: Figure 12: Tie up the fuel line, cooling fan cable and power cable with a clip to the other cables of the control unit. Figure 13: Figure 13: Plug in the two black cables...
- Page 12 Webasto Diesel Cooker X100 3.6 Operating panel mounting 3.6.1 Operating panel Do not install the operating panel location within reach for children to avoid Control panel of the cooker it being switched on unnoticed. shall be installed in a vertical part of the vehicles’...
-
Page 13: Fuel Supply
Webasto Diesel Cooker X100 4 Fuel supply The fuel must not be taken from the fuel hose going to the engine. The maximum allowed pressure for cooker fuel hose is 2 bar. The fuel couplings must be properly tightened to prevent any air leaks into the hose. - Page 14 Webasto Diesel Cooker X100 4.3.2 Return line Figure 18: 1. T-piece, 2. Rubber hose ø 5 mm, 3. Hose clamp ø 10 mm, 4. Rubber hose ø 8 mm from engine return line, 5. Hose clamp ø 12 installation Figure 18.
-
Page 15: Electrical Connections
Webasto Diesel Cooker X100 5 Electrical connections 5.1 Connections of Figure 20: 1. Main fuse, 2. Main switch, 3. Device quick coupling. device The device operates on 12 V DC. Attach the red wire of the power cord to the plus pole of the battery and the black wire to the minus pole. -
Page 16: Exhaust System
Webasto Diesel Cooker X100 6 Exhaust system 6.1 Exhaust outlet Figure 21: Air must always be able to flow free past the exhaust gas outlet. Try to install the outlet in such a way that wind can blow past it. The... -
Page 17: Initial Start-Up
Webasto Diesel Cooker X100 7 Initial start-up If the fuel line does not fill up The cooker starts to heat up during two starts, the cooker automatically when the will lock itself and both red power switch is turned to ON and yellow lights begin to position. -
Page 18: Technical Details
Webasto Diesel Cooker X100 8 Technical details Table 2: Technical details of Webasto Diesel Cooker X100. Fuel Diesel oil Operating voltage 12 V DC Fuel consumption 0.09 - 0.19 l/h (0.074 - 0.156 kg/h) Heating capacity 0.9 - 1.9 kW Power consumption 0.3 A, at ignition 8 A. - Page 20 Webasto Product N.A., Inc. 15083 North Road Fenton, MI 48430 Technical Assistance Hotline USA: (800) 555-4518 Canada: (800) 667-8900 WWW.Webasto. US WWW.techwebasto.com Part no.: WA490055...


Need help?
Do you have a question about the X100 and is the answer not in the manual?
Questions and answers