Table of Contents
Advertisement
Congratulations on your purchase! This document provides instructions on how to setup,
install, and program your Call Blocker.
Quick Setup:
This device is powered by your phone line. Simply plug-in your Call Blocker to an existing
phone jack (or modem) in series or parallel (as shown below) and wait for calls to start ringing.
Then follow the instructions under the 'Getting Started' section below to start building your
BLACKLIST. It's that simple!
IMPORTANT: Please make sure your phone line has 'Caller ID service' active. Your Call Blocker
will not work properly without it. If you are not sure, please contact your telephone service
provider.
Installation:
There are 2 ways of installing your T-Lock Call Blocker as shown below. Your call blocker
should work in both settings, however we recommend that you test both to find out the best
setup for you.
SERIES INSTALLATION:
T-Lock Call Blocker User Manual
Last revised on June 10, 2015 by HQTelecom.com
Packing content:
Your packaging contains the following
items:
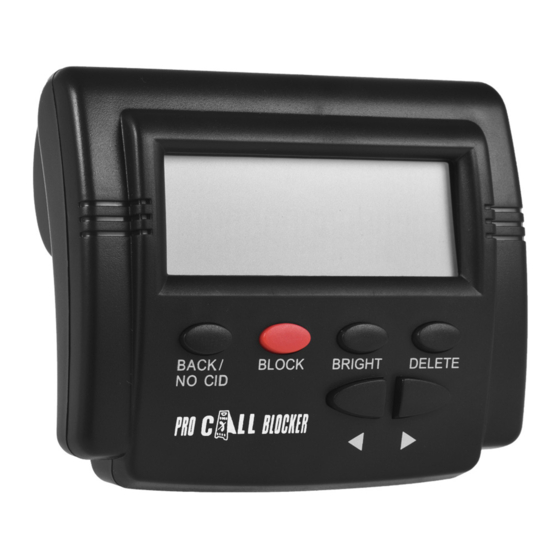
(1) T-Lock Call Blocker Call Blocker device
with LCD display, 6 buttons (SET, OUT,
BLACKLIST, REMOVE, UP & DOWN (◄ or
►) buttons), and two RJ-11 sockets (TO
LINE, TO PHONE).
(1)Telephone cord
(1) Wall / Desktop bracket
(1) User manual
PARALLEL INSTALLATION:
Advertisement
Table of Contents

Summary of Contents for HQ CT-CID803
- Page 1 T-Lock Call Blocker User Manual Last revised on June 10, 2015 by HQTelecom.com Congratulations on your purchase! This document provides instructions on how to setup, install, and program your Call Blocker. Packing content: Your packaging contains the following items: (1) T-Lock Call Blocker Call Blocker device with LCD display, 6 buttons (SET, OUT, BLACKLIST, REMOVE, UP &...
- Page 2 Important: If using the parallel installation option above, you will need to connect a telephone handset to the PHONE socket (at least temporarily) in order to do any programming or change any settings. Getting Started / Adding Phone Numbers to the Blacklist: The T-Lock Call Blocker is shipped from the factory ready to start working when connected to any FSK/DTMF compatible phone line using the LINE socket.
- Page 3 incoming calls. If you still wish to set it up, after setting the year's last digit in step 4, press SET again to change the Month (MM), use dial-pad to input the correct month, then press SET again to change the Day (DD), use dial-pad to input the correct month, then press SET again to change the HOUR (HH), use dial-pad to input the correct month, and then press SET again to change the Minutes (MM).
- Page 4 5.0 Adding Phone Numbers to the BLACKLIST e.g. Blocking Unwanted Phone Numbers There are 3 ways of adding unwanted phone numbers to the BLACKLIST: (1) When an unwanted call is ringing, simply press the BLACKLIST button before answering it to disconnect the call and add the number to the BLACKLIST. (2) After receiving an unwanted call ...
- Page 5 wish to turn this feature "ON" and block all calls with no caller ID information. Step 1. Press SET button (LCD displays Set 1234567) Step 2. Lift off the handset and press 6 (LCD displays "OFF") Step 3. Press UP or DOWN buttons (◄ or ►) to toggle feature "ON" and "OFF". Step 4.
- Page 6 10.0 Removing Numbers from Lists (INCOMING, OUT, and BLACKLIST) 10.1 Removing Phone Numbers from INCOMING List To remove numbers from the INCOMING list of recent calls (T-Lock Call Blocker holds up to 100 records, 16 digits each), simply use the UP or DOWN buttons (◄ or ►) to browse list. Then, press the REMOVE button to delete number from list (LCD displays "DEL").
- Page 7 calling number is stored in the BLACKLIST. Callers will simply hear a disconnect sound. The number of rings you hear before a call is disconnected varies depending on how your call blocker is installed. If installed in series, you may hear no ring or 1 ring. If installed in parallel, you may hear 1 or 2 rings.
Need help?
Do you have a question about the CT-CID803 and is the answer not in the manual?
Questions and answers