Table of Contents
Advertisement
Advertisement
Table of Contents

Related Manuals for Roland S-760


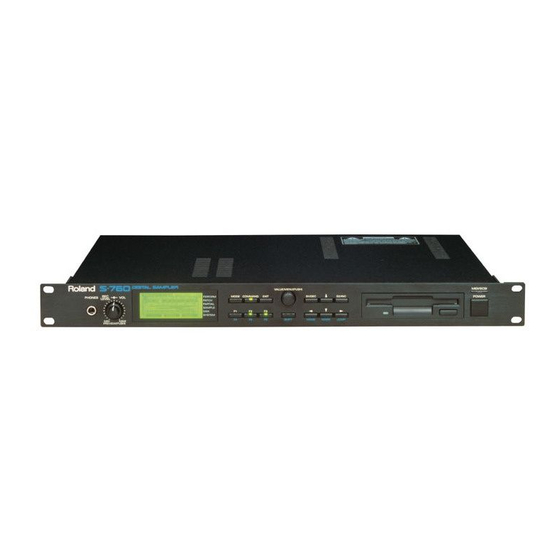
Summary of Contents for Roland S-760
- Page 1 ® SN29 ©1995 Roland Corporation U.S.
-
Page 2: Table Of Contents
Roland S-550/W-30 data ....10 Corrections to the S-760 Manual ............10 Installation of the OP-760-01 ............11 Attaching the Mouse, RC-100 and Monitor Outputs......12 A Quick Tour of the S-760 with a Mouse and CRT ......13 Naming Performances..............15 Solo / Mute ................15 Part Map ..................15 Quick Sampling ................15... -
Page 3: Introduction
The first step is to assign a specific SCSI “ID” (similar to MIDI channels) to each device in the SCSI chain. You can think of the SCSI ID as the SCSI “channel.” The S-760 is normally set to ID #7. If you’re using several external drives with the S-760, such as a Syquest removable drive and a CD-ROM... -
Page 4: Midi
MIDI connections are standard with one exception. If you want to use the S-760’s MIDI Out/Thru port as a Thru port, be sure to change this in the System Mode, in the MIDI configuration. The S-760 starts-up with the MIDI Out selected. -
Page 5: Adding Memory
To increase the amount of memory available for your sampler, you’ll need to install SIMM (Single Inline Memory Module) chips in the slots on the main circuit board of the sampler. The S-760 can have many different memory configurations. See the chart below:... -
Page 6: Basic Architecture
The Sample is the most basic raw waveform element. Sample editing is done on this level (start point, loop point, etc.). The S-760’s editing parameters include truncation, looping, smoothing, and time stretching functions. There can be up to 512 samples in the memory of the S-760 at a time. Starting the S-760 (from a System Floppy Disk) 1) Insert the S-760 System Disk in the floppy drive and start the S-760 by pushing the power switch. -
Page 7: Saving The System To A Hard Drive
Saving the System to a Hard Drive For faster start-ups when booting the S-760, you can start the S-760 from a hard drive, Syquest remov- able drive or a Magneto-Optical drive. To do this, use the following steps to put the operating system on a drive. -
Page 8: Creating Your Own Performance
Volume Dump to FD The S-760 can save a Volume onto a floppy disk without having to save the actual sample data. If you’re using a CD-ROM player, but don’t have a hard drive, you can save your customized Volumes, Performances, Patches and Partials onto a floppy disk. -
Page 9: Quick Sampling
EQ on the input stage. You’ll also notice that there is a level indicator so you can monitor the incoming signal. As you continue to cursor down the page, you’ll come to the next parameters to set-up the S-760 for sampling. -
Page 10: Quick Editing
You change the values with the Value/Menu knob. Pitch 1) KF, determines the keyfollow parameters. 2) Cor, adjusts the coarse tuning of the sample. 3) Fin, adjusts the fine tuning of the sample. © 1995 Roland Corporation U.S. SN29 S-760 Supplemental Manual Page 8 of 17... -
Page 11: Looping
You can delete Volumes, Performances, Patches, Partials, and Samples from the internal memory by selecting Delete in the Command function within most of the modes on the S-760. After highlighting Delete press S1. Choose the Target (TG), press S1. Select a target from the menu that will appear and press S1 to mark the target(s) you wish to delete. -
Page 12: Listen Delete
Patch. Convert Load The S-760 is capable of reading the older Roland Sampler libraries (S-550 and W-30), as well as the Akai™ S-1000/ S-1100 Sampler libraries. This is done with the Convert Load feature. 1) Press Mode. -
Page 13: Attaching The Mouse, Rc-100 And Monitor Outputs
10) Reattach the outer casing. Attaching the Mouse, RC-100, & Monitor Outputs Before restarting the S-760, plug-in all the peripherals (video monitor, mouse, or RC-100) that you intend to use with the digital sampler. The S-760 supports several types of video output, Digital RGB, S-Video, and composite video. The highest video resolution is supported by the Digital RGB and S-Video ports. - Page 14 After following the previous instructions, all of the S-760’s operations can now by accessed by your mouse and monitor. As you can see when first booting the S-760, you come to the Performance Play Page 1, which displays all of the Mode Menu Switches at the top of the screen.
- Page 15 6) You then come back to the Disk load page and you will see a listing of volumes available on the floppy disk. Click with the left mouse button on CMB: S-760 SET. The S-760 will now start loading from the floppy disk. “Now Working will be displayed at the top of the screen.
-
Page 16: Naming Performances
Keyboard screen. Here, you can select the characters with your left mouse button for the Patch name. Follow these directions to name any type of file in the S-760 on any of the modes that contain the icon next to the name. -
Page 17: Quick Sampling
2) You will get the confirmation screen asking if you want to use the default name. If you haven’t already set a name for the sample you are about to record, the S-760 will give you a temporary namesuch as NEW: Unnamed. If this is Ok, click with your left mouse button on Yes. -
Page 18: Editing Loops Using A Monitor And Mouse
4) If you hold down a key on your keyboard that is connected via MIDI to your S-760, you can change the loop pararmeters as you’re listening to your sample. You can also lock-on your loop by clicking on the thin vertical box on the right of the waveform display. -
Page 19: Cd Player
The CD-Player function of the S-760 allows you to control and play audio compact discs in the CD-ROM drive that is connected to the S-760. This is useful for auditioning the Composer Series CD-ROM audio tracks, as well as cueing up tracks for sampling. This function now supports mulitiple types of CD-ROM drives.
Need help?
Do you have a question about the S-760 and is the answer not in the manual?
Questions and answers