Advertisement
Advertisement
Table of Contents

Summary of Contents for iBasso DX50
- Page 1 DX50 User Guide Thank you for purchasing the DX50 http://www.iBasso.com...
- Page 2 Contents Power on/off Power on/off the screen Reset Charging...
-
Page 3: Package Components
Connect the coaxial cable to an external DAC, to allow the DX50 working as a digital transport. Pouch: Use the pouch to protect the DX50 from scratches. Screen protector: Use the screen protector to protect the DX50`s screen from scratches. -
Page 4: Main Features
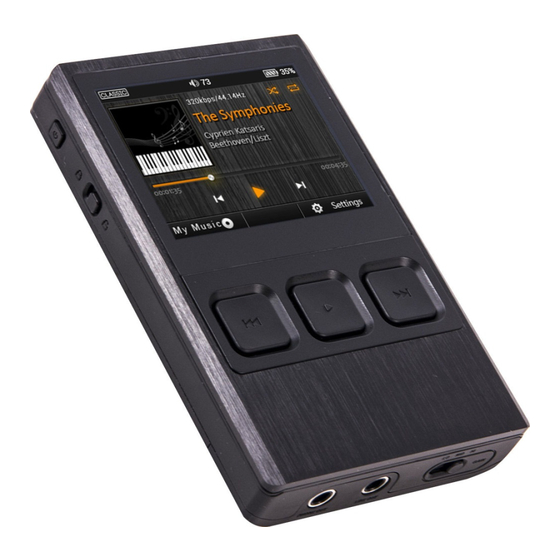
DX50 User Guide Main Features: - Bit Perfect, Support up to 24Bit/192kHz. - WM8740 24Bit DAC Chip. - Built-in 9V Voltage Swing Headphone AMP. - 2.4" IPS Screen(320*240) with Capacitive Touch Screen, Bonded by OCA. - Up to 24Bit/192kHz Mini Coaxial Output. -
Page 5: Names Of Parts And Functions
Gain Switch Line Out Port Coaxial Output Port: Use the furnished coaxial cable to play music stored in the DX50 on an external device with a coaxial input port. Coaxial output has the highest output priority which would close the... - Page 6 Plug in the earphone and output sound through the phone jack. Line Out Port: Use a 3.5 to 3.5 interconnect cable to play music stored in the DX50 on an external amplifier with a line in port. When using line out, one should always turn the volume up to the maximum “255”...
- Page 7 Play/Pause Previous/Rewind Power: Short Press - Power the LCD screen on and off, Long Press - Power the DX50 on and off. Hold: Move the hold switch to activate or deactivate the button operation. Volume +: Short-press to increase one step of the volume, Long-press to continuously increase until its maximum.
-
Page 8: Basic Operation
Power on/off: 1. Press and hold the power button to power on. 2. After the DX50 is powered on, a long press of the Power button will display the shutdown menu. Press OK to power off. Power on/off the screen: Single press the power button to power on/off the screen after the DX50 was powered on. - Page 9 2, Select Storage under Setting/USB Settings. 3. Connect the DX50 to a computer via the furnished USB Cable. 4. The “USB Connected” will be shown on the DX50 screen. The DX50 will appear on the computer as a drive labeled“DX50”.
-
Page 10: User Interface
When transfer is completed, make sure to safely remove the drive(s) from the computer before disconnecting the USB connection to the DX50. Click the icon displayed in the task bar or desktop of the computer to safely disconnect the DX50. User Interface: The DX50 User interface is composed of three parts: Music playback screen (homepage), my music, and settings. -
Page 11: All Music
DX50 User Guide User Guide All Music: Return Button Home Button Now Playing Return Button: Press the Return button on the top right of the My Music or Settings screen will move back one page at a time until the home page is once again displayed. - Page 12 DX50 User Guide User Guide Playlist: New Playlist: Click the new playlist button to create a new playlist. The DX50 supports M3U playlist. Please see page 14-15 regarding to how to import and export the playlist. New Playlist All Music: Sorting Option Sorting Option:...
-
Page 13: Play Mode
There are three options: Storage, DAC, and Charge Only. (1). Storage. Allows the DX50 to be used as an external drive. Please see page8 "Connecting to a computer for data transmission", regarding to how to transfer data into the DX50. -
Page 14: Firmware Update
Backlight Off: Set the amount of time to turn off the screen when there is not touch operation or button operation. Auto Power Off: Set the amount of time to power off the DX50 when it stays idle. Sleep Timer:Set the amount of time to power off the DX50, no matter if it is working or idle. - Page 15 10. How to use the import/export playlist function? After the playlist is built in the DX50, press the thumbnail icon in front of the playlist to unfold the options. Press "export playlist", then one can find a M3U playlist under the...
- Page 16 DX50 User Guide User Guide To import a M3U playlist, load the M3U playlist into the internal flash or a Micro SD card. Then find the M3U playlist under Directory. Press the M3U playlist to start importing the playlist. Certifications:...


Need help?
Do you have a question about the DX50 and is the answer not in the manual?
Questions and answers