Honeywell Captuvo SL42 Quick Start Manual
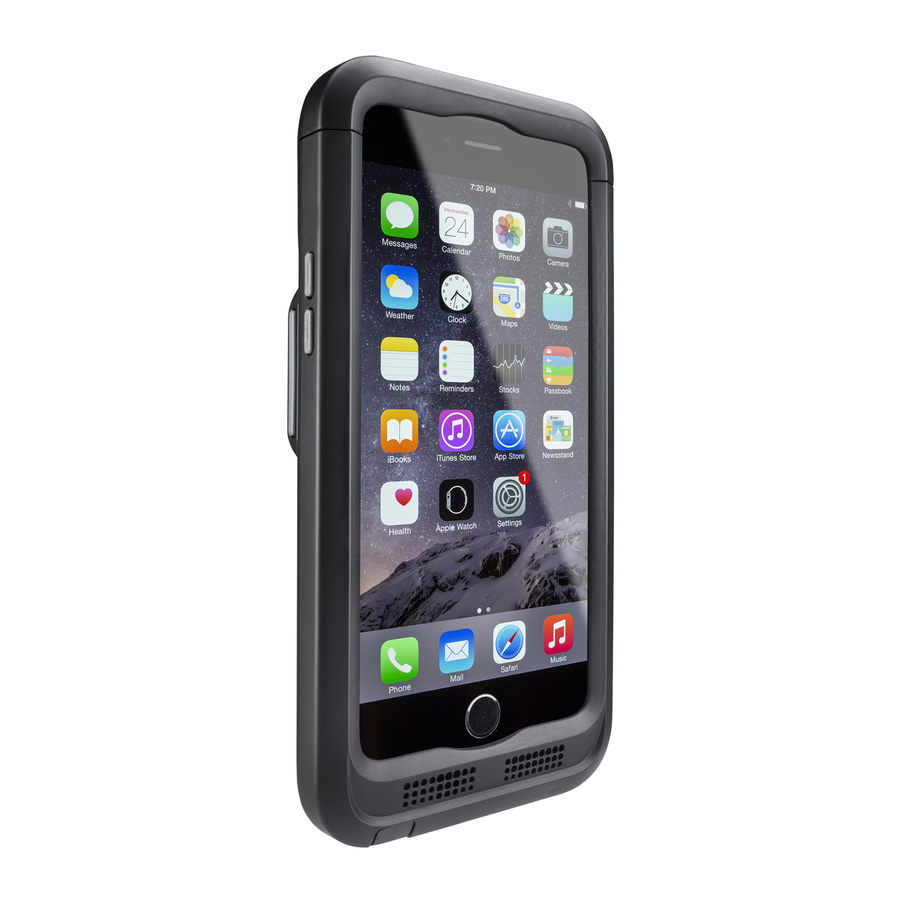
Enterprise sled for apple iphone 6 and iphone 6 plus
Hide thumbs
Also See for Captuvo SL42:
- Quick start manual (17 pages) ,
- User manual (148 pages) ,
- Quick start manual (16 pages)
Table of Contents
Advertisement
Quick Links
Captuvo
Enterprise Sled for Apple
Quick Start Guide
Aller à
www.honeywellaidc.com
Vai a
www.honeywellaidc.com
Gehe zu
www.honeywellaidc.com
Ir a
www.honeywellaidc.com
Перейти на русскоязычный сайт www.honeywellaidc.com.
Pro češtinu jdi na www.honeywellaidc.com.
Pre slovenčinu choď na
Para Português, acesse www.honeywellaidc.com.br.
日本語 :
www.honeywellaidc.com
如要到中国 www.honeywellaidc.com(简体) 。
查看繁体版请登陆
한글
www.honeywellaidc.com
.
www.honeywellaidc.com
SL42
™
iPhone
®
pour le français.
per l'italiano.
für Deutsch.
para español.
www.honeywellaidc.com
www.honeywellaidc.com
로 이동합니다 .
¬
Ñ é í
6 and iPhone
®
をご覧ください。
à õ
¬ Ç
à à ú
w
w
w
h .
o
n
e
6 Plus
®
y
w
e
a l l
d i
c
c .
o
m
à ˆ
á Å
Ç ä è ´
Rev A 07/15
Advertisement
Table of Contents

Related Manuals for Honeywell Captuvo SL42


Summary of Contents for Honeywell Captuvo SL42
- Page 1 Captuvo SL42 ™ Enterprise Sled for Apple iPhone 6 and iPhone 6 Plus ® ® ® Quick Start Guide Aller à www.honeywellaidc.com pour le français. Vai a www.honeywellaidc.com per l'italiano. Gehe zu www.honeywellaidc.com für Deutsch. Ir a www.honeywellaidc.com para español. Перейти...
-
Page 2: Getting Started
Note: Honeywell is not an authorized Apple repair center. Please return only your sled to us for repair. Honeywell is not liable for any non-Honeywell product shipped to our repair center. Note: Refer to your Apple iPhone documentation for important product and safety information. -
Page 3: Front View
Front View Volume Buttons Door Release Scan Button Audio Jack Access Phone Sleep/ Wake Button Scan Button Speaker DC Power Jack MicroUSB Port... -
Page 4: Back View
Back View Hand Strap Connector Battery Door Scan Button Imager iPhone Sleep/ Wake Button Main Camera Access... -
Page 5: Inserting The Battery
Ensure all components are dry prior to mating sleds/batteries with peripheral devices. Mating wet components may cause damage not covered by the warranty. We recommend use of Honeywell Li-Ion battery packs. Use of any non-Honeywell battery may result in damage not covered by the warranty. - Page 6 Battery Door MicroUSB Port (use to update firmware)
- Page 7 Sled Security Mechanism Note: To reduce the risk of the Apple iPhone being removed or disengaging from the sled, we recommend that you lock the security mechanism(s). The iPhone 6 Plus sled has two security mechanisms. TORX (T5) Security Mechanism (iPhone 6 Plus) Security Mechanism Security Mechanism...
- Page 8 Installing the Apple iPhone into Sled 1. Remove the security mechanism screw(s) and open the door by pulling the top toward the front of the sled. The door can be then be pulled up and rotated out. 2. Slide your phone into the sled. Note: Be careful that the connectors are not accidentally damaged.
- Page 9 Charging Using Wall Adapter Note: If you use the wall adapter, both the sled and the iPhone charge simultaneously.
- Page 10 Transferring Data Using USB to PC Note: You can transfer data when the iPhone is in the sled and it is connected to a PC/laptop using an over-the-counter microUSB-to-USB cable. Neither the sled nor the iPhone will charge via USB.
-
Page 11: Led Behavior
LED Behavior Sled Connected to External Power Source Color Indication Blinking Red Battery error. Solid Amber Sled battery is charging while connected to an external power source and is between 0- 95% charged. Solid Green Sled battery is connected to an external power source and is more than 95% charged. - Page 12 You may optimize or cancel this mode by using the SDK. Honeywell Price Check Method 1. Download the Honeywell Price Check application from the Apple App Store 2. Scan a bar code. Note: This application is for demonstration purposes only and does...
-
Page 13: Installing Hand Strap
Installing Hand Strap 1. Hook the hand strap onto the pin at the top of the sled. 2. Slide the opposite end of the hand strap through the slot at the other end of the sled. 3. Fold the strap and press the hook and loop pieces together to secure. -
Page 14: Limited Warranty
Support To search our knowledge base for a solution or to log into the Tech- nical Support portal and report a problem, go to www.hsmcontactsupport.com. User Documentation For localized versions of this document and to download the user guide, go to www.honeywellaidc.com. Limited Warranty For warranty information, go to www.honeywellaidc.com... - Page 15 Disclaimer Honeywell International Inc. (“HII”) reserves the right to make changes in specifications and other information contained in this document without prior notice, and the reader should in all cases consult HII to determine whether any such changes have been made.