Table of Contents
Advertisement
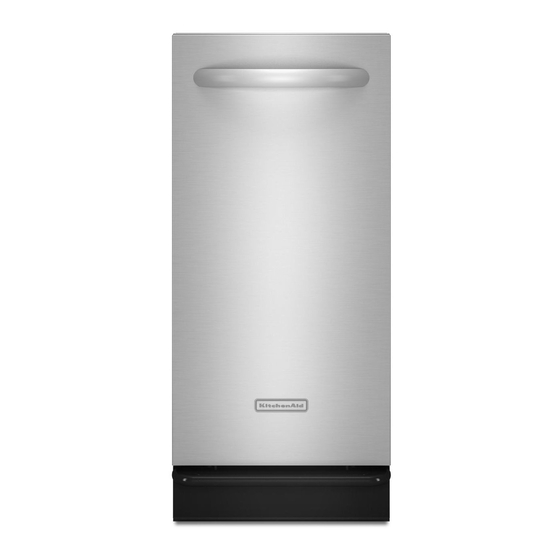
INTEGRATED COMPACTOR
Use & Care Guide
For questions about features, operation/performance, parts, accessories or service, call: 1-800-422-1230 or visit our website at
www.kitchenaid.com
In Canada, for assistance, installation or service, call: 1-800-807-6777 or visit our website at www.KitchenAid.ca
Table of Contents............................................................................................................ 2
W10242569A
Advertisement
Table of Contents

Summary of Contents for KitchenAid Architect Series II W10242569A
- Page 1 Use & Care Guide For questions about features, operation/performance, parts, accessories or service, call: 1-800-422-1230 or visit our website at www.kitchenaid.com In Canada, for assistance, installation or service, call: 1-800-807-6777 or visit our website at www.KitchenAid.ca Table of Contents... 2 W10242569A...
-
Page 2: Table Of Contents
COMPACTOR SAFETY ...2 INSTALLATION INSTRUCTIONS ...3 Unpacking ...3 Location Requirements ...3 Electrical Requirements ...4 Undercounter Installation...5 COMPACTOR USE...7 How Your Compactor Works...7 Loading...7 WHISPER QUIET ® Plus System...7 Starting Your Compactor...7 Using Solid (Locked) Cycle ...7 Your safety and the safety of others are very important. We have provided many important safety messages in this manual and on your appliance. -
Page 3: Installation Instructions
INSTALLATION INSTRUCTIONS Installer: Leave Use and Care Guide with the homeowner. Homeowner: Keep Use and Care Guide for future reference and for local electrical inspector’s use, if required. Unpacking WARNING Excessive Weight Hazard Use two or more people to move and install compactor. Failure to do so can result in back or other injury. -
Page 4: Electrical Requirements
Cutout Dimensions 3" min. (7.6 cm) 24" min. (61 cm) 18" min. (45.7 cm) 15 " min. (38.7 cm) A. Grounded electrical outlet must be a minimum of 3" (7.6 cm) away from surrounding cabinets or nearby walls as shown. It can be placed either to the left or the right side of the compactor. -
Page 5: Undercounter Installation
NOTE: Proper installation is your responsibility. Make sure you have everything necessary for correct installation. It is the personal responsibility and obligation of the customer to contact national and local codes and ordinances. Tools needed: Gather the required tools and parts before starting installation. Level #2 Phillips screwdriver Tape measure... - Page 6 Cabinet-front mounting A. Mounting clip C. Retaining bracket B. Cabinet D. Mounting screw 8. Grasp sides of compactor drawer and place bottom of drawer into tracks. Lift at the handle so drawer will go over drawer stops. Close drawer. Check to see if drawer opens freely.
-
Page 7: Compactor Use
How Your Compactor Works The compacting ram is the part of the compactor which compresses the trash. The compacting ram does not go to the bottom of the drawer. You will not see compacting of trash the first few times you load the compactor. NOTE: The compactor drawer should be more than the compactor can begin to compress the load. -
Page 8: Using The Air Filter Or Freshener
Using the Air Filter or Freshener 1. Set the Air Filter switch to ON. The fan creates air movement in the compactor for odor removal. NOTE: The charcoal Air Filter works only when the Key-Knob is in the ON position. IMPORTANT: The air freshener will work with or without the fan. -
Page 9: Compactor Care
Your new compactor is designed to give you many years of dependable service. However, there are a few things you are expected to do in order to properly maintain your compactor. This section will tell you how to clean and care for your compactor. -
Page 10: Troubleshooting
3. Grasp the drawer on the sides and pull it out the rest of the way. Set the drawer down gently. 4. Vacuum the inside of the cabinet. Liquid spills or wet trash should be cleaned up by hand, or by using a vacuum designed to pick up liquids. -
Page 11: Assistance Or Service
To locate the KitchenAid designated service company in your area, you can also look in your telephone directory Yellow Pages. For further assistance If you need further assistance, you can write to KitchenAid with any questions or concerns at: KitchenAid Brand Home Appliances Customer eXperience Center... -
Page 12: Warranty
For thirty days from the date of purchase, when the compactor is installed, operated and maintained according to instructions attached to or furnished with the product, KitchenAid will provide a replacement filter or air freshener if the original filter or air freshener fails due to defects in materials or workmanship.


