Table of Contents
Advertisement
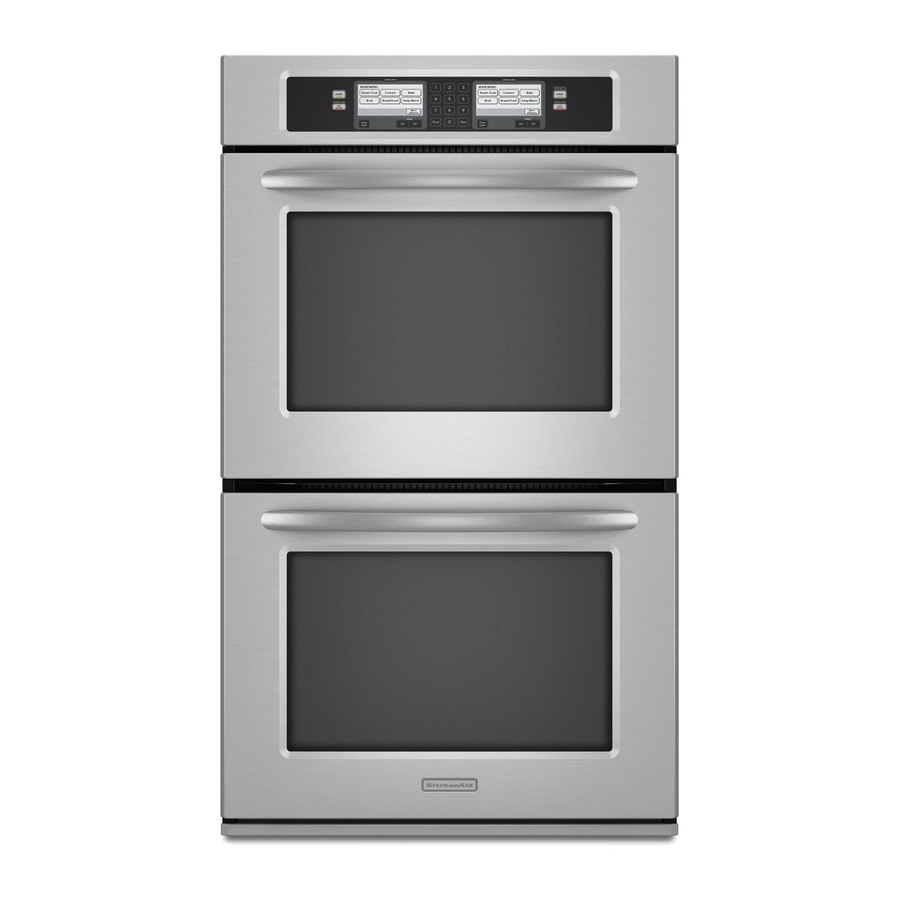
BUILT-IN ELECTRIC CONVECTION
SINGLE AND DOUBLE OVENS
WITH STEAM ASSIST
Use & Care Guide
For questions about features, operation/performance, parts, accessories or service, call: 1-800-422-1230
or visit our website at www.kitchenaid.com
Table of Contents............................................................................................................ 2
Models
KEBU107 KEBU208
8304531A
Advertisement
Table of Contents

Related Manuals for KitchenAid 8304531A


Summary of Contents for KitchenAid 8304531A
- Page 1 BUILT-IN ELECTRIC CONVECTION SINGLE AND DOUBLE OVENS WITH STEAM ASSIST Use & Care Guide For questions about features, operation/performance, parts, accessories or service, call: 1-800-422-1230 or visit our website at www.kitchenaid.com Table of Contents... 2 Models KEBU107 KEBU208 8304531A...
-
Page 2: Table Of Contents
Calibration (Oven Temperature Control)...8 Water Filter/Filtration System...8 Learn Mode ...9 Sabbath Mode...9 Languages...10 Clock ...10 Start ...11 Timer...11 Lower Oven Off, Upper Oven Off and Off ...11 Control Lock...11 OVEN USE...11 Aluminum Foil...11 Positioning Racks and Bakeware ...11 Roll-out Rack...12 Bakeware...13 Meat Thermometer...13 Oven Vent(s) ...13... -
Page 3: Oven Safety
Never Use the Oven for Warming or Heating the Room. ■ Do Not Leave Children Alone – Children should not be left alone or unattended in area where oven is in use. They should never be allowed to sit or stand on any part of the oven. -
Page 4: Parts And Features
This appliance can cause low-level exposure to some of the substances listed, including benzene, formaldehyde, carbon monoxide, and toluene. This manual covers different models. The oven you have purchased may have some or all of the items listed. The locations and appearances of the features shown here may not match those of your model. -
Page 5: Electronic Oven Control
ELECTRONIC OVEN CONTROL This manual covers different models. The oven you have purchased may have some or all of the items listed. The locations and appearances of the items shown here may not match those of your model. The oven's controls are accessed through its control panel and interactive touch display. -
Page 6: Main Menus
(sleep) mode. When the oven is in operation, the display will remain active. On the single oven, if not in use (sleep mode), the display shows the time of the day. To turn the clock display on/off, see “Clock”... -
Page 7: Menu Demonstration
Place the food in the oven, connect the temperature probe and touch OK. 8. Once the oven starts running, the Off key will light up. Touch OFF if you need to shut the oven off during cooking. 9. When the set probe temperature is reached, the Check Food message appears on the display. -
Page 8: Sound (Tones)
It can be changed in Fahrenheit or Celsius. A minus sign means the oven will be cooler by the displayed amount. The absence of a minus sign means the oven will be warmer by the displayed amount. Use the following chart as a guide. -
Page 9: Learn Mode
The oven has a learn mode which can show you the oven functions and allow you to become comfortable with the controls. When in the learn mode, the oven does not actually turn on and will not warm food. To Use Learn Mode: 1. -
Page 10: Languages
11. Touching the End Sabbath key for approximately 3 seconds exits the Sabbath Mode and returns to the Main Menu. 12. Touch Upper Oven OFF, Lower Oven OFF or OFF at anytime to turn the oven off. To Set Delayed: Sabbath Mode must be enabled before starting the Bake cycle. -
Page 11: Start
The water filter needs to be changed occasionally. The life of the filter will depend on factors such as the amount of steam cooking done and the hardness of the water in your home. The oven has a sensor to determine when the filter needs to be changed. -
Page 12: Convection Cooking
Roll-out Rack The roll-out rack allows easy access to position and remove food in the oven. It can be used in rack positions 1 through 4. Do not put the roll-out rack in position 5 because it will not fit. -
Page 13: Bakeware
C. Single oven or upper double oven The oven vent(s) should not be blocked or covered since they allow the release of hot air and moisture from the oven. Blocking or covering vents will cause poor air circulation, affecting cooking and cleaning results. -
Page 14: Full And Center Broiling
Position food on the grid on the broiler pan, then place it in the center of the oven rack with the longest side parallel to the door. It is not necessary to wait for the oven to preheat before putting food in, unless recommended in the recipe. -
Page 15: Convection Cooking
When cooking an oven meal with several different types of foods, be sure to select recipes that require similar temperatures. Cookware should sit in the oven with at least 1" (2.5 cm) of space between the cookware and the sides of the oven. -
Page 16: Convection Roast
ADJUST SETTINGS to change the desired time, temperature and/or probe settings. Touch START to enter new settings. 8. If the oven temperature is below the set temperature, the Preheat Bar will be displayed showing the status of the preheat cycle. When preheat is complete a tone will sound 9. -
Page 17: Convection Broil
Before convection broiling, see “Full and Center Broiling” section for general broiling guidelines. Position rack. Allow the oven to preheat for 5 minutes. Position food on the unheated grid on the broiler pan, then place it in the center of the oven rack with the longest side parallel to the door. -
Page 18: Proofing Bread
Touch OK to clear the message, stop reminder tones, and continue the current cooking cycle. 7. Touch OFF, UPPER OVEN OFF or LOWER OVEN OFF when finished proofing. Before second proofing, shape dough, place in baking pan(s) and cover loosely with plastic wrap coated with cooking spray. -
Page 19: Auto Steam Settings
Baking times may be slightly less than with standard baking. ■ If you are using a baking stone, place it in the oven on rack position 1 before beginning the cycle. For other bread baking, use rack position 1 or 2. -
Page 20: Manual Steam
8. Once a cooking setup function is complete, the Start key will light up. 9. When settings are correct, touch START. A message will appear telling you to Place Food in Oven. Place the food in the oven and touch OK. Connect the temperature probe if appropriate. -
Page 21: Water Filter Cartridge Replacement
Please reference the “Assistance or Service” section. Keep Warm WARNING Food Poisoning Hazard Do not let food sit in oven more than one hour before or after cooking. Doing so can result in food poisoning or sickness. IMPORTANT: Food must be at serving temperature before placing it in the warmed oven. -
Page 22: Temperature Probe
NOTE: When using the probe, the Cook Time function may not be used. 3. If the probe is set and connected to the oven, the probe icon is displayed in the oven cavity icon. If the probe is set and not connected to the oven, a “Probe Not Connected”... -
Page 23: Timed/Delay Cooking
Timed Cooking allows the oven(s) to cook for a set length of time. Delay Cooking allows the oven(s) to be set to turn on at a certain time of day, Delay start should not be used for food such as breads and cakes because they may not bake properly. -
Page 24: Cooking Charts
Traditional baking oven temperatures and baking times from the recipe are given to help you learn to convert your own recipes. For best cooking results, bake on rack positions 1 or 2. Yeast Breads* FOOD Basic White Bread (8½" x 4½" x 2½" [21.6 cm x 11.4 cm x 6.4 cm] pan) -
Page 25: Desserts Baking Chart
Crème Brulee (6 oz [177.4 mL] cups) Recipe: Bake (in water bath) Auto Steam Desserts Cheesecake (9" [22.9 cm] springform pan) Recipe: Bake (in water bath) Auto Steam Desserts Desserts Baking Chart OVEN BAKING TIME (in minutes) TEMPERATURE 350°F (175°C) 40-45 300°F (150°C) 40-45 or until toothpick comes out slightly moist 325°F (165°C) -
Page 26: Auto Steamvegetable Cooking Chart
Whole, dressed 1" (2.5 cm) thick Scallops (U-10 ct) Shrimp (16-20 ct) Shrimp (26-30 ct) Lobster Tail (10-12 oz [283-340 g]) Auto Steam Vegetable Cooking Chart OVEN TEMPERATURE 250°F (120°C) 250°F (120°C) 250°F (120°C) 250°F (120°C) 250°F (120°C) 250°F (120°C) 250°F (120°C) -
Page 27: Manual Steam Cooking Chart
Manual Steam Oven Frittata (10" [25.4 cm] ovenproof skillet) Recipe: Bake* Manual Steam (*Cook vegetables in skillet, add eggs and place in oven.) Bratwurst (fresh) Manual Steam Chicken Breasts (boneless, skinless) Manual Steam Meat Loaf (7" x 3" x 2" [17.8 cm x 7.6 cm x 5 cm] loaf) 1 lb (454 g) -
Page 28: Meats And Poultry Roasting Chart
Cover with foil and let stand for 10 to 20 minutes before carving. ■ The temperature will rise during standing time. ■ For best cooking results, place poultry into the oven legs first. OVEN BROWNING COOKING TIME TEMPERATURE (in hours and minutes) 325°F (160°C) - Page 29 (7½-9 lbs [3.4-4.1 kg]) Auto Steam Poultry Duck Duck (5-6 lbs [2.3-2.7 kg]) Auto Steam Poultry Cornish Hens Cornish Hens (22 oz [624 g]) Auto Steam Poultry OVEN BROWNING COOKING TIME TEMPERATURE (in hours and minutes) 350°F (175°C) High 0:44-0:49 350°F (175°C)
-
Page 30: Oven Care
OVEN CARE Self-Cleaning Cycle The oven is preset for a 3 hour 30 minute clean cycle, however the time can be changed. Suggested clean times are 2 hours 30 minutes for light soil and between 3 hours 30 minutes and 4 hours 30 minutes for average to heavy soil. -
Page 31: General Cleaning
Touch OK to return to the Main Menu. 11. When the end of the self-clean time is reached, the oven will shut off automatically and the Complete message will be displayed. -
Page 32: Oven Lights
Oven Door IMPORTANT: To avoid oven door glass breakage: ■ Do not close the oven door if the racks are not fully inserted into the oven cavity or when bakeware extends past the front edge of an oven rack. ■... -
Page 33: Troubleshooting
■ On double oven models, is the correct oven control being used? The left control is for the lower oven, the right control is for the upper oven. Oven temperature too high or too low ■ Does the oven temperature calibration need adjustment? See “Oven Temperature Control”... -
Page 34: Assistance Or Service
To locate the KitchenAid designated service company in your area, you can also look in your telephone directory Yellow Pages. For further assistance If you need further assistance, you can write to KitchenAid with any questions or concerns at: KitchenAid Brand Home Appliances Customer eXperience Center... -
Page 35: Warranty
If you need service, first see the “Troubleshooting” section of the Use & Care Guide. After checking “Troubleshooting,” additional help can be found by checking the “Assistance or Service” section or by calling KitchenAid. In the U.S.A., call 1-800-422-1230. In Canada, call 1-800-807-6777. - Page 36 8304531A 5/07 © 2007. All rights reserved. ® Registered Trademark/TM Trademark of KitchenAid, U.S.A., KitchenAid Canada licensee in Canada Printed in U.S.A.