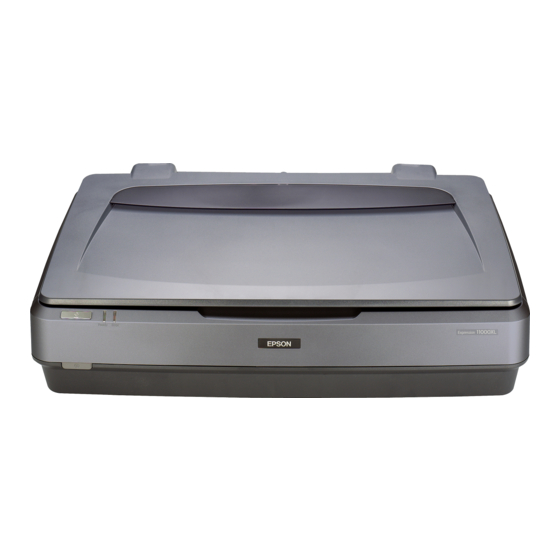
Summary of Contents for Epson 1000XL
- Page 1 University Digitisation Service User Guide for Epson1000XL Scanner Version 1 © University Digitisation Service – University of Melbourne 2012 E:\Webdocs\User Guide for Epson1000XL Scanner.doc...
- Page 2 Document Control Title User Guide for Epson1000XL Scanner Status Draft Version Distribution List UDS staff and self-service clients Documentation Approval Author Ben Kreunen Date Approved by Date Expiry date Document Reviews Date Page Change Author 16/05/2011 Initial draft Ben Kreunen User Guide for Epson1000XL Scanner...
-
Page 3: Table Of Contents
Table of Contents Introduction ......................1 Background ....................... 1 Audience ........................1 Terms and Definitions ....................1 Steps to set up the scanner for use ............... 2 Steps to scan documents and photographs ............4 Steps to scan slides and negatives................ 5 User Guide for Epson1000XL Scanner Page i... -
Page 4: Introduction
Background This User guide outlines the steps to scan documents, photographs and film on the A3 Epson 1000XL using Epson Scan. The owner and responsibility for updating the document is the Technical Support Officer (UDS). This document and any changes therein will be reviewed and signed off. Separate documents that are applicable to different stakeholder groups may be referred to in this document, such as related job aids and policies. -
Page 5: Steps To Set Up The Scanner For Use
List anything needed to complete the task Step Action Turn on the scanner before starting Epson Scan Start the Epson Scan application Set the mode to “Professional” Set the “Document Type” and “Document Source” to match your original. Auto Exposure Type does not need to be set. - Page 6 Set the file naming and output file location Specify a location for the files to be saved to. Specify a prefix for the filename and a starting number. o This can be used to add images to an existing sequence by specifying the next number, or replacing an image by specifying an existing number.
-
Page 7: Steps To Scan Documents And Photographs
3. Steps to scan documents and photographs Step Action Set up the scanner for use (see Steps to set up the scanner for use above) If you want a white background behind your images, ensure the document mat is installed in the transparency unit. ... -
Page 8: Steps To Scan Slides And Negatives
4. Steps to scan slides and negatives Step Action Set up the scanner for use (see Steps to set up the scanner for use above) Remove the document mat from the transparency unit if it is in place. Instructions for inserting and removing the document mat are illustrated on the transparency unit. - Page 9 Check the orientation and cropping of the thumbnail images. The two buttons in the Frame section of the dialogue box allow you to rotate the image in 90° increments if it’s orientation is incorrect, and mirror the image horizontally if the film has been placeed upside down. ...


