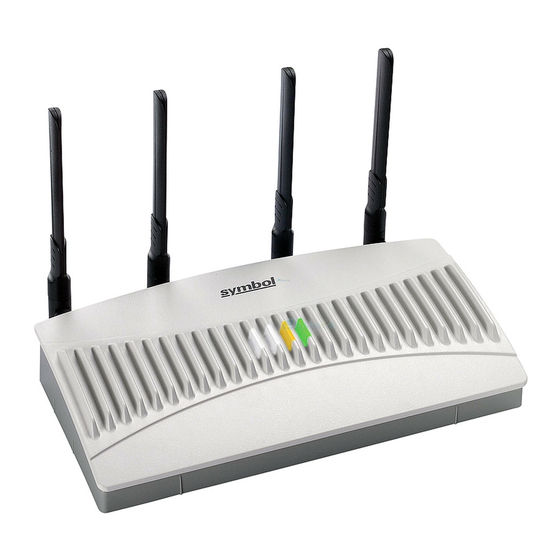
Motorola AP-5131 Quick Setup Manual
Access point
Hide thumbs
Also See for AP-5131:
- Installation manual (50 pages) ,
- Antenna connection manual (18 pages) ,
- User manual (2 pages)
Summary of Contents for Motorola AP-5131
-
Page 1: Quick Setup Guide
Motorola AP-5131 Access Point Quick Setup Guide Ishida / Rice Lake Wireless Communications P/N 109422... - Page 2 Connect the Ethernet cables as listed. Cross or straight cables may be used. o AP-5131 “WAN” port and the computer. o AP-5131 “LAN” port and the Power Injector “Data and Power Out” connector. • Both lights on the Power Injector should be green and steady: “Port” and “AC”.
- Page 3 Motorola AP-5131 Access Point Quick Setup Guide 2. Open Internet Explorer and enter http://10.1.1.1 3. Press ENTER. 4. The AP-5131 log in screen is displayed. See figure 1. Figure 1. AP-5131 Login Screen If the message is the only information displayed it indicates...
- Page 4 Motorola AP-5131 Access Point Quick Setup Guide Figure 2. Default Login Change Admin Password 8. Change the password to “ishida”, all lower case. Re-type to verify. 9. Select “Apply”. 10. When the WEB UI Disconnection Warning appears, select “OK”. See figures 3, 4.
- Page 5 Motorola AP-5131 Access Point Quick Setup Guide Figure 5. Warning: Select and Country of Operation 14. Select “United States” using drop down menu. See figure 6. 15. Under WLAN#1 settings, enter the ESSID name (Wireless Network Name). The store’s name is normally used – entered in lower case with no spaces.
- Page 6 22. Click “Apply”. 23. When the WEB UI Disconnection Warning appears, select “OK”. See figure 8. Figure 8. Disconnection Warning Message 24. Internet Explorer has logged out of the AP-5131 configuration application. 25. Close Internet Explorer. Rev 1, February 2009...
- Page 7 Motorola AP-5131 Access Point Quick Setup Guide 26. Move the Ethernet cable from the “WAN” port on the AP-5131 to “Data In” on the Power Injector. The Ethernet cables should be connected as listed below. • Power Injector “Data In” to the computer.
- Page 8 Motorola AP-5131 Access Point Quick Setup Guide Figure 9. AP-5131 Quick Setup Screen 7. On the New Security Policy screen enter the new Name. For the new name use “scales”. (lower case). 8. On the left side of the screen choose the encryption method to be used.
- Page 9 Motorola AP-5131 Access Point Quick Setup Guide Figure 10. New Security Policy Screen – WEP 64 Encryption • WEP 128 (104 bit key) See figure 11. For Key #1 enter 26 hexadecimal characters Example: 1234567890abc1234567890abc Figure 11. New Security Policy Screen – WEP 128 Encryption...
- Page 10 Motorola AP-5131 Access Point Quick Setup Guide 11. Click on “Apply” after selecting the encryption type and entering the key. 12. When the WEB UI Disconnection Warning appears, select “OK”. See figure 8. 13. Set the Security Policy to “scales” using the drop down menu on the Quick Setup window.
- Page 11 Access Points are operating, each AP-5131 would be set to a non- overlapping channel (1, 6 and 11). o If non-Motorola (Symbol) Access Points are also in use the channel can be manually set to avoid interference. Channel selection is made under Network Configuration, Radio Configuration, Radio 1.
- Page 12 Motorola AP-5131 Access Point Quick Setup Guide Appendix 1, WPA Encryption The following screens show the settings and encryption key requirements for WPA. Figure 14. New Security Policy Screen – WPA/TKIP Figure 15. New Security Policy Screen – WPA2/CCMP (11) Rev 1, February 2009...


