Canon GP-E2 Instruction Manual
Gps receiver gp-e2
Hide thumbs
Also See for GP-E2:
- Instruction manual (328 pages) ,
- Quick manual (2 pages) ,
- User manual (50 pages)

Related Manuals for Canon GP-E2


Summary of Contents for Canon GP-E2
- Page 1 English Français Deutsch Italiano Español INSTRUCTION MANUAL MODE D’EMPLOI BEDIENUNGSANLEITUNG Nederlands MANUALE DI ISTRUZIONI MANUAL DE INSTRUCCIONES INSTRUCTIEHANDLEIDING...
-
Page 2: Introduction
Introduction The GPS Receiver GP-E2 can geotag your shots and record the route you travel. Using the provided software Map Utility, you can view shooting locations and the route traveled. The receiver can also set the camera time via GPS. -
Page 3: Features
Features Geotagging Images and Adding the Shooting Direction Supported by cameras that display [GPS device settings] in the menu. Shots taken while the receiver is attached to the camera are geotagged, adding location information* (latitude, longitude, elevation, and shooting time (UTC* to images. - Page 4 Features Setting the Camera Time Supported by cameras that display [GPS device settings] in the menu, except the EOS 7D. The camera time can be set using GPS signals. On the EOS-1D X, high-precision adjustment is performed with a margin of error of approx.
-
Page 5: Item Checklist
Item Checklist GP-E2 Storage case Carrying case Connec ing cables Approx. 25 cm / 9.8 in. Approx. 1.5 m / 4.9 ft. GPS Receiver Solution Disk Instruction Manual Regulation (Software and instruction (this guide) leaflet manuals) Storage and Carrying Cases Before using the storage case, insert the receiver in the carrying case to prevent scratches. -
Page 6: Table Of Contents
Contents Introduction..................2 Features ................... 3 Item Checklist................... 5 Conventions Used in this Manual............. 7 Nomenclature ................... 8 Inserting the Battery ................. 9 Attaching and Detaching the Receiver ........... 10 Turning the Receiver On ..............11 Acquiring GPS Signals ..............12 Geotagging Images as You Shoot .......... -
Page 7: Conventions Used In This Manual
Conventions Used in this Manual Meaning of Symbols : Warning to prevent shooting problems. : Supplemental information. (p.**) : Reference page numbers for more information. The icons and markings indicating the receiver’s controls and settings used in the manual correspond to the icons and marking on the camera and on the receiver. -
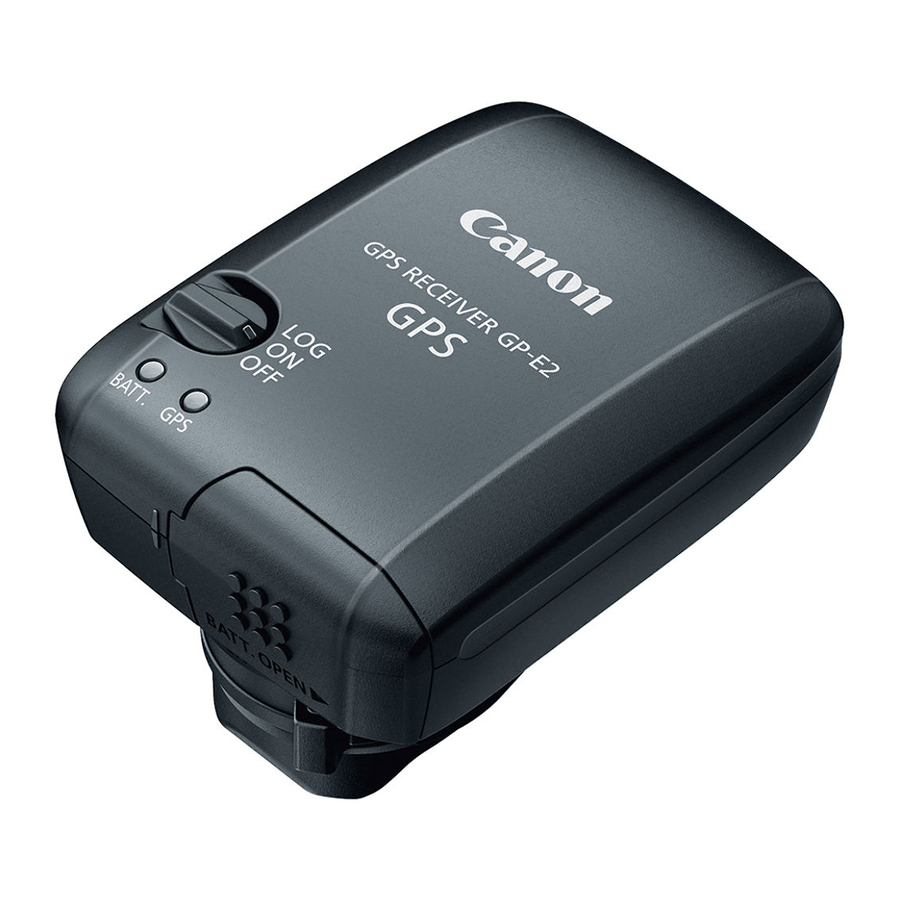
Page 8: Nomenclature
Nomenclature <C> terminal Mounting foot locking pin Contacts Signal acquisition indicator <ON>: Power switch/ <LOG>: Logging switch Battery indicator Battery compartment cover Mounting foot locking lever Release button... -
Page 9: Inserting The Battery
Battery Life The receiver can be used for about 39 hours under default settings with a new AA/LR6 alkaline battery (based on Canon testing standards). Battery life varies depending on the positioning interval for location information, as well as GPS signal conditions (p.19). -
Page 10: Attaching And Detaching The Receiver
Always make sure to turn the receiver off before attaching or detaching Depending on the camera model, if you turn on/off the GP-E2 or connect/disconnect the interface cable during Live View shooting or movie shooting, Live View shoo ing or movie shooting may stop. -
Page 11: Turning The Receiver On
Turning the Receiver On Checking the battery level Check the battery level on the <BATT.> indicator. Slow blinking : Level OK Fast blinking : Little power left : Replace battery <ON> Position The receiver functions in this position only with EOS DIGITAL cameras that display [GPS device settings] in the menu. -
Page 12: Acquiring Gps Signals
Acquiring GPS Signals To acquire GPS signals, bring the receiver outdoors where the sky is unobstructed and aim it up. Keep your hand or other objects off the top of the receiver. Turn the power switch to <ON> or <LOG> to start automatic GPS signal acquisition. - Page 13 Acquiring GPS Signals Places with Poor GPS Coverage Location information may not be recorded, or inaccurate information may be recorded where GPS signal coverage is poor, such as in the following places. Indoors, underground, near buildings or in valleys, in tunnels or forests Near high-voltage power lines or mobile phones operating on the 1.5 GHz band When the receiver is inside a bag or suitcase...
- Page 14 Acquiring GPS Signals Viewing GPS Information Check GPS information as follows when the receiver is attached or connected to a camera that displays [GPS device settings] in the menu. Select [GPS device settings]. On the EOS-1D X and other models that display the following screen, set [GPS device] to [Enable], and then select [GPS device settings].
-
Page 15: Geotagging Images As You Shoot
Geotagging Images as You Shoot When the receiver is attached or connected to a camera that displays the [GPS device settings] menu item, images are geotagged as you shoot. On cameras other than the EOS 7D, simply shoot with the receiver attached to your camera. -
Page 16: Logging The Route Traveled
Logging the Route Traveled Setting the power switch to <LOG> will automatically record location information along the route traveled on the receiver itself. (There is no need to connect the receiver to the camera.) The recorded location information can be viewed on a virtual map. - Page 17 Logging the Route Traveled Location Information Logs Location information is recorded at regular intervals along the route traveled with the receiver, as shown in the positioning interval table. Daily logs (p.24) are saved on the receiver itself. The number of days for which you can store logs depends on the positioning interval you specify in [Position update timing] (p.18).
-
Page 18: Setting The Positioning Interval
Setting the Positioning Interval You can specify the positioning interval when the receiver is attached or connected to a camera that displays the [GPS device settings] menu item. Shorter positioning intervals yield more accurate location information for your images. However, this also consumes more battery power. - Page 19 Setting the Positioning Interval Estimated Battery Life, by Positioning Interval Position Update Battery Life Position Update Battery Life Timing (Approx.) Timing (Approx.) Every second 10 hours Every 30 sec. 39 hours Every 5 sec. 27 hours Every minute 54 hours Every 10 sec.
-
Page 20: Using The Digital Compass
Using the Digital Compass When the receiver is attached or connected to a camera that displays [GPS device settings] in the menu or mounted on a bracket (p.28), images are tagged with the direction the receiver is facing (except on the EOS 7D). Select [GPS device settings]. - Page 21 Using the Digital Compass Calibrating the Digital Compass Calibrate the digital compass at the shooting location. Also cal brate the compass if the direction shown as you shoot seems incorrect. Select [GPS device settings]. On the EOS-1D X and other models that display the following screen, set [GPS device] to [Enable], and then select [GPS device settings].
- Page 22 Using the Digital Compass Move the camera. Wave the camera laterally in at least a 180° arc. Wave the camera up and down in at least a 180° arc. Rotate the camera in at least a 180° arc as it faces the same direction. Be careful not to drop the camera during cal bration.
-
Page 23: Setting Time From Gps On The Camera
Setting Time from GPS on the Camera You can set the time from GPS when the receiver is attached or connected to a camera that displays the [GPS device settings] menu item (except on the EOS 7D). The EOS-1D X performs high-precision adjustment with a margin of error of approx. -
Page 24: Gps Precautions
GPS Precautions Keep the following points in mind when using the receiver. In certain countries and regions, the use of GPS may be restricted. Therefore, be sure to use GPS in accordance with the laws and regulations of your country or region. Be particularly careful when traveling outside your home country. -
Page 25: Provided Software
Provided Software Software on the provided solution disc is described below, with installations instructions. GPS Receiver Solution Disk Includes receiver software and the instruction manual. Map Utility This software uses location information recorded by the receiver to show shooting locations, shooting directions, and routes traveled with the receiver on a virtual map. - Page 26 Provided Software Installing the Software Follow these steps even if an older version of the software is already installed. (The previous version will be overwritten, as needed ) Insert the GPS Receiver Solution Disk in the computer. Double-click the CD-ROM icon. Windows: This icon is displayed in [Computer] or [My Computer].
- Page 27 Provided Software Copying and Viewing the PDF Instruction Manual Insert the GPS Receiver Solution Disk in the computer. Double-click the CD-ROM icon. Windows: This icon is displayed in [Computer] or [My Computer]. Macintosh: This icon is displayed on the desktop. Double-click the [Manual] folder to open it.
-
Page 28: Using A Bracket (Sold Separately)
Using a Bracket (Sold Separately) Attaching the Accessory Bracket AB-E1 (sold separately) enables you to use the receiver and an external or built-in flash at the same time. Attach the camera and receiver to the bracket as shown. Keep the camera aligned with the bracket during attachment. Even a little misalignment will prevent accurate direction recording. -
Page 29: Specifications
Operating temperature 0°C to +40°C / 32°F to 104°F Operating humidity 85% or less Provided software ImageBrowser EX, Map Utility All information in this manual is based on Canon testing standards. Receiver specifications and appearance are subject to change without notice. -
Page 30: Safety Precautions
Safety Precautions The following precautions are intended to prevent harm to you and others as well as damage to equipment. Become familiar with the precautions before using the receiver to ensure correct and safe operation. Warning Preventing Serious Injury or Death To prevent fire, excessive heat, chemical leakage, or explosion, follow these safety guidelines. -
Page 31: Handling Precautions
This poses a risk of fire or electric shock. If the unit malfunctions, becomes damaged, or requires repair, contact your dealer or a Canon Service Center. Handling Precautions Handle the receiver in accordance with “Handling Precautions: Camera... - Page 32 (EEA: Norway, Iceland and Liechtenstein) The cameras and accessories referred to in this Instructions booklet are current as of January 2012. For information on compatibility with the cameras and accessories marketed after this date, contact your nearest Canon Service Center.
- Page 33 CANON INC. 30-2, Shimomaruko 3-chome, Ohta-ku, Tokyo 146-8501, Japan U.S.A. CANON U.S.A. INC. http://www.usa.canon.com/eos http://www.usa.canon.com/support For all inquires concerning this product, call toll free in the U.S. 1-800-OK-CANON CANADA CANON CANADA INC. HEADQUARTERS 6390 Dixie Road, Mississauga, Ontario L5T 1P7, Canada CANON CANADA INC.