GE RAK148D1 Owner's Manual & Installation Instructions
Digital non-programmable thermostats
Hide thumbs
Also See for RAK148D1:
- Catalog (24 pages) ,
- Catalog (24 pages) ,
- Owner's manual & installation instructions (16 pages)
Table of Contents
Advertisement
Owner's Manual &
Installation Instructions
RAK148D1
RAK164D1
Configuration Mode . . . . . . . . . . . 8-9
Important Safety
Information . . . . . . . . . . . . . . . . . . . . . . .2
Installation Instructions . . . . . . . . 4-7
Introduction Overview . . . . . . . . . . . .3
Operating Functions . . . . . . . . 11-12
Specifications . . . . . . . . . . . . . . . . . . . . .2
Starting the Thermostat . . . . . . . . .10
Terminal Designator
Descriptions . . . . . . . . . . . . . . . . . . . . .10
Testing the Thermostat . . . . . .10-11
Troubleshooting Tips . . . . . . . . . . . .12
Warranty . . . . . . . . . . . . . . . . . . . . . . . .16
LIA220-1
49-7543-1
ge.com
11-08 JR
Advertisement
Table of Contents

Related Manuals for GE RAK148D1


Summary of Contents for GE RAK148D1
-
Page 1: Table Of Contents
Owner’s Manual & Installation Instructions RAK148D1 RAK164D1 Configuration Mode ... 8–9 Important Safety Information ..... . .2 Installation Instructions . -
Page 2: Information
1-stage cool Timing: Anti-short cycle: 3 minutes (minimum compressor run time/off time). Note: There may be a 3 minute minimum fan run time/off time on some models. Terminations: R, C, W, Y, G, B (RAK148D1); R, C, W, Y, G (RAK164D1) -
Page 3: Introduction Overview
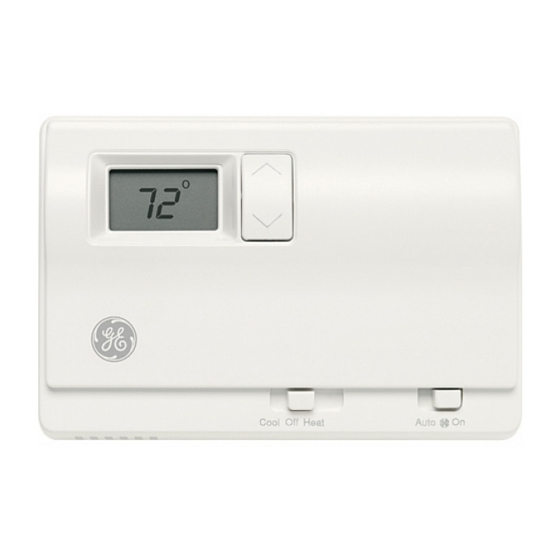
INTRODUCTION OVERVIEW THERMOSTAT CONTROL Display Toggle Up/Down Buttons Function Switch Fan Auto/On Switch PARTS DIAGRAM Toggle Up/Down Display Switches Reset Function Fan Auto/On Switch Switch Switch... -
Page 4: Installation Instructions
INSTALLATION INSTRUCTIONS ELECTRICAL SHOCK HAZARD—Turn off power at the main service panel by removing the fuse or switching the appropriate circuit breaker to the OFF position before removing the existing thermostat. PACKAGE CONTENTS/TOOLS REQUIRED Package includes: Thermostat on base, thermostat cover, wiring labels, screws and wall anchors. - Page 5 TO INSTALL THERMOSTAT (cont.) 1. Turn off power to the heating and cooling system by removing the fuse or switching off the appropriate circuit breaker. 2. To remove cover, insert and twist a coin or screwdriver in the slots on the sides of the thermostat. 3.
-
Page 6: Installation Instructions
INSTALLATION INSTRUCTIONS TO INSTALL THERMOSTAT (cont.) 13. Replace cover on thermostat by snapping it in place. 14. Turn on power to the system at the main service panel. 15. Test thermostat operation as described in “Testing the Thermostat”. Wiring diagrams. Table 1: Terminals for five wires heat/cool system (RAK164D1 only) Note: Connect G terminal of thermostat to Zoneline Gl... - Page 7 Table 2: Terminals for six wires 2 heat/1 cool system (RAK148D1 only) Note: Connect G terminal of thermostat to Zoneline Gl terminal for low fan speed or terminal Gh for high fan speed. Only one can be selected.
-
Page 8: Configuration Mode
Configuration mode. The configuration mode is used to set the RAK148D1 and RAK164D1 to match your heating/cooling system. These thermostats function with up to 2-stage heat pump systems (RAK148D1 only). To configure the RAK148D1 and RAK164D1, perform the following steps: Note: Operation being set will blink in the display. - Page 9 3. Temperature Differential—Stage 2—(RAK148D1 only) (1–9°F) (1–5°C)—Set the number of degrees between when stage 1 turns on and stage 2 turns on. Press the button to set differential value. Press the SW6 button to advance to the next screen. 4. Minimum Cool Setpoint (60, 64, 66, 68, 70, 72, 74, 76°F) (15, 17, 19,...
-
Page 10: Starting The Thermostat
Terminal designator descriptions. — 24 VAC hot G — Fan C — 24 VAC common B — Heat active reversing valve (RAK148D1 only) W — Aux. heat — Compressor Starting the thermostat. CAUTION! Do not use air conditioning when the outdoor temperature is below 50 degrees. This can damage your air conditioning system and cause personal injuries. -
Page 11: Operating Functions
Heat Test 1. Slide Function switch to Heat mode. 2. Adjust set temperature so it is 5 degrees above room temperature. 3. Heat should come on within a few seconds. 4. Adjust the set temperature so it is 2 degrees below the room temperature and the heat should turn off. -
Page 12: Troubleshooting Tips
(see Configuration mode). Auxiliary heat not on Adjust differential for 2nd stage soon enough (RAK148D1 only) heating, if required (see Configuration mode). Compressor doesn’t run There is a 3 minute time delay and or turn off immediately... - Page 13 Notes.
- Page 14 Notes.
- Page 15 Notes.
-
Page 16: Warranty
Full Replacement of the thermostat which fails From the date of the due to a defect in materials or workmanship. original purchase What GE Will Not Cover: ■ Service trips to your location. ■ Improper installation. If you have an installation problem, contact your installer.