D-Link DSN-4100 Series Quick Start Manual
Hide thumbs
Also See for DSN-4100 Series:
- Quick installation manual (37 pages) ,
- Technical specifications (5 pages) ,
- Software user's manual (158 pages)
Advertisement
Quick Links
Q
U
I
C
K
DSN-4100/DSN-4200
Series Quick Start Guide
S
This Quick Start Guide provides the information needed to get
T
your DSN-4100/DSN-4200 storage system out of the box and
operational with a direct connection to a host computer.
Follow the simple instructions in this guide, and in no time at
A
all you will be part of the iSCSI revolution.
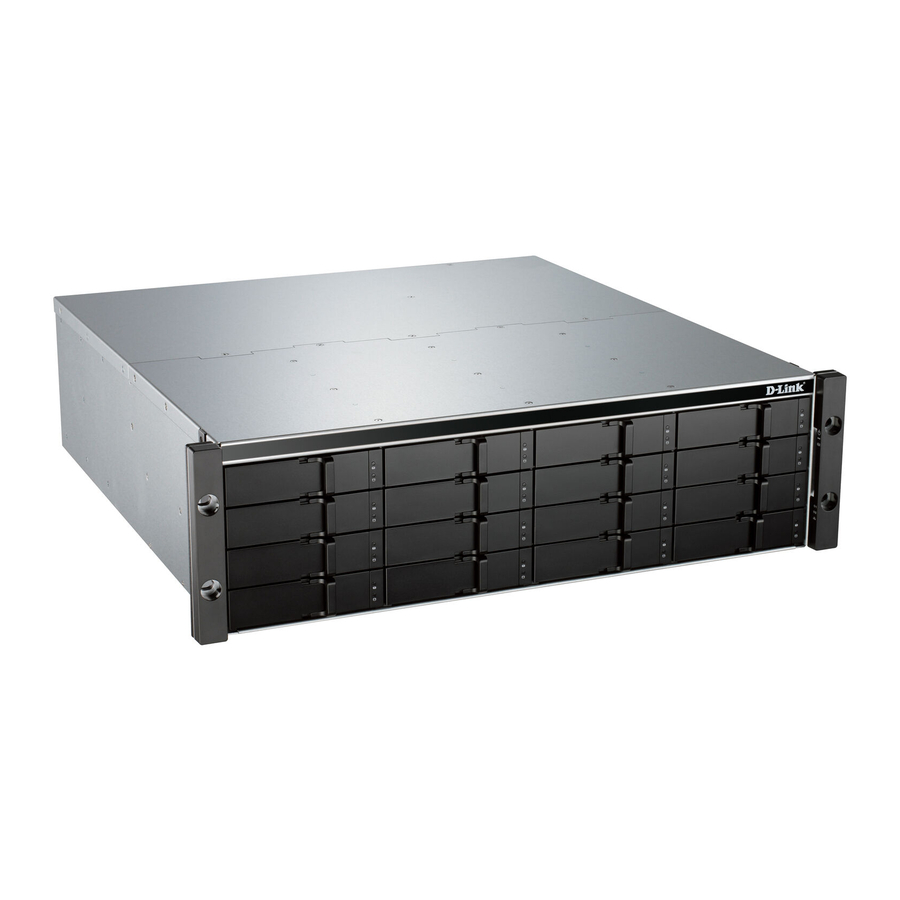
The DSN-4100/DSN-4200 storage system supports 16 3½-inch
SAS or SATA hard disk drives, and it is expandable up to 80
R
drives when used with DSN-4000 Expansion Arrays. It is
available with either four or eight 1-Gigbit iSCSI data ports.
T
Important Safety Information:
Before you install the DSN-4100/DSN-4200 storage system,
please read all documentation provided on the Product CD.
1
Unpack the Package Contents
G
Before unpacking, inspect the outer shipping carton for
damage. If any damage exists, file a claim with the carrier.
Remove the items from the shipping carton and compare them
U
to the packing list:
The DSN-4100/DSN-4200 storage system with 16 empty drive
carriers and mounting screws
I
One rack-mount kit in a box (includes rails, mounting
hardware, and instructions)
D
Two AC power cords for your country and one RS-232
diagnostic cable.
E
DSN-4100 / DSN-4200 - 8/2011
A Product CD containing installation and operation information,
and tutorials
Additional documentation (may include warranty information,
End-User License Agreement and product registration information)
If any contents are missing or damaged, please contact your
supplier. Save all of the packing materials in case you need to
return the unit.
2
What Else You Need
To complete the installation, you need the following items:
One or more computer systems that will act as the iSCSI initiators
(see step 6). Please refer to the D-Link Interoperability matrix
at: http://www.dlink.com for a list of compatible operating
systems, Network Interface Cards (NIC's), Host Bus Adapters
(HBA's), and network infrastructure
A static IP address and CAT5E or CAT6 network cable for each
1GbE iSCSI data port that will connect to your SAN
Independent AC power supply within 6 feet (2 meters) of the DSN-
4100/DSN-4200 storage system
SAS or SATA Disk drives: refer to the DSN-4000_Series Hardware
Reference Guide for instructions for drive installation.
Optional: In addition, a separate computer may be used as the
Management console (refer to Step 7)
Optional, but recommended: Uninterruptible power supply
Optional: Ethernet switch
3
Rack-Mount Instructions
The DSN-4100/DSN-4200 storage system can be mounted in a
standard 19-inch rack using the Rack-Mount Kit that is included
with the product. The rack cabinet must provide sufficient airflow
to the front and back of the DSN-4100/DSN-4200 storage system to
maintain correct cooling. It must include ventilation sufficient to
exhaust the heat generated by equipment in the rack. Always plan
the installation with the heaviest item on the bottom of rack.
A.
Ensure that power is not being applied by removing the AC power
cords and attaching the mounting hardware provided to the left
and right sides of the rack supporting the DSN-4100/DSN-4200
storage system.
B.
With the help of another person, slide the DSN-4100/DSN-4200
storage system into place and secure with the mounting hardware.
Copyright © 2011 D-Link, Inc., All Rights Reserved
4
Install the Enclosure and Hard Drives
The DSN-4100/DSN-4200 is a full iSCSI storage system, supporting
up to 80 3½-inch SAS or SATA hard disks drives. The Enclosure
Status and Drive Status LED's are on the front of the unit. The two
Power switches, Reset button, Mute Audio Alarm button, network
data ports, and port speed and activity LED's are on the rear panel.
Enclosure Status LED's
Drive Carriers
FrontView
iSCSI Data Ports
Management Port
Power Switches
Rear View (8-port configuration shown)
To install the hard drives into the drive carriers:
A.
Remove each empty drive carrier by squeezing the release latch
and pulling the drive carrier out of the enclosure.
Release Latch
Driver Carrier
B.
Place the hard drive into the drive carrier and attach it using four
mounting screws through the sides of the drive carrier (two screws
on each side).
C.
Gently insert the assembled drive carrier into the enclosure until
the latching mechanism engages with the chassis.
For more detailed information, please refer to the DSN-4000_Series
Hardware Reference Guide, which is available on the Product CD.
Reset & Mute Buttons
SAS
Expansion
Port
Status LED's
Page 1
Advertisement

Related Manuals for D-Link DSN-4100 Series


Summary of Contents for D-Link DSN-4100 Series
-
Page 1: What Else You Need
To complete the installation, you need the following items: One or more computer systems that will act as the iSCSI initiators DSN-4100/DSN-4200 (see step 6). Please refer to the D-Link Interoperability matrix at: http://www.dlink.com for a list of compatible operating Series Quick Start Guide systems, Network Interface Cards (NIC’s), Host Bus Adapters... - Page 2 No part of this document may be reproduced or transmitted in any form or by any means, electronic or mechanical, including photocopying and recording, or stored in a database or retrieval system, without the expressed written approval of D-Link, Inc.