Table of Contents
Advertisement
Available languages
Available languages
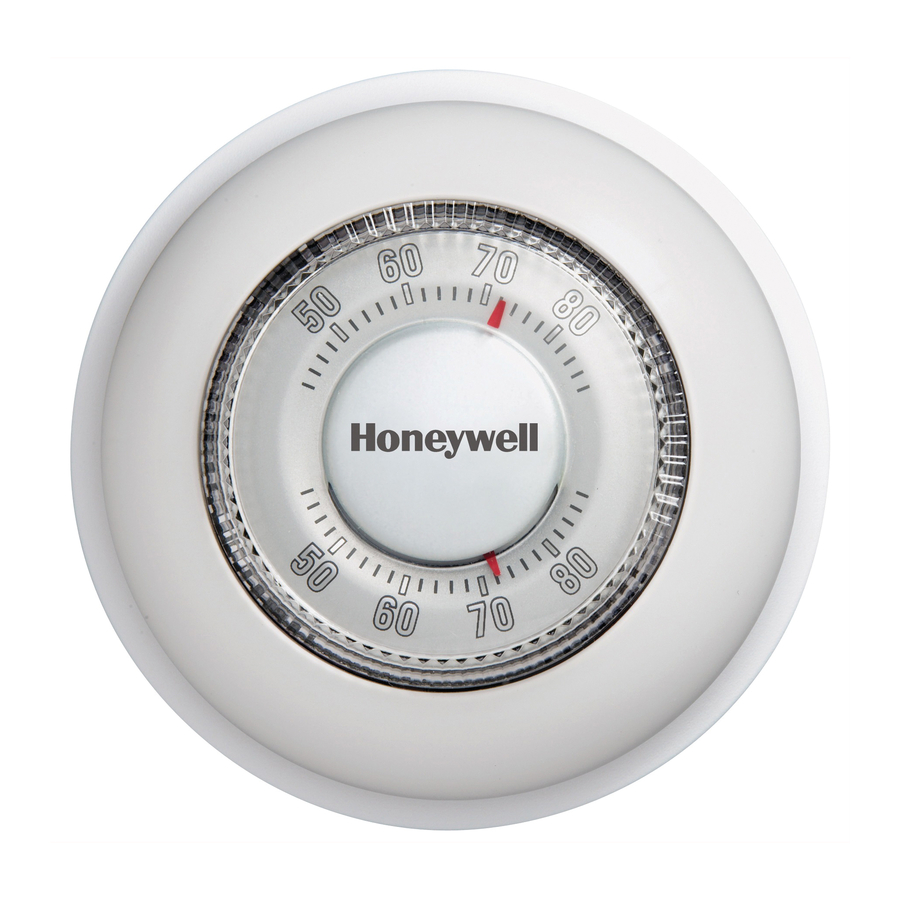
CT87N/CT87K
The Round
®
CT87K (24 Vac heating systems) • CT87N (24 Vac heating and cooling systems)
Getting started
Check package contents:
• Thermostat
• Coverplate
• Wall anchors & screws (2 each)
• Wire labels
This thermostat contains a Lithium battery which
may contain Perchlorate material.
Perchlorate Material—special handling may apply,
See www.dtsc.ca.gov/hazardouswaste/perchlorate
Remove your old thermostat
1. CAUTION TURN OFF POWER to system at the furnace, or at the fuse/circuit breaker
panel before you begin.
2. Remove cover and thermostat, but leave wallplate with wires attached.
Leave wallplate in place.
Old thermostat
® U.S. Registered Trademark. U.S. Patents 7,159,789;
7,159,790; 7,476,988 and other patents pending.
Copyright © 2009, Honeywell International Inc.
All rights reserved.
Owner's Manual
English: Page 1
Mode d'emploi
Français : Page 6
Manual de Uso
Español: Página 11
Before you begin, make sure
you have:
• No. 2 Phillips & small pocket
screwdrivers
• Hammer
• Level (optional)
• Pencil
• Drill and bit (3/16" for drywall, 7/32"
for plaster)
Is there a sealed tube containing
mercury? If so, see mercury notice
below.
Cover
MERCURY NOTICE
If your old thermostat contains
mercury, contact your local waste
management authority for proper
disposal instructions.
The Round
69-1959EFS-02
®
Advertisement
Table of Contents

Related Manuals for Honeywell The Round CT87K


Summary of Contents for Honeywell The Round CT87K
-
Page 1: Check Package Contents
Remove your old thermostat 1. CAUTION TURN OFF POWER to system at the furnace, or at the fuse/circuit breaker panel before you begin. 2. Remove cover and thermostat, but leave wallplate with wires attached. Leave wallplate in place. Old thermostat ®... -
Page 2: Label Wires And Remove Old Wallplate
Stop now and call 1-800-468-1502 for advice. Mark mounting position CT87N 69-1959EFS—02 CT87K For CT87K: If your old thermostat has 4 or more wires (not counting terminals C or C1), you may have purchased the wrong replacement thermostat. Stop now and call 1-800-468-1502 for advice. 1. Pull wires through base. -
Page 3: Mount Base
[3] Do not use C, X or B. Wrap bare end of wire with electrical tape. Wiring CT87K • 2-wire heat-only system: Connect one wire to R terminal, one wire to W terminal. • 3-wire hot water heat-only system: Connect wires R to R, W to W, and Y to Y terminals. -
Page 4: Set Cycle Rate Switches
CT87N/CT87K • Owner's Manual Set fan operation switch (CT87N) Move the switch to the proper setting for your system: F: For gas or oil heating systems, leave the fan operation switch in this factory-set position (for systems that control the fan in a call for heat). E: Change the switch to this setting for heat pump or electric heat systems. (This setting... -
Page 5: Operation
This warranty does not cover removal or reinstallation costs. This warranty shall not apply if it is shown by Honeywell that the defect or malfunction was caused by damage which occurred while the product was in the possession of a consumer. -
Page 6: Avant L'installation
2. Retirer le boîtier et le thermostat. Laisser la plaque murale et les fils qui y sont fixés. Laisser la plaque de montage en place. Ancien thermostat ® Marque déposée aux É.-U. Brevets É.-U. N 7,159,790; 7,476,988 et autres brevets en instance. © 2009 Honeywell International Inc. Tous droits réservés. Owner’s Manual English: Page 1 Mode d’emploi Français : Page 6 Manual de Uso Español: Página 11... - Page 7 Arrêter l'installation et demander conseil au 1 800 468-1502. Installation de la plaque de raccordement CT87N English: Page 1 • Français : CT87K CT87K 4 fils ou plus (sans compter C ou C1), le thermostat de rechange ne convient peu-être pas à l'application. Arrêter l'installation et demander conseil au 1 800 468-1502. 1. Tirer les fils par la base.
- Page 8 CT87N/CT87K • Mode d’emploi Installation de la plaque murale et de la plaque de raccordement 1. Percer des trous aux endroits marqués au crayon (3/16 po pour les cloisons sèches, 7/32 po pour le plâtre). 2. Enfoncer les chevilles avec un marteau jusqu'à ce qu'elles soient de niveau avec le mur. 3. [Facultatif] Tirer les fils par la plaque de recouvrement (utilisée pour dissimuler les marques laissées par l'ancien thermostat).
- Page 9 E : Déplacer le commutateur à cette position si le système est une thermopompe ou un appareil de chauffage électrique. (À cette position, le thermostat commande la mise en marche du ventilateur lors d’une demande de chaleur si un fil du ventilateur est raccordé à la borne G.) Réglages du nombre de cycles Montage du thermostat...
-
Page 10: Réglage De La Température
(i) le retourner, accompagné d’une preuve d’achat indiquant la date d’achat, au détaillant auprès de qui il a été acheté, ou (ii) s’adresser aux Services à la clientèle de Honeywell en composant le 1 800 468-1502. Les Services à la clientèle détermineront alors si le produit doit être retourné... - Page 11 Deje la placa de montaje en su lugar. Termostato viejo ® Marca registrada de los EE. UU. Patente en EE.UU: Nº 7,159,789; 7,159,790; 7,476,988 y otras patentes pendientes. © 2009, Honeywell International Inc. Todos los derechos reservados. Owner’s Manual English: Page 1 Mode d’emploi Français : Page 6 Manual de Uso Español: Página 11...
- Page 12 2. Nivele la base si lo desea. 3. Marque las posiciones de ambos orificios. CT87K Para el modelo CT87K: Si su viejo termóstato tiene 4 o más cables (no contando los terminales C o C1), usted pudo haber comprado el termóstato incorrecto del reemplazo. Interrumpa la instalación y llame al 1-800-468-1502 para pedir consejo. CT87K...
- Page 13 B con la cinta eléctrica. No utilice los cables de C, de X o de B. Envuelva el extremo de cables con la cinta eléctrica. Cableado CT87K • Sistema de calefacción de dos cables: Conecte un cable con el terminal de R, un cable al terminal de W.
-
Page 14: Finalice La Instalación
CT87N/CT87K • Manual de Uso Ajuste de funcionamiento del ventilador (CT87N) Fije el interruptor para su sistema: F: Para los sistemas de calefacción a gas o aceite, deje el interruptor de fun-cionamiento del ventilador en la posición original de fábrica (esta posición es para los sistemas que con- trolan el ventilador cuando hay demanda de calefacción). E: Cambie el interruptor a esta posición para los sistemas de calefacción eléctricos o de bombeo de calor. (Esta posición es para los sistemas... -
Page 15: Instrucciones De Funcionamiento
No haga funcionar el sistema de refrigeración cuando la temperatura exterior sea inferior a 50°F (10°C). Garantía limitada de un año Honeywell garantiza que, a excepción de la batería y en condi- ciones de uso y servicio normales, este producto no tendrá defectos de fabricación ni de materiales durante un (1) año a partir de la fecha de compra por parte del consumidor. Si durante ese período de garantía, el producto resulta defectuoso... -
Page 16: Necesita Ayuda
CT87N/CT87K • Owner's Manual For assistance with this product please visit or call Honeywell Customer Care toll-free at Pour obtenir de l’aide et apprendre à faire fonctionner votre produit Honeywell, veuillez consulter le site Web ou vous adresser aux Services à la clientèle de Honeywell en composant le Consulte sobre este producto en o llamando sin cargo a atención al cliente de Honeywell 1-800-468-1502 Automation and Control Solutions Honeywell International Inc. 1985 Douglas Drive North Golden Valley, MN 55422 http://yourhome.honeywell.com...