Yamaha YZF-R1 Assembly Instructions
Paper craft
Hide thumbs
Also See for YZF-R1:
- Service manual (808 pages) ,
- Owner's manual (130 pages) ,
- Manual (82 pages)
Advertisement
Quick Links
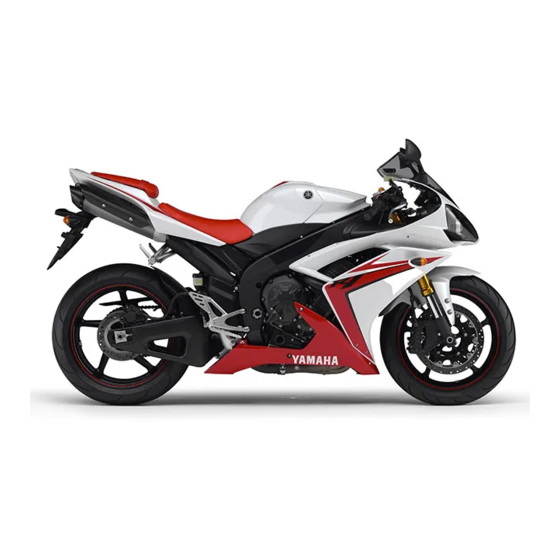
Thank you for downloading the "YZF-R1"paper craft model. By simply
following this manual while referring to the names and numbers shown
on the parts sheets, you can assemble an authentic-looking replica of
the YZF-R1.
Assembly instructions: Twenty A4-sized sheets.
Paper craft: Twenty-two A4-sized sheets with 312 parts in all
These instructions apply only to the "YZF-R1".
are easier to work with when printed out on strong, thick paper (like postcard
stock).
These Paper Craft parts
2007.11.12
Advertisement

Related Manuals for Yamaha YZF-R1


Summary of Contents for Yamaha YZF-R1
- Page 1 Thank you for downloading the "YZF-R1"paper craft model. By simply following this manual while referring to the names and numbers shown on the parts sheets, you can assemble an authentic-looking replica of the YZF-R1. Assembly instructions: Twenty A4-sized sheets. Paper craft: Twenty-two A4-sized sheets with 312 parts in all These instructions apply only to the "YZF-R1".
-
Page 2: How To Assemble
Note To begin Basic working method and markings Tools and materials needed -Ruler - scissors - blade cutter or "Exacto-knife" - awl or other pointed tool (for making a folding crease) - felt pen Solid lines - pin set - glue - hand towel ( for cleaning your fingers) - Fold along these lines. - Page 3 Glue in order from on the graphic.
- Page 4 Glue in order from on the graphic. Glue in order from on the graphic. *Assemble both sides. The diagram shows the left side. The number inside the ( ) is for the right side.
- Page 5 Glue in order from on the graphic. DO NOT glue the upper and the lower parts of the steering column at this stage.