
Related Manuals for GE Z-Wave 45606

Summary of Contents for GE Z-Wave 45606
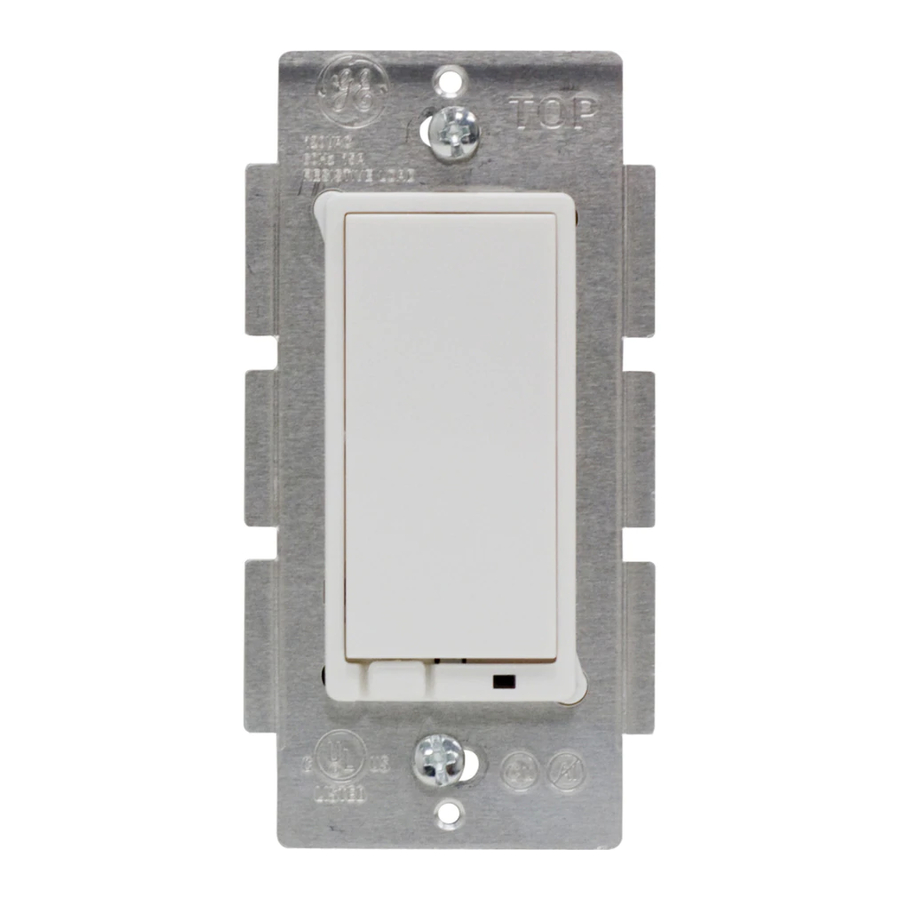
- Page 1 Wireless Lighting Control On/Off/Dim Dimmer Switch Z-Wave Certified ® Wireless Lighting Control ™ 45606...
- Page 2 Introduction: Thank you for your purchase of a GE Z-Wave® control device. Z-Wave technology is designed to automate lighting/home control and provide easy remote operation of all your Z-wave enabled devices. The GE Z-Wave product family includes a variety of devices to control lighting in your home. It is up...
- Page 3 Canada. If you are unsure or uncomfortable about performing this installation consult a qualified electrician. This dimmer switch is designed for use only with permanently installed incandescent lighting fixtures. Do not use it to control fluorescent lighting, transformer supplied lighting/appliances, motorized appliances or receptacles.
- Page 4 For these reasons, we recommend the following: Assign Z-Wave controlled appliances to device numbers 10 – 18 on the GE remote. The likelihood of unintentionally turning on the appliance will be reduced significantly because the “Shift” button will need to be pressed before pressing device numbers 10-18.
- Page 5 Z-Wave enabled devices installed in the control network. Ge Z-Wave Network Every Z-Wave enabled device acts as a signal repeater and multiple devices result in more possible transmission routes which helps eliminate “RF dead-spots”.
- Page 6 Effects of Home Construction on Wireless Range Between Z-Wave Enabled Devices. Note: The distances shown in the table below are typical examples. Actual performance in your home will vary. From the Remote (or repeating Z-Wave module) to destination device: Number of Walls or Obstacles * For Plug-in Modules or In-Wall Devices Installed in Plastic Junction...
- Page 7 900MHz frequency range may cause interference and limit Z-Wave functionality. Many 900MHz products have a switch to select channel “A” or “B”. You may find that one of these channels will cause less interference than the other.
- Page 8 The maximum load rating (500W) is provided when installed in a single gang box with the full heat sink. Multiple 45606 Dimmer Switches may be installed in dual or triple gang boxes and, if necessary, one or both sides of the heat sink may be removed by bending it at the score lines.
- Page 9 White Green (Neutral Not connected to 45606) Black (Hot or Load) Green or Bare Black Black (HOT or Load)
- Page 10 POWER OFF to avoid personal injury and/or damage to the switch. Shut off power to the circuit at fuse box or circuit breaker. Remove wall plate. ! Warning: Verify power is OFF to switch box before continuing. Remove the switch mounting screws.
- Page 11 Z-Wave controlled outlet. Use your primary controller to include the dimmer switch in the home control network after the dimmer switch is wired as shown in the above diagram,. It can then be added to groups and/or lighting scenes and managed remotely to control the On/Off status and brightness level of the connected incandescent lighting.
- Page 12 During normal operation, there is a small amount of power passing through the switch to the load even when the dimmer switch is turned off. The 45606 has an air gap switch on the lower left side (see diagram for location) to completely disconnect power to the load.
- Page 13 If the controller indicates the action was unsuccessful, please repeat the procedure. - Once the dimmer switch is part of the network, the same basic procedure is used to add the dimmer switch to groups & scenes or change advanced functions. Refer to the...
- Page 14 Please Note: After a power failure, the 45606 dimmer switch returns to OFF state. LED Indicator The LED will be lit when the connected lighting is OFF. This is the factory default setting and can be changed if your primary controller supports the node configuration function (see...
- Page 15 LED Light When shipped from the factory, the LED on the 45606 is set to turn ON when the connected light is turned OFF. This allows the LED to indicate the switch’s location in a dark room. To make the LED turn ON when the light is turned ON, change parameter 3’s value...
- Page 16 Please note: Every “Dim” command includes a start level embedded in it. The 45606 can be set to ignore the start level that is part of the dim command. Setting parameter 5 to a value of 0 will cause the 45606 to dim or brighten from the start level embedded in the command.
-
Page 17: Restoring Factory Defaults
Restoring Factory Defaults All Configuration Parameters can all be restored to their factory default settings by using your master controller to reset the device. Interoperability with Z-Wave™ Devices A Z-Wave™ network can integrate devices of various classes, and these devices can be made by different manufacturers. - Page 18 U2Z45606-7 The Federal Communication Commission Radio Frequency Interference Statement includes the following paragraph: The equipment has been tested and found to comply with the limits for a Class B Digital Device, pursuant to part 15 of the FCC Rules. These limits are designed to provide reasonable protection against harmful interference in a residential installation.
- Page 19 RF exposure requirements and void user’s authority to operate the device. Compliance with IC Rules and Regulations IC: 6924A-45606A7 Jasco Products Company Model: 45606 This Class B digital device complies with Canadian ICES-003. SPECIFICATIONS Power: 120 VAC, 60 Hz. Signal (Frequency): 908.42 MHz.
- Page 20 General Electric Company and is used under license to Jasco Products Company LLC, 10 E Memorial Rd., Oklahoma GE SmartHome ™ City, Oklahoma 73114 Made in China Hecho en China All brand names shown are trademarks of their respective owners.