Advertisement
Quick Links
SmartRack
Table of Contents
Introduction
Parts List
Installation
Warranty & Warranty Registration
201204262-93-2958-EN.indd 1
Owner's Manual
™
Model: SRTHERMDUCT
1111 W. 35th Street, Chicago, IL 60609 USA
www.tripplite.com/support
Copyright © 2012 Tripp Lite. All rights reserved.
Accessories
1
2
2
3
7
6/4/2012 2:39:46 PM
Advertisement

Related Manuals for Tripp Lite SRTHERMDUCT


Summary of Contents for Tripp Lite SRTHERMDUCT
- Page 1 Owner’s Manual SmartRack Accessories ™ Model: SRTHERMDUCT Table of Contents Introduction Parts List Installation Warranty & Warranty Registration 1111 W. 35th Street, Chicago, IL 60609 USA www.tripplite.com/support Copyright © 2012 Tripp Lite. All rights reserved. 201204262-93-2958-EN.indd 1 6/4/2012 2:39:46 PM...
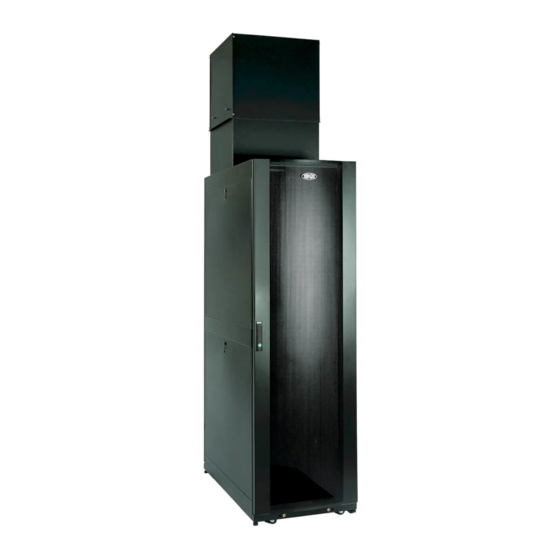
- Page 2 Introduction Tripp Lite’s SRTHERMDUCT is a 3 piece, adjustable venting and cable management system that will fit on top of standard 42 or 48U rack enclosures. The SRTHERMDUCT allows heat built up in a typical rack configuration to be vented upwards into your facility’s return air duct or other standard ventilation system, helping your equipment perform at its peak while reducing your facility’s cooling and...
- Page 3 Installation Assembling the Chimney Base Position the 4 side panels of the Chimney Base in accordance with Diagram and secure the attachments with 8 of the M4 nuts that screw onto the pre-installed threaded posts. Once assembled, this piece can be put aside for later use. Assembling the Adjustable Chimney Slider Position the 4 side panels of the Adjustable Chimney Slider in accordance with Diagram...
- Page 4 Place the entire panel onto the top of your rack enclosure as shown in Diagram . Note: The SRTHERMDUCT will fit most standard rack installations, however, it is up to the user to determine the fitness and configuration of their rack enclosure before installation.
- Page 5 Installation continued Sealing the Rear Doors of the Enclosure Install the included Tubular and Flat Door Seals and Magnetic Vinyl Sheets to the rear doors of the rack enclosure. This is necessary to ensure proper air flow through the front of the enclosure and up the chimney. Remove all rubber grommets and bumpers before installing the Door Seals and the Magnetic Vinyl Sheets.
- Page 6 Installation continued Sealing the Rear Doors of the Enclosure continued After installing the Tubular Door Seal, attach the Magnetic Vinyl Sheets to the rear doors as shown Rectangular 252mm x 476mm Magnetic Vinyl Sheet Cutout 252mm x 476mm x 325mm Magnetic Vinyl Sheet Cutout 252mm x 476mm x 452mm Magnetic Vinyl Sheet Rectangular 252mm x 137mm Magnetic Vinyl Sheet (48U rack enclosure only.
-
Page 7: Limited Warranty
WARRANTY REGISTRATION Visit www.tripplite.com/warranty today to register the warranty for your new Tripp Lite product. You’ll be automatically entered into a drawing for a chance to win a FREE Tripp Lite product!* * No purchase necessary. Void where prohibited. Some restrictions apply. See website for details. - Page 8 1111 W. 35th Street, Chicago, IL 60609 USA www.tripplite.com/support 201204262 • 93-2958-EN 201204262-93-2958-EN.indd 8 6/4/2012 2:39:55 PM...