NETGEAR RangeMax NEXT WN311B Installation Manual
Wireless pci adapter
Hide thumbs
Also See for RangeMax NEXT WN311B:
- User manual (54 pages) ,
- Installation manual (2 pages) ,
- Brochure (2 pages)
Advertisement
Quick Links
Download this manual
See also:
User Manual
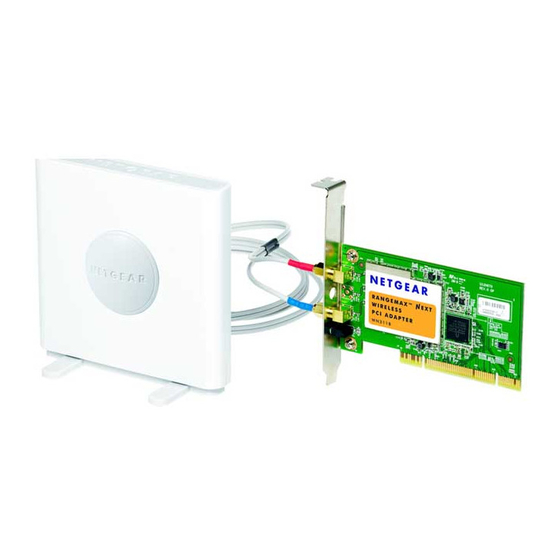
NETGEAR RangeMax™ NEXT Wireless PCI Adapter WN311B
Installation
These setup instructions assume that you will connect to an access point or wireless router.
Estimated completion time: 10 minutes.
1. First, install the WN311B
software.
Insert the Resource CD. If the CD main page
does not appear, double click Autorun.exe on
the CD.
a.
Click Install the Software. The Check
for Updates window opens.
b.
If you are connected to the Internet, click
Check for Updates. If not, you can
choose to install from the CD.
c.
Follow the NETGEAR Smart Wizard steps and click Next to continue.
When the software has been installed, proceed to the next step.
2. Now, insert the wireless PCI adapter.
a.
When prompted by the Connection
Wizard, shut down the computer.
b.
Unplug the computer, open the case, and
install the Wireless PCI Adapter into a PCI
slot.
c.
Connect the antenna to the adapter and
position the antenna in the up position.
d.
Close the case, plug the power cord back in, and restart your computer.
You will be prompted to select the country where you are located.
e.
Select the country and click Agree.
3. Use the Smart Wizard to set up your wireless PCI adapter.
a.
Windows 2000 users go to Step b.
Windows XP or Vista users can set up the
wireless PCI adapter either with the
NETGEAR Smart Wizard (recommended)
or the Windows configuration utilities.
•
NETGEAR Smart Wizard: Reveals
more information about each network
and makes it easier to troubleshoot
network connection problems.
•
Windows configuration utilities: See the Windows documentation or
"Using Windows XP and Vista Wireless Configuration Utilities" at:
http://documentation.netgear.com/reference/enu/winzerocfg/index.htm
b.
Click Next to accept the Smart Wizard.
You will be prompted to let the wizard help
you connect to a network (recommended).
c.
Click Next to accept.
4. Connect to a wireless network.
The next screen that displays depends on whether there is a wireless router or access
point at your location that supports Push 'N' Connect. NETGEAR's Push 'N' Connect
feature is based on the Wi-Fi Protected Setup (WPS) standard.
Note: The WN311B Wireless PCI Adapter only supports WPS on Windows XP, not
Windows 2000 or Vista.
Hidden Network
The wireless networks in your area do not
One or more wireless networks with WPS
support (WPS).
are in your area.
a.
Follow the instructions on the Connecting to your wireless network screen:
•
If there are no WPS networks, select a wireless network from the drop-down
list.
If the network uses security, then the Smart Wizard detects it.
Note: Hidden networks do not broadcast the Network Name (SSID). These
networks are in the drop-down list, but the Network Name (SSID) is blank.
•
If you are using WPS, click Next to continue.
WPS allows you to click a button or create a PIN number to securely connect
to a wireless router or access point. Both the wireless adapter and the router
or access point must support WPS. For more information about WPS, see the
NETGEAR RangeMax™ NEXT Wireless PCI Adapter Model WN311B User
Manual on the Resource CD.
b.
Follow the Smart Wizard steps to connect to a network and to save a Profile.
c.
After you have reviewed the settings, click Finish.
The WN311B
icon appears in the system tray and on the desktop; and the Settings
page opens. The wizard initiates your wireless connection. It could take up to a minute for
your wireless connection to be established. Check the status bar as described in Using the
Status Bar on the other side of this card.
Advertisement

Related Manuals for NETGEAR RangeMax NEXT WN311B


Summary of Contents for NETGEAR RangeMax NEXT WN311B
- Page 1 Manual on the Resource CD. Wizard, shut down the computer. Note: The WN311B Wireless PCI Adapter only supports WPS on Windows XP, not Follow the Smart Wizard steps to connect to a network and to save a Profile. Unplug the computer, open the case, and Windows 2000 or Vista.
- Page 2 © 2008 by NETGEAR, Inc. All rights reserved. NETGEAR and the NETGEAR logo are registered trademarks of NETGEAR, Inc. in the United States and/or other countries. Other brand and product names are trademarks or registered trademarks of their respective holders. Information is subject to change without notice.