Table of Contents
Advertisement
Advertisement
Table of Contents

Related Manuals for Hitachi AX-M76


Summary of Contents for Hitachi AX-M76
-
Page 2: Important
IMPORTANT The mains lead on this equipment may be supplied with a moulded plug incorporating a fuse, the value of which is indicated on the pin face of the plug. Should the fuse need to be replaced, an ASTA or BSI approved BS 1362 fuse must be used of the same rating. If the fuse cover is detachable never use the plug with the cover omitted. -
Page 3: Important Cautions
Important Cautions Thank you for purchasing this system. Please read these operating instructions before operating the unit. The operating instructions should be retained for future reference. For your safety Laser Product CAUTION This product is equipped with low power la- RISK OF ELECTRIC SHOCK ser equipment. -
Page 4: Correct Handling Of Batteries
DON’T place hot objects or naked flame sources such as lighted candles or nightlights on, or close to equipment. High temperatures can melt plastic and lead to fires. DON’T use makeshift stands and NEVER fix legs with wood screws - to ensure complete safety always fit the manufacturer’s approved stand or legs with the fixings provided according to the instructions. -
Page 5: Table Of Contents
Table of Contents IMPORTANT ............................1 Important Cautions ..........................2 For your safety ..............................2 Precautions ................................2 Correct Handling of Batteries ..........................3 Package Contents ..........................5 Control Locations ..........................6 The CD Player ................................ 6 The Amplifier ................................6 The Remote Control ............................... -
Page 6: Package Contents
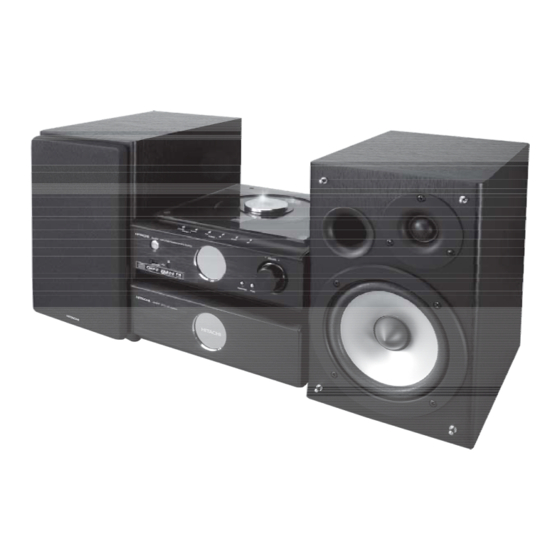
Package Contents Make sure all of the following contents are included. The unit Speakers x 2 Remote control (P.N.: AXM76P0001) Instruction Manual Addendum Speaker leads x2 (P.N.: AXM76P0002) (P.N.: AXM76P0003) (P.N.: AXM76P0004) Ribbon cable FM Antenna (P.N.: AXM76P0006) (P.N.: AXM76P0005) - 5 -... -
Page 7: Control Locations
Control Locations The CD Player Standby USB Port Remote Sensor VFD(Vacuum Fluorescent Display) Display Lens Function Preset Equalizer Volume Control Knob Disc Door Previous/Search Backward Channel Select Backward - PRESET 10. Next/Search Forward Channel Select Forward PRESET + 11. Play/Pause Tuning Backward - TUNING 12. -
Page 8: The Remote Control
The Remote Control Standby CD Function Tuner Function Random Intro Dimmer Preset Equalizer P-EQ Clock Next Channel Select Forward 10. Search Backward Tuning Backward 11. Previous Channel Select Backward 12. Play/Pause 13. Album Up ALB + 14. Album Down ALB - 15. -
Page 9: Connections
Connections Caution: Make all connections before plugging the system into an AC power outlet. Connecting the Speakers Connect the speaker cords between the terminals as shown below. Connect the cords with black sleeves at the ends and tracer marks to the (-) (G) terminals and cords with red sleeves at the ends and tracer marks to the (+) (L) (R) terminals. -
Page 10: Connecting The Ac Power Plug
Connecting the AC Power Plug Insert the AC power plug into a wall outlet, and your system is ready to use. Caution: Be sure to unplug the power plug from the outlet when going out or when the system is not in use for an extended period of time. -
Page 11: Listening To Radio Broadcasts
Listening to Radio Broadcasts You can listen to FM stations. Stations can be tuned in manually, automatically, or from preset memory storage. Caution: Before listening to the radio, please check that the FM antenna is correctly connected and adjusted for length and direction or that the unit is connected to an external FM antenna. Tuning in a Station 1. -
Page 12: Rds (Radio Data System) Reception
RDS (Radio Data System) Reception Many FM stations are broadcasting added data compatible with RDS. This radio set offers convenient functions using such data. PS (Program Service Name) When an RDS station is received, the “RDS” and the name of that station will be displayed. When RDS display button ( ) on the remote control is pressed during PS display, the CT is DISPLAY... -
Page 13: Program Play
Program Play 1. Insert a disc and press button when it starts playing. 2. Press the program button ( ) on the remote control. PROG 3. Press the buttons on the front of the product or 0-9, 10+, buttons on the remote control to select the desired track number and press the program button ( ) to PROG... -
Page 14: Playing Repeatedly
5. Press the album up button ( ) or album down button ( ) on the remote control to select ALB+ ALB- the next/previous album, and play the first track of this album. If playing has ended, press the album up button ( ) or album down button ( ) on the ALB+... -
Page 15: Setting The Clock Manually
Setting the Clock Manually The built-in clock shows the time on the display. 1. In standby mode, press the clock button ( ) twice, the VFD will display SET CLOCK and the CLOCK hour indicator will blink. 2. Set the hour with the button. -
Page 16: Setting The Daily On Timer
Setting the Daily on Timer You can use the setting timer to make the unit automatically turn on at a certain time everyday from standby. When the setting timer is on, the timer indicator “ ” will be displayed. But the clock must be correctly set for the timer to operate correctly. -
Page 17: Troubleshooting
Troubleshooting If you are having a problem with your system, check this list for a possible solution before calling for service. If you cannot solve the problem from the hints given here, or the system has been physically damaged, call a qualified person, such as your dealer, for service. Symptom Possible Cause Action... - Page 18 The mark is in compliance with the Waste Electrical and Electronic Equipment Directive 2002/96/EC (WEEE). The mark indicates the requirement NOT to dispose the equipment including any spent or discarded batteries as unsorted municipal waste, but use the return and collection systems available. If the batteries or accumulators included with this equipment, display the chemical symbol Hg, Cd, or Pb, then it means that the battery has a heavy metal content of more than 0.0005% Mercury, or more than 0.002% Cadmium or more than, 0.004% Lead.