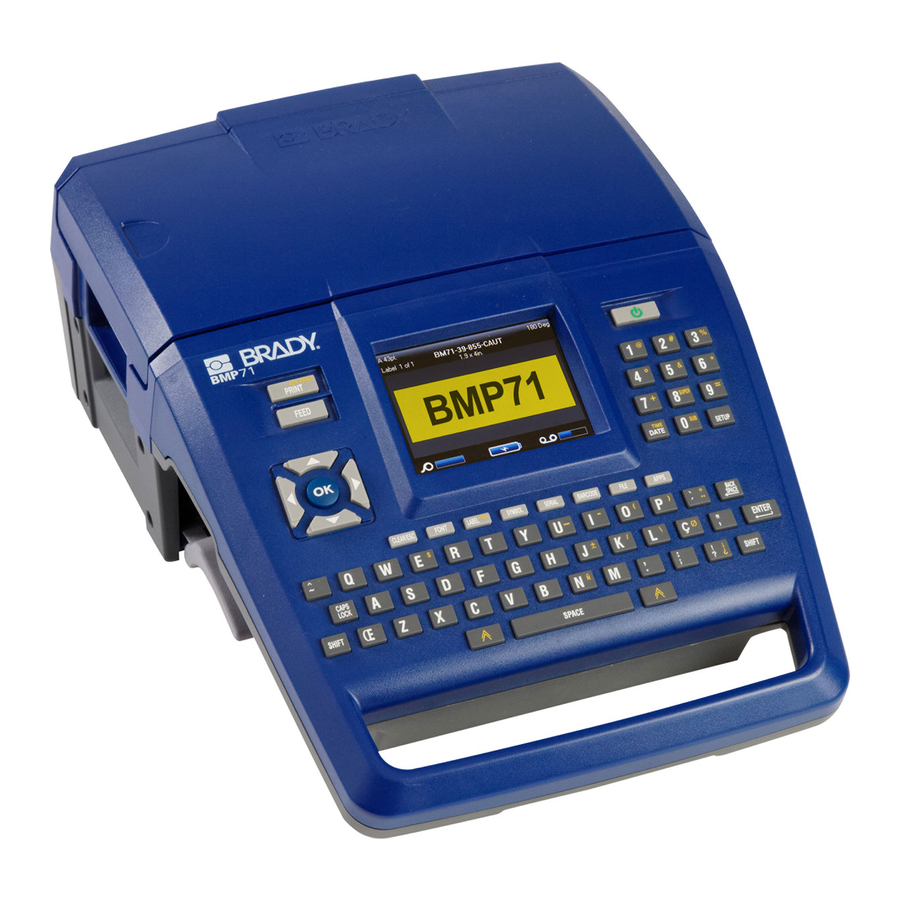
Brady BMP71 Tutorial
Hide thumbs
Also See for BMP71:
- User manual (147 pages) ,
- Manual (32 pages) ,
- Quick start manual (15 pages)
Advertisement
Table of Contents
- 1 Table of Contents
- 2 Lesson 1. Create a 2-Line Label
- 3 Lesson 2. Adding Symbols, Subscript, Frame
- 4 Deleting Text
- 5 Lesson 3. Adding Serialization
- 6 Lesson 4. Save and Open a File
- 7 Lesson 5. Create Multiple Labels
- 8 Lesson 6. Rotating Data
- 9 Lesson 7. Barcodes
- 10 Lesson 8. Add Areas
- Download this manual
Advertisement
Table of Contents

Related Manuals for Brady BMP71


Summary of Contents for Brady BMP71
- Page 1 LABEL PRINTER TUTORIAL LABEL PRINTER MOBILE P...
-
Page 2: Table Of Contents
Lesson 8. Add Areas ........19 8/12/09 BMP71 Tutorial YXXXXXX... -
Page 4: Lesson 1. Create A 2-Line Label
Highlight Text Using up/down navigation keys, place the cursor on the second line. Using left/right navigation keys, place the cursor at the beginning or end of the line. Hold [Shift] while pressing left/right navigation keys, highlight the word: WATER. BMP71 Tutorial... - Page 5 Press left or right navigation key to remove highlighting. Custom Font Size With the cursor still on the word WATER, press Font Using up/down navigation keys, choose: Custom. Enter: 18. Press Enter or OK Preview the Label Press Print Preview BMP71 Tutorial...
- Page 6 Lesson 1. Create a 2-Line Label Depending on media used, your label should look like this: Press Clear/Esc to exit Print Preview. Note Note The contents of this lesson are used in Lesson 2. DO NOT CLEAR THE CONTENTS OF THIS LESSON! BMP71 Tutorial...
-
Page 7: Lesson 2. Adding Symbols, Subscript, Frame
OK Using navigation keys, place the cursor at the end of line 1. Press Symbol Choose category: Arrows. Press Enter or OK Using navigation keys, select a right pointing arrow from the grid. Press Enter or OK BMP71 Tutorial... -
Page 8: Deleting Text
(Continually press the navigation keys until the FRAME option comes into view.) Using up/down navigation keys, choose: Rect Wide. Press Enter or OK Note Note The frame will not display on the editing screen, but can be viewed in Print Preview or upon printing the label. BMP71 Tutorial... - Page 9 Lesson 2. Adding Symbols, Subscript, Frame Print the Label Press Print Your label should look like this: Clear Label Press Clear/Esc Choose Delete All Labels. Press Enter or OK Press Enter or OK again to confirm the deletion. BMP71 Tutorial...
-
Page 10: Lesson 3. Adding Serialization
Press down navigation key to move to the Increment field. In the Increment field, enter: 3. Navigate to the OK button at the bottom of the screen and press Enter How many labels are there? ____________ (Check the status bar.) BMP71 Tutorial... - Page 11 Pressing [OK] or [ENTER} on the OK button of the Adv Print dialog box will immediately print the labels using the selected parameters of Adv Print. Print Labels Press Print Notice how four labels print, the numbers incremented by 3. BMP71 Tutorial...
- Page 12 Press down navigation key to move to the Increment field of Sequence 2 and enter: 2 Navigate to the OK button at the bottom of the screen and press Enter Print Labels Press Print Your labels, upon printout, should look like this: BMP71 Tutorial...
- Page 13 To view the other labels in the serialization, within Print Preview: Press up/down navigation keys. Press Clear/Esc to exit Print Preview. Note Note The contents of this lesson are used in Lesson 4. DO NOT CLEAR THE CONTENTS OF THIS LESSON! BMP71 Tutorial...
-
Page 14: Lesson 4. Save And Open A File
Press Clear/Esc Choose Delete All Labels. Press Enter or OK Press Enter or OK again to confirm the deletion. Open a File Press File Choose Open. Navigate to Serial. (It should already be highlighted.) Press Enter or OK BMP71 Tutorial... -
Page 15: Lesson 5. Create Multiple Labels
On the second label, enter: TOXIC. Press Label Choose Add and press Enter or OK On this 3rd label, enter: HAZARD Use the following shortcut to add another label: Press Add Label On this 4th label, enter: WARNING BMP71 Tutorial... - Page 16 To move to the previous label, press Previous Label To move to the next label, press Next Label Clear Label Press Clear/Esc Choose Delete All Labels. Press Enter or OK Press Enter or OK again to confirm the deletion. BMP71 Tutorial...
-
Page 17: Lesson 6. Rotating Data
Formatting, Label section (starting on page 51) of the user’s manual. Rotate Data On a blank screen, enter: 123 Press Print After printing, press Label Choose Rotate. Choose 180°. Press Enter or OK Press Print Compare the two labels. BMP71 Tutorial... -
Page 18: Lesson 7. Barcodes
Use navigation keys to access the Human Readable option box. Press Enter or OK Use up/down navigation keys to select: Below. Press Enter or OK Navigate to the OK button at the bottom of the screen and press Enter Press Clear/Esc to exit the Setup menus. BMP71 Tutorial... - Page 19 Enter the data: 1234578 Press Barcode Press Enter , then type the word: WHITE Edit the Barcode Navigate to the left of the number 7 in the barcode. Enter: 6. Your label should look like this: Print Label Press Print BMP71 Tutorial...
-
Page 20: Lesson 8. Add Areas
Choose Add. Press Enter or OK The editing screen displays only one area at a time. The newly added area displays as a blank screen. Press Font Enter: 36 Notice how the Custom menu option is immediately accessed. BMP71 Tutorial... - Page 21 OK Move Between Areas Press Area Choose Goto. Enter: 1 Press Enter or OK Change Justification Press Font Enter: 72, then press Enter or OK Press Area Choose V. Justify. Choose Top, then press Enter or OK BMP71 Tutorial...
- Page 22 Frame an Area Use the following shortcut to move to the previous area: Press Previous Area You should be on Area #2. Check the status bar for confirmation. Press Area Choose Frame. Choose Rounded Medium, then press Enter or OK BMP71 Tutorial...
- Page 23 Enter: 3 Press Enter or OK Press Clear/Esc Choose Clear Area Data, then press Enter or OK Notice the data is cleared from the area, but the area remains. (Check the status bar. You should still have three areas.) BMP71 Tutorial...
- Page 24 Lesson 8. Add Areas Clear Label Press Clear/Esc Choose Use Label Defaults, then press Enter or OK Notice all data and areas are removed. (Check the status bar. You should have one label with only one area.) BMP71 Tutorial...