Advertisement
Table of Contents
Contents
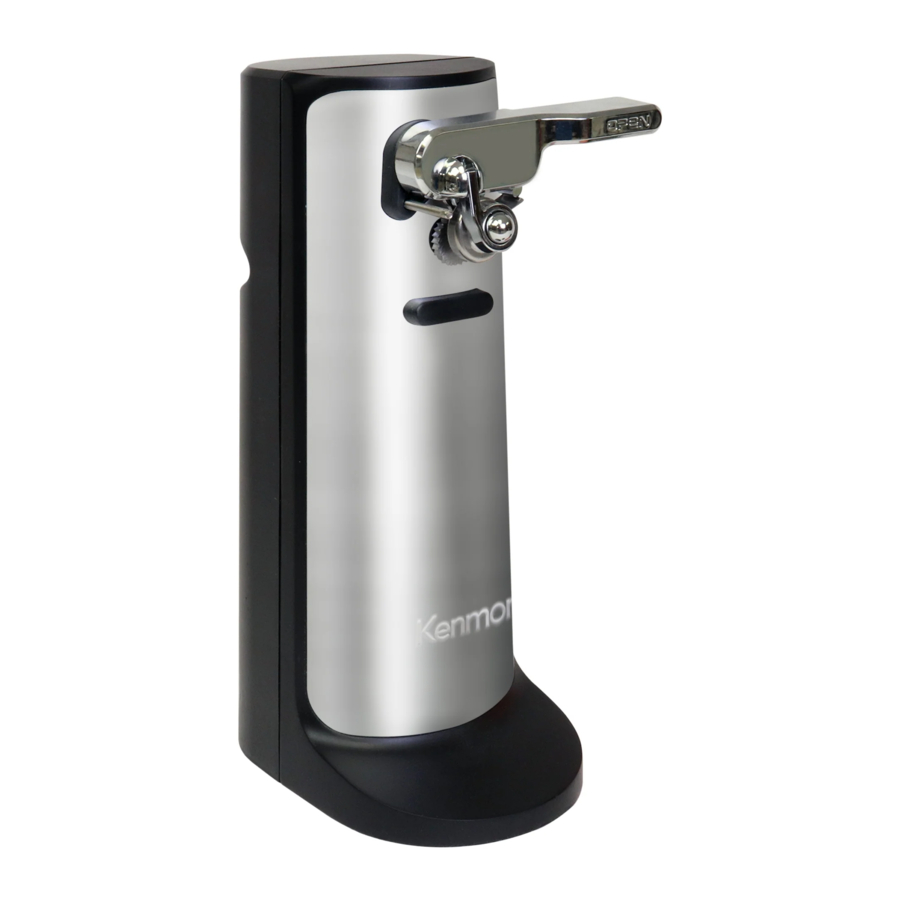
Kenmore KKCO - Electric Can Opener Manual
PARTS AND FEATURES

- Blade assembly
- Locating pin
- Magnetic lid holder
- Can rest
- Piercing lever
- Cutting blade
- Drive wheel
- Bottle opener
- Knife sharpener
- Cord storage compartment
SET UP AND ASSEMBLY
Read these instructions thoroughly and save for future reference. Carefully unpack the appliance from its packaging and check that all parts are present. Remove any promotional labels or stickers and safely dispose of plastic bags or small pieces that could present a suffocation or choking hazard.
- Wipe the electric can opener base and blade assembly with a clean, damp cloth to remove any dirt or dust. Do not immerse any part of the can opener, power cord, or electrical plug in any liquid. Do not use abrasive cleansers or scouring pads.
- Assemble the can opener: Align the tabs on the blade assembly with the slots in the opening near the top of the can opener front. (Image) Push the blade assembly into the can opener body and then gently guide the lever downwards until you meet resistance. If positioned correctly, the blade assembly will settle easily into place.
- Place the can opener on a flat, dry surface and plug the power cord into the electrical outlet. Tuck any excess cord length into the cord storage compartment.
USING YOUR CAN OPENER
- Check that the magnetic lid holder is extended. Lift the piercing lever and position the can against the can rest with the top of the rim touching the locating pin and the bottom of the rim resting on the drive wheel. (Image)
- Continuing to hold the can with one hand, lower the piercing lever to allow the magnet to stick to the can lid, making sure that the cutting blade is positioned inside the can's rim.
- Press firmly on the piercing lever until the cutting blade punctures the lid and the drive wheel starts rotating. At this point you can let go of the can and piercing lever. If the can being opened weighs more than 30 oz(850 g), you must hold the can opener firmly to prevent it from overturning. The drive wheel will rotate the can until the lid is completely cut through and then stop automatically.
- When the can is opened, the can opener will stop automatically. To remove the can, hold it with one hand and lift the piercing lever with the other. Carefully detach the lid from the magnet and discard. Be careful not to touch the cut edges of the can or lids as they are sharp.
CAN OPENING TIPS
- Do not try to open cans meant to be opened by another method, such as pull tab, peel-off foil seal, rolling key, rimless cans, or cans with angled corners.
- This can opener is designed for circular cans with diameter larger than 2 in (5 cm) and height less than 7 in (17.8 cm) that weigh less than 50 oz. (1.42 kg).
- If there is a dent in the rim of a can, open the other end or start the cutting action just beyond the dent.
- Cans with heavy seams, uneven rims or odd shapes may cause the can opener to stall. If this occurs, turn the can slightly by hand to aid the cutting action.
- Frozen juices or foods in cardboard cans should be opened as soon as they are removed from the freezer. Aluminum lids will not stick to the magnet.
USING YOUR BOTTLE OPENER
- Unplug the appliance from the power supply before using the bottle opener. Position the bottle with the cap against the inside of the metal hook on the top surface of the bottle opener. (image)
- Holding the can opener firmly in place with your other hand, pull the bottle down to pop the cap off.
BOTTLE OPENING TIPS
- Make sure the glass neck of the bottle is not in contact with the metal hook or it may break and cause injury.
- The bottle opener will only remove metal bottle caps. Do not attempt to use it to open screw-top or pull ring bottle caps.
USING YOUR KNIFE SHARPENER
- Unplug the appliance from the power supply before using the knife sharpener. Place the sharp edge in the slot of the knife sharpener. (image)
- Carefully pull the entire length of the knife back and forth against the sharpening surface until you reach your desired sharpness.
- Using extreme caution, carefully wash and dry the sharpened knife.
KNIFE SHARPENING TIPS
- Wash and thoroughly dry knives before sharpening.
- Do not attempt to sharpen serrated blades such as bread knives or kitchen scissors as it will smooth their edges and damage them.
- The sharpener can be used to sharpen straight-edged stationery scissors.
CARE AND CLEANING
- Always unplug the appliance from the power source before cleaning. Remove the blade assembly by lifting the piercing lever all the way up and pulling the blade assembly outwards.
- Wipe the blade assembly carefully with a clean, damp cloth and dry thoroughly. Do not immerse the blade assembly in water or attempt to wash it in the dishwasher.
- Wipe the can opener base thoroughly, including the area around the drive wheel and blade assembly opening, with a clean, damp cloth and dry thoroughly. For stubborn residue, you can scrub with a nylon or mesh pad or sponge and soapy water. Do not use abrasive cleansers or scouring pads.
- Reassemble the can opener following the instructions above.
IMPORTANT SAFEGUARDS
When using your Kenmore Electric Can Opener, basic safety precautions should always be followed, including the following:
- READ ALL INSTRUCTIONS BEFORE USE
- Before using, check that the voltage of the wall outlet corresponds to the one shown on the rating plate. Do not attempt to use the appliance with a voltage converter.
![shock hazard]() This appliance has a polarized plug (one blade is wider than the other). To reduce the risk of electric shock, this plug will fit in a polarized outlet only one way. If the plug does not fit fully in the outlet, reverse the plug. If it still does not fit, contact a qualified electrician. Do not modify the plug in any way.
This appliance has a polarized plug (one blade is wider than the other). To reduce the risk of electric shock, this plug will fit in a polarized outlet only one way. If the plug does not fit fully in the outlet, reverse the plug. If it still does not fit, contact a qualified electrician. Do not modify the plug in any way.- Do not attempt to operate the appliance if there is damage to the cord or plug, after it has malfunctioned or been dropped or damaged in any way, or if it is not operating properly. Contact Koolatron Customer Assistance for information on examination, repair, or adjustment.
- Do not attempt to use the can opener if the blade is bent or damaged in any way.
- Turn the appliance OFF and unplug from the outlet when not in use, before assembling or disassembling parts and before cleaning. To unplug, grasp plug and pull it from the electrical outlet; never unplug it by pulling on the power cord.
- This appliance is recommended for indoor household use only. Do not operate in moving vehicles or boats and do not operate outdoors. Using this appliance for anything other than its intended use (non-commercial household food preparation) will void your warranty.
- This appliance is not intended for use by persons, including children, with reduced physical, sensory or mental capabilities, or lack of experience and knowledge, without supervision and instruction by a person responsible for their safety. Children should be supervised to ensure they do not play with the appliance.
- Do not let the power cord hang over the edge of the table or counter or contact hot surfaces, such as the stovetop or cooking pot. Make sure the power supply cord is out of the way to avoid damage from the knife blades while sharpening.
- Ensure the appliance is properly assembled before connecting to a power outlet and operating.
- Do not leave the appliance unattended while in use.
![shock hazard]() To protect against electrical shock, do not immerse any part of the can opener, power cord, or electrical plug in any liquid.
To protect against electrical shock, do not immerse any part of the can opener, power cord, or electrical plug in any liquid.- To protect against personal injury, use extreme caution around sharp edges including the cutting blade, the cut edges of cans or lids, and knife blades before, during, or after sharpening.
- Avoid contact with moving parts.
- Do not use the can opener or bottle opener to open pressurized cans.
- Do not use the can opener or bottle opener to open cans of flammable liquids such as lighter fluid.
- Do not use this can opener to open cans designed to be opened by another method, such as pull tab, peel-off foil, or rolling key.
- Do not use the bottle opener to remove bottlecaps designed to be removed by another method, such as screw-top or pull-ring.
- Aluminum lids can be removed with the can opener but will not stick to the magnet.
- Do not use the can opener to open rimless cans, cans with angled corners or cans with a diameter less than 2 in (5 cm) or height greater than 7 in (17.8 cm).
- Do not use the can opener to open cans weighing more than 50 oz. (1.42 kg). When opening a can weighing 30 - 50 oz. (850 g - 1.42 kg), it is necessary to hold down the can opener to prevent it from overturning.
- Do not operate the can opener continuously for more than 30 seconds when opening a can. After opening 10 cans in a row, let the can opener rest for at least 30 minutes before using it again.
![burn hazard]()
![shock hazard]()
Do not attempt to operate the appliance by any method other than those described in this manual. Aftermarket attachments or accessories not recommended by Kenmore will void your warranty and may cause fire, electrical shock, or injury.- Before using the appliance for the first time, remove any packaging material, promotional labels, and stickers. Safely dispose of plastic bags or small pieces that could present a suffocation or choking hazard to young children.
- For any maintenance other than cleaning, call Koolatron Customer Assistance.
 This appliance has a polarized plug (one blade is wider than the other). To reduce the risk of electric shock, this plug will fit in a polarized outlet only one way. If the plug does not fit fully in the outlet, reverse the plug. If it still does not fit, contact a qualified electrician. Do not modify the plug in any way.
SAVE THESE INSTRUCTIONS!
Customer Assistance
1-800-265-8456
www.koolatron.com

Documents / Resources
References

Download manual
Here you can download full pdf version of manual, it may contain additional safety instructions, warranty information, FCC rules, etc.
Advertisement


Need help?
Do you have a question about the KKCO and is the answer not in the manual?
Questions and answers