Advertisement
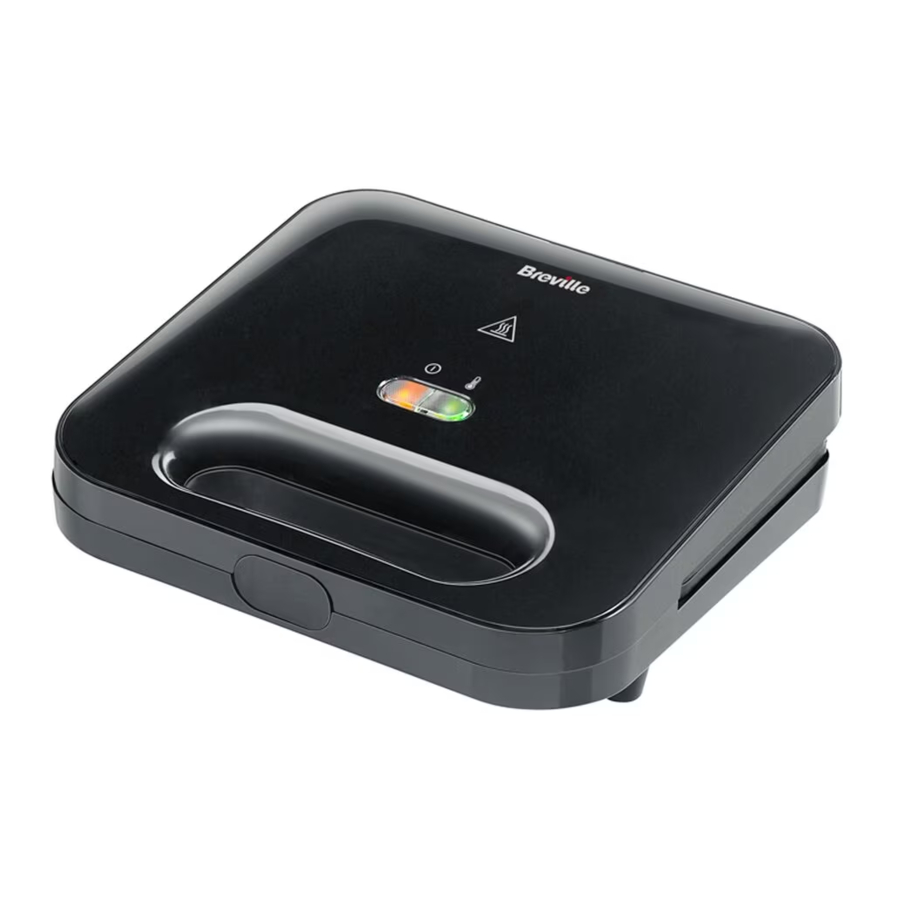
Features

- Non-stick cooking plates with cut-and-seal action.
- Red power on light
- Green ready-to-cook light
- Cord storage (underneath unit)
- Latch - holds the lid firmly closed during cooking

Due to our policy of continuous improvement, the actual product may differ slightly from the one illustrated in these instructions.
Using your sandwich toaster
Before first use
Note that the first time you use your sandwich toaster, you may notice a slight burning smell and a little smoke. This is completely normal and will soon disappear.
- Unpack your sandwich toaster. You may wish to keep the packaging for future use.
- Wipe the cooking plates with absorbent paper or a soft damp cloth.
- Clean the outside of your sandwich toaster with a soft damp cloth which has been wrung almost dry in warm soapy water. The cover can be polished with a soft dry cloth.
Using your sandwich toaster
For best results, use thin/medium sliced bread that is regularly shaped or square. Trim the bread if necessary so that it fits into your sandwich toaster.
- Plug your sandwich toaster in to the mains supply socket and switch the socket on if required. The red power light and the green ready-to-cook light will come on and your sandwich toaster will start heating up. Pre-heating will take about 6 minutes.
- When your sandwich toaster is fully heated the green ready-to-cook light will go out. This light will come on and go out as your sandwich toaster maintains the right temperature.
- Lightly brush the cooking plates with sunflower oil or spread the OUTSIDE of the bread with butter or a spread suitable for cooking. Don't use a low fat spread or one which has a high water content.
- Place the lower slice of bread onto the bottom plate 'buttered' side down. Form a hollow with the back of a spoon and add 1-2 tbsp of the prepared filling. Don't overfill the sandwich or the filling will leak out. Add the top slice of bread buttered side up and close the lid gently until it latches. Take care because your sandwich toaster will be hot!
- Allow the sandwich to toast for approximately 4-5 minutes. Leave the sandwich in the toaster for more or less time according to taste.
- Press the latch and open the lid. Watch out for escaping steam—use a tea towel or wear oven gloves. Remove the cooked sandwich with a non-metallic spatula. Don't use a metal blade as this can damage the non-stick surface of the plates.
- Once cooked, take care when eating as fillings, especially fruit or tomato, can be very hot.
Recipes
THE BASIC 3: CHEESE AND HAM, CHEESE AND TOMATO, CHEESE AND ONION - Makes 2
Cheese and ham
4 slices of bread
Sliced medium cheddar
2 slices of ham
Cheese and onion
4 slices of bread
Sliced medium cheddar
Finely sliced onion rings
Cheese and tomato
4 slices of bread
Sliced medium cheddar
2 medium tomatoes
- Switch on your sandwich toaster. Butter one side of each bread slice.
- When the correct temperature is reached, place a slice of bread onto each plate with the buttered side down.
- Place the cheese and chosen accompaniment onto the bread. Don't be tempted to overfill otherwise it won't cook properly and may prevent the sandwich from sealing properly which may cause the contents to leak out during cooking. Place the remaining bread on top with the buttered side on the outside (this will give your toasty a lovely golden colour during cooking).
- Close the lid and allow to cook for approx 4-5 minutes until golden and cooked.
- Switch off your sandwich toaster and carefully remove the toastie. Remember melted cheese can be very hot so please take care!
- Once your sandwich toaster has cooled, wipe the plates with some paper towel.
Other great flavour include:
Cheese and pickle
Cheese and marmite
Mature cheese and Chutney
LIGHTER LUNCH TOASTIE - Makes 2
4 slices of Danish style lower fat bread
Finely sliced red onion
3 tbsp reduced fat cottage cheese
Ground black pepper 2 tbsp finely chopped red pepper
Low fat spread
This toastie is a lower fat/healthier option which replaces the cheddar cheese with a low fat cottage cheese. Alternatively replace the standard cheddar with a half fat alternative widely available from larger supermarkets.
- Switch on your sandwich toaster.
- Combine the filling ingredients in a small dish.
- Using the minimum amount of low fat soft spread, butter one side of each bread slice.
- Assemble the sandwiches with the spread on the outside of the bread.
- Once the correct temperature has been reached, place the sandwiches into your sandwich toaster and cook for about 4 minutes until crispy and golden.
OMELETTE - Serves 1
1 large egg
Freshly ground black pepper
Pinch sea salt
Melted butter or oil
- Heat your sandwich toaster until the green light goes out.
- Beat together the egg and seasoning
- Brush the top and bottom of the cooking plates with a little melted butter.
- Carefully pour in the egg dividing it between the two lower plates.
- Close the lid and cook for 1½ minutes
- Open the lid and using a silicone spatula, carefully lift the omelettes out. Eat them hot with some Caesar salad or a salad of your choice.
Why not try adding a teaspoon of grated mature cheese and a pinch of chives to the egg for a cheesy omelette alternative.
FRITTATA - Makes 2
1 medium egg
Pinch sea salt
Freshly ground black pepper
2 tbsp of finely chopped vegetables of your choice (peppers, spring onions, fresh herbs, cooked potato, chives, peas)
A pinch of fresh tarragon or herbs of your choice
Melted butter or oil.
- Heat your sandwich toaster until the green light goes out.
- Beat together the egg and seasoning
- Brush the top and bottom of the cooking plates with a little melted butter.
- Carefully pour in the egg dividing it between the two lower plates.
- Place the 1 tbsp of cooked vegetables on top of the egg in each mould.
- Close the lid and cook for 2 minutes. Serve hot with salad or a jacket potato
STEAK PASTIES - Makes 2
Ready rolled shortcrust pastry or a small quantity of homemade shortcrust pastry
2 tbsp tinned stewed steak
Melted butter
- Switch on your sandwich toaster.
- Roll out your pastry to approx. 12cm x 14 cm. This will need to be about 5 mm thick. You will need four of these. If you are using ready rolled pastry this will need further rolling to obtain the correct thickness.
- Once the correct temperature has been reached, brush the sandwich plates top and bottom with the melted butter.
- Place a shortcrust pastry sheet onto each of the bottom plates.
- Place a spoonful of the meat into each of the hollows of the plates then top with the remaining pastry sheet.
- Allow to cook for approx 6-8minutes until piping hot and golden.
BANOFFEE HOT TOAST - Makes 2
4 slices of Danish style bread (makes a crispier toastie)
1 ripe banana, thinly sliced
2 tsp caramel sauce
Butter for spreading
- Switch on your sandwich toaster.
- Butter one side of each bread slice
- When the correct temperature is reached, place a slice of bread onto each plate with the buttered side down.
- Place a few banana slices on top of the bread and drizzle with caramel. Top with the remaining bread with the buttered side up.
- Cook for approx. 4-5 minutes until golden and crispy.
- Sprinkle with icing sugar and serve hot.
FRUITY EGGY BREAD - Makes 2
4 slices of fruit bread
1 small handful of raspberries
2 medium eggs, beaten together with 1 tsp castor sugar.
Drizzle of honey or syrup
Demerara sugar
1 over ripe banana, thinly sliced
- Heat up your sandwich toaster.
- Dip the fruit bread into the egg mixture until soaked.
- Once the correct temperature is reached, place a slice of fruit bread onto each cooking plate.
- Add the banana, raspberries and a quick drizzle of honey and place the remaining bread on top.
- Sprinkle with the Demerara sugar and then close the lid.
- Cook for 4-5 minutes until brown and heated through.
- Carefully remove the toastie from your sandwich toaster and serve with some fruit sauce and whipped cream.
Care and cleaning
 Unplug and switch off your sandwich toaster and allow it to fully cool down before cleaning it. Do not immerse the main body, cord set or plug in water or liquid of any kind.
Never use steel wool, scouring pads, abrasive cleaners or metallic utensils to clean your sandwich toaster.
- Before cleaning your sandwich toaster, switch it off and unplug it from the mains supply. Allow it to cool down fully.
- Wipe the cooking plates with absorbent paper or a soft damp cloth.
- Clean the outside of your sandwich toaster with a soft damp cloth which has been wrung almost dry in warm soapy water. The cover can be polished with a soft dry cloth.
Connection to the mains supply
This appliance must be earthed.
If the plug is not suitable for the socket outlets in your home, it can be removed and replaced by a plug of the correct type.
If the fuse in a moulded plug needs to be changed, the fuse cover must be refitted. The appliance must not be used without the fuse cover fitted.
If the plug is unsuitable, it should be dismantled and removed from the supply cord and an appropriate plug fitted as detailed. If you remove the plug it must not be connected to a 13 amp socket and the plug must be disposed of immediately.
If the terminals in the plug are not marked or if you are unsure about the installation of the plug please contact a qualified electrician.
Plug should be ASTA approved to BS1363
Fuse should be ASTA approved to BS1362

Ensure that the outer sheath of the cable is firmly held by the cord grip
Product safety
READ CAREFULLY AND KEEP FOR FUTURE REFERENCE
This appliance can be used by children aged from 8 years and above and persons with reduced physical, sensory or mental capabilities or lack of experience and knowledge if they have been given supervision or instruction concerning use of the appliance in a safe way and understand the hazards involved. Children shall not play with the appliance. Cleaning and user maintenance shall not be made by children unless they are older than 8 and supervised.
Keep the appliance and its cord out of reach of children less than 8 years old.
Always allow adequate air space above and on all sides for air circulation. Never use the appliance under cupboards or curtains or other flammable materials.
Never operate the appliance by means of an external timer or separate remote-control system.
Do not touch the metal parts of the appliance during use as they may become very hot.
If the supply cord is damaged, it must be replaced by the manufacturer, its service agent or similarly qualified persons in order to avoid a hazard.
- Never use this appliance for anything other than its intended use. This appliance is for household use only. Do not use this appliance outdoors.
- Always ensure that hands are dry before handling the plug or switching on the appliance.
- Always use the appliance on a stable, secure, dry and level surface.
- Care is required when using the appliance on surfaces that may be damaged by heat. The use of an insulated pad is recommended.
- This appliance must not be placed on or near any potentially hot surfaces (such as a gas or electric hob).
- Never let the power cord hang over the edge of a worktop, touch hot surfaces or become knotted, trapped or pinched.
- Do not use the appliance if it has been dropped or if there are any visible signs of damage.
- Ensure the appliance is switched off and unplugged from the supply socket after use and before cleaning.
- Always allow the appliance to cool before cleaning or storing.
- Never immerse any part of the appliance or power cord and plug in water or any other liquid.
- Never leave the appliance unattended when in use.
After sales service
These appliances are built to the very highest of standards. There are no user serviceable parts. Follow these steps if the unit fails to operate:
- Check the instructions have been followed correctly.
- Check that the fuse has not blown.
- Check that the mains supply is functional.
If the appliance will still not operate, return the appliance to the place it was purchased for a replacement. To return the appliance to the Customer Service Department, follow the steps below:
- Pack it carefully (preferably in the original carton). Ensure the unit is clean.
- Enclose your name and address and quote the model number on all correspondence.
- Give the reason why you are returning it.
- If within the guarantee period, state when and where it was purchased and include proof of purchase (e.g. till receipt).
- Send it to our Customer Service Department at the address below:
Customer Service Department Jarden Consumer Solutions Europe) Limited
Middleton Road, Royton, Oldham OL2 5LN, UK.
Telephone: 0161 621 6900 Fax: 0161 626 0391 e-mail: enquiriesEurope@jardencs.com

Documents / ResourcesDownload manual
Here you can download full pdf version of manual, it may contain additional safety instructions, warranty information, FCC rules, etc.
Advertisement
Thank you! Your question has been received!


Need Assistance?
Do you have a question about the VST057 that isn't answered in the manual? Leave your question here.