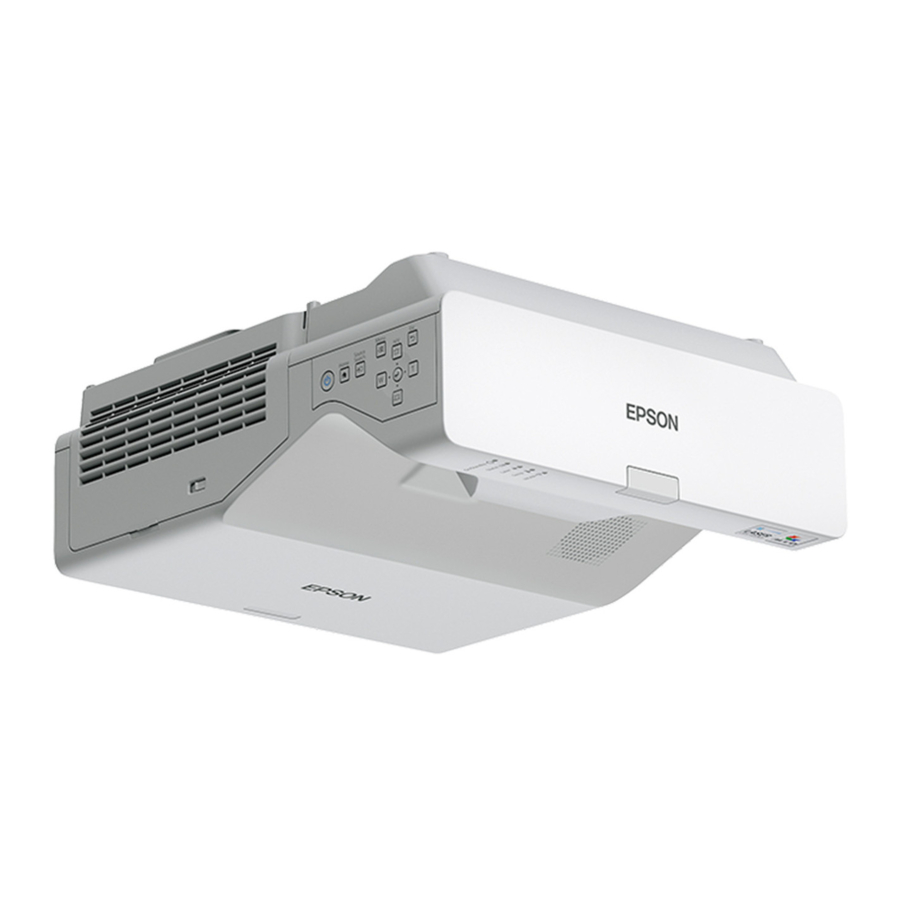
Epson EB-760Wi, EB-770Fi - Portable Projector Installation Guide Manual
- Start here manual (6 pages) ,
- User manual (382 pages) ,
- Installation manual (137 pages)
Advertisement
Start Here
Your projector is a productivity tool that allows you to project and interact with content or create a digital whiteboard. This card will help you get started.
Note:
- Product availability varies by country and region.
- An optional finger touch unit is required for touch interaction with projected content. If you don't have an optional finger touch unit installed, follow the instructions for the interactive pens.
What can you do
Interact with your computer
View your desktop and use the interactive pens as a mouse.
Use your mobile device
Connect your mobile device and display your content on the screen.
Project from any source
Import content from a connected device to your whiteboard.
Start writing
Draw on the projected screen with the interactive pens or your finger.
Interacting with your computer
- Connect the USB cable from the projector's USB-Bl port directly to any available USB port on your computer.
- Turn on the projector by pressing the
![]() power button on the remote control.
power button on the remote control. - Connect an HDMI@ or VGA cable from the projector to your computer.

Note: If you are connecting via HDMI, use the HDMII or HDM12 port on the projector. For a VGA connection, use the Computerl port. To use other ports on the projector, see the online User's Guide. - The default language of the menu system is English. To select another language, press the Menu button on the remote control. Select Management and press
![]() . Select Language and press
. Select Language and press ![]() . Select your language and press
. Select your language and press ![]() . Press the Menu or Esc button to exit the menu system.
. Press the Menu or Esc button to exit the menu system. - Display an image or open a web page from your computer.
- Make sure the PC Interactivity setting is enabled on the on-screen toolbar.

If your computer screen is not projected, see "Need help?" on the back of this card.
 power button on the remote control.
 . Select Language and press
Using interactive software
To interact using your Mac or Windows@ computer, you need the latest version of Easy Interactive Tools (or other interactive software). If you are using a Mac, you also need Easy Interactive Driver. If the latest software is not installed, download it from: http://epson.com/brightlinkdownloads (U.S.), http://epson.ca/brightlinkdownloads (Canada), or http://latin.epson.com (Latin America).
When your computer is connected, you can use the Easy Interactive Tools toolbar to interact with projected content.

For more information about Easy Interactive Tools, see the online Easy Interactive Tools Operation Guide and the product's User's Guide.
If the computer is also connected to the projector's USB-Bl port, you can use the interactive pens or your finger as a mouse to interact with your computer desktop.
| Mouse function | Pen/finger action |
| Left-click | Tap board |
| Double-click | Tap twice |
| Right-click | Press pen button Tap and hold finger for 3 seconds |
| Move cursor | Hover over board |
| Click and drag | Tap and hold item, then drag |
If your computer supports these functions, you can also do the following:
- To zoom in or out, touch an item using two fingers and either move your fingers away from each other (zoom in) or toward each other (zoom out).
- To rotate an image, touch the image with two fingers and then rotate your hand.
- To scroll up or down on a page, or move backward or forward in a browser window, use swiping gestures or flicks.
Interacting without a computer
You can use your projector without a computer. Start a lesson or brainstorm session from scratch in Whiteboard mode or import or project content from other connected devices and annotate them in PC Free Annotation mode. With a network connection, you can save, print, or email your work when you're done. See the online User's Guide for more information.
Note: Many of the projector's built-in toolbar functions are the same as Easy Interactive Tools, but fewer functions are available.
Whiteboard mode
Whiteboard mode lets you project a blank screen or background pattern, and use the interactive pens or your fingers to write or draw as you would on a dry erase board. You can add new blank pages to continue working and switch easily between pages.
- Use the remote control to turn on the projector.
- Press the
![]() Home button on the remote control.
Home button on the remote control.
![]()
- Select
![]() Whiteboard from the screen. You see the whiteboard screen and toolbar.
Whiteboard from the screen. You see the whiteboard screen and toolbar. - Pick up an interactive pen or touch your finger to the screen and start writing.

 Home button on the remote control.
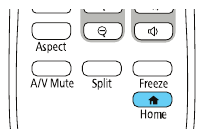
 Whiteboard from the screen. You see the whiteboard screen and toolbar.
 Add a new page
 Open a file
 Delete the current page
 Import an image
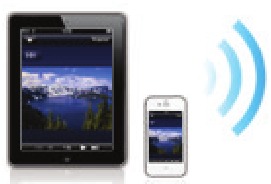
Connecting a mobile device
Connect a mobile device, tablet, or other source to your networked projector and work in PC Free Annotation mode with the projector's built-in toolbar.
- Use the remote control to turn on the projector.
- Connect your Android TM , ChromebookTM , or iOS@ device to the wireless network your projector is connected to.
![]()
- Download and launch the Epson iProjection TM app on your device (visit http://epson.com/iprojection [U.S.], http://epson.ca/iprojection [Canada], or http://latin.epson.com/iprojection [Latin America] for more information), select the projector, and display your content.
![]()
- If your content is not displayed, press the LAN source button on the remote control.

- To activate the toolbar, tap the board with an interactive pen or your finger.
- Start projecting and annotating your content.


For information on connecting other devices, including Epson@ document cameras, see the online User's Guide.

Note: Availability of toolbar icons/features depends on connected device.
Choosing the right tool
If you already have annotation softvx.tare, you can use it with your projector. If you are using Microsoft@ Office 2007 or later, you can also use the 'Sinking tools" to add handweritten notes to your documents and PowerPoint.
Here are some tips on choosing from the tools that come with your projector:
| Built-in Toolbar | Easy Interactive Tools | |
| No computer? |  | |
| Use pen or finger as a mouse | | |
| Use the board to draw on computer content | | |
| Draw on board using the computer | | |
| Use up to two pens and six fingers simultaneously* | | |
| Save whiteboard pages in image, PDF, or editable format | | |
| Save annotations as a JPEG | | |
| Save annotations in image, PDF, or editable format | |
* Depending on operating system and connection type. See the online User's Guide for more information.
Projector interactivity
Use the interactive pens or your fingers to turn almost any flat wall into an interactive area-
Interactive pens
Your projector comes with 2 pens, one orange (Interactive Pen A) and one blue (Interactive Pen B).
Make sure one AA battery is installed in each pen.

- To turn on the pen, pick it up. To check the battery, press and hold the button. If the battery is low the light flashes.
- Hold the pen perpendicular to the board when using it.

- When you are finished using the pen, simply place it in an area away from the projection screen.

Note: The pen turns off automatically after about 15 seconds of inactivity. Pick the pen up to turn it back on.
Finger Touch
If you have the optional finger touch unit installed, you can use your finger to perform the same functions as the interactive pens. You can use either a pen or your finger, or use both at the same time.
When performing finger touch operations, you can use up to six fingers.
Note: The number of pen and finger touch inputs depends on the interactive mode, operating system, and connection type. See the online User's Guide for more information
Need Help
Calibration
If the cursor does not match your pen or finger location, calibrate the pens and the finger touch unit. See the online User's Guide for instructions.
Computer doesn't project
- If the image doesn't appear after connecting a computer, try one of the following:
- On Windows, hold down the Windows key and press P at the same time, then click Duplicate.
If you are using a Mac laptop with macOS 3, select System> Settings > Displays. Press the + pop-up manu button, then choose a display to mirror.
On macOS 12, select System> Preferences > Displays > Display Settings. Select the projector, then choose the mirror option for your display from the drop-down menu.
On macOS 11 and older, open System> Preferences and select Displays. Click the Arrangement tab and select the Mirror Displays checkbox. - See your computer's documentation or help topics for steps to extend or project your computer screen.
- Press the Source Search button on the remote control.
- Press the
![]() Home button on the remote control to verify the source input and settings.
Home button on the remote control to verify the source input and settings. - Make sure any video cables are securely connected.
 Home button on the remote control to verify the source input and settings.
Online support
To access the online manuals, videos FAQs, and more, visit http://epson.com/bright/inkdownloads (U.S.), http://epson.ca/brightIinkdownnIoads (Canada), or http://latin.epson.com (Latin America) and search for your product.
Telephone Support
The Epson PrivateLine service is for you! All you have to do is call (800) 637—7661 (U.S. and Canada). This service is available for the duration of your warranty period. You may also speak with a projector support specialist by dialing (562) 276-4394 (U.S.) or (905) 709-3839 (Canada).
Support hours are 7 a.m to 4 p.m, Pacific Tirne, Monday through Friday. Days and hours of support are subject to change without notice. Toll or long distance charges may apply.
In Latin Arnerica, see the online User's Guide for technical support inforrnation.
Registration
Register today to get product updates and exclusive offers. You can register inline at http://epson.com/webreg.

Documents / Resources
References
BrightLink Series | Projectors | Epson® Official Support
BrightLink Series | Projectors | Epson® Official Support
Epson
iProjection App | Epson US
Wireless Projector - iProjection App | Epson Canada
Epson
![epson.com]() Epson Product Registration
Epson Product Registration
Download manual
Here you can download full pdf version of manual, it may contain additional safety instructions, warranty information, FCC rules, etc.
Download Epson EB-760Wi, EB-770Fi - Portable Projector Installation Guide Manual
Advertisement
Thank you! Your question has been received!


Need Assistance?
Do you have a question about the EB-760Wi that isn't answered in the manual? Leave your question here.