Advertisement
SPECIFIC SAFETY RULES

To reduce the risk of injury, user must read and understand this operator's manual as well as the operator's manual for the battery pack, charger, and power handle before use. Ensure compatibility and proper fit of head and power handle before using.
- Hold power tools by insulating gripping surfaces when performing an operation where the cutting tool may contact hidden wiring or its own cord. Contact with a "live" wire will make exposed metal parts of the tool "live" and shock the operator.
- Use clamps or another practical way to secure and support the workpiece to a stable platform. Holding the workpiece by hand or against your body leaves it unstable and may lead to loss of control.
PRODUCT SPECIFICATIONS
Speed 0-20,000 oscillations per min.
PACKING LIST
Multi-Tool Head, Segment Saw Blade, Universal Blade, Detail Sanding Backing Pad, 60 Grit Sanding Sheet, 80 Grit Sanding Sheets (3), 120 Grit Sanding Sheet, and Adaptor
APPLICATIONS
| Accessory Type | Uses | |
 | Segment saw blade | Flush cutting in wood and drywall |
 | Universal blade | Straight cutting in wood, plastic, and thin metals |
 | Detail sanding backing pad | Sanding in corners and other hard-to-reach areas |
 | Sanding sheets | Sanding sheets in 60 grit (1), 80 grit (3), and 120 grit (1) are provided for sanding in different applications |
 | Adaptor | Install adaptor with D side out for use with Dremel® accessories and with B side out for use with BOSCH® accessories. |
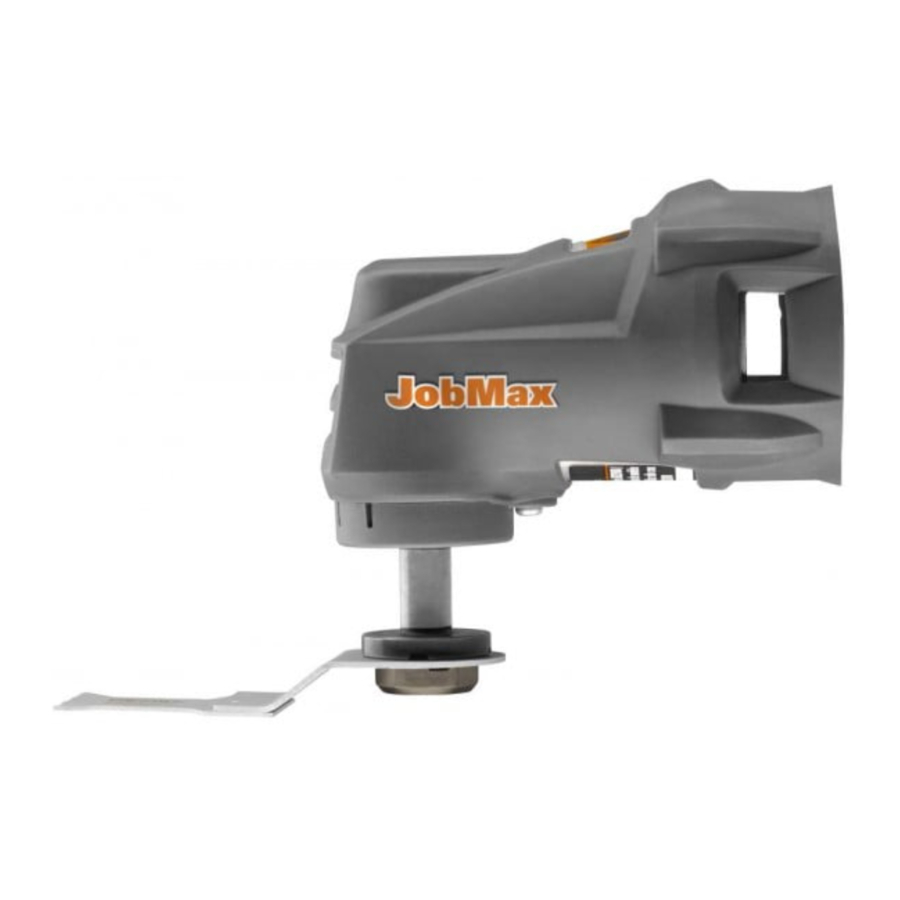
INSTALLING HEAD
See Figure 1.

- Multi-tool head
- Latches
- Power handle
- Remove the battery pack from the power handle.
- Place the head on the power handle and push until the latches click into position. Pull on the head to make sure it is securely installed before proceeding.
NOTE: The head can be installed at 90° angles to best suit your application needs.
INSTALLING ACCESSORIES
See Figures 2 - 3.

- Segment saw blade
- Screw and washer assembly
- Universal blade
- Hex key
- Detail sanding backing pad

- Adaptor
- Bosch or Dremel accessory
- Screw and washer assembly
- Remove the battery pack from the power handle.
- Using the hex key provided, rotate the screw counter clockwise. Remove the screw and washer assembly and set aside.
- Place the desired accessory on the head so that the openings on the accessory fit on the raised parts of the head. Reinstall the screw and washer and tighten securely.
NOTE: Some Fein® accessories will also fit this head without the use of adaptors. When using Fein accessories, always follow the instructions for that accessory, in addition to all instructions for this product. - An adaptor is provided to allow use of BOSCH® and Dremel® accessories with the power handle. When using these accessories, install the adaptor first, then install the accessory. The adaptor should be installed with the B facing out for use with BOSCH® accessories and with the D facing out for use with Dremel® accessories. Only use the adaptor when using these accessories.
NOTE: When using Bosch or Dremel accessories, always follow the instructions for that accessory, in addition to all instructions for this product.
Do not wear loose clothing or jewelry when operating tool. They could get caught in moving parts causing serious injury. Keep head away from tool and work area. Hair could be drawn into tool causing serious injury.
Unsecured work could be thrown towards the operator causing injury.
CUTTING
See Figure 4.

- Hold the saw firmly in front of and clearly away from you. Make sure blade is clear of any foreign material.
- Mark the line of cut clearly.
- Depress the switch trigger to start the cutting action. Allow the blade to come to full speed, then move the blade into the work.
- To cut, keep the teeth of the blade in the work surface and move the back of the tool slowly in a constant sideways motion.
NOTE: If the line and writing on the blade looks blurry when in use, you are using the correct amount of pressure. If they become clear, you are using too much force.

Do not force. Use only enough pressure to keep the saw cutting. Let the blade and saw do the work. Use of excessive pressure will cause strong vibrations to the tool, which may result in broken blades and cause premature wear to the tool's motor.
Keep hands away from blades. Do not reach underneath work or around or over the blade while blade is moving. Do not attempt to remove cut material when blade is moving.
SANDPAPER SELECTION
Selecting the correct size grit and type sandpaper is an extremely important step in achieving a high quality sanded finish. Aluminum oxide, silicon carbide, and other synthetic abrasives are best for power sanding. Natural abrasives, such as flint and garnet are too soft for economical use in power sanding.
In general, coarse grit will remove the most material and finer grit will produce the best finish in all sanding operations. The condition of the surface to be sanded will determine which grit will do the job. If the surface is rough, start with a coarse grit and sand until the surface is uniform. Medium grit may then be used to remove scratches left by the coarser grit and finer grit used for finishing of the surface. Always continue sanding with each grit until surface is uniform.
SANDING
See Figure 5.

Hold sander in front and away from you, keeping it clear of the workpiece. Start sander and let the motor build to its maximum speed, then gradually lower on the work with a slight forward movement. Move the sander slowly over workpiece using forward and backward or side to side strokes. Upon completion of sanding operation, always remove sander from workpiece before turning it off.
Do not force. The weight of the unit supplies adequate pressure, so let the sandpaper and sander do the work. Applying additional pressure only slows the motor, rapidly wears sandpaper, and greatly reduces sander speed. Excessive pressure will overload the motor causing possible damage from motor overheating and can result in inferior work. Any finish or resin on wood may soften from the frictional heat. Do not allow sanding on one spot too long as sander's rapid action may remove too much material, making the surface uneven.
BOSCH® is a registered trademark of Robert Bosch GmbH. Dremel® is a registered trademark of Robert Bosch Tool Corporation. Fein® is a registered trademark of C. & E. Fein GmbH.
To register your RIDGID product, please visit: http://register.RIDGID.com

Documents / Resources
References
Download manual
Here you can download full pdf version of manual, it may contain additional safety instructions, warranty information, FCC rules, etc.
Advertisement
Thank you! Your question has been received!


Need Assistance?
Do you have a question about the JobMax R8223404 that isn't answered in the manual? Leave your question here.