Yamaha MusicCast WX-010 - Wireless Streaming Speaker Quick Manual
- Owner's manual (28 pages) ,
- Quick manual (2 pages) ,
- Owner's manual (28 pages)
Advertisement
Supplied accessories
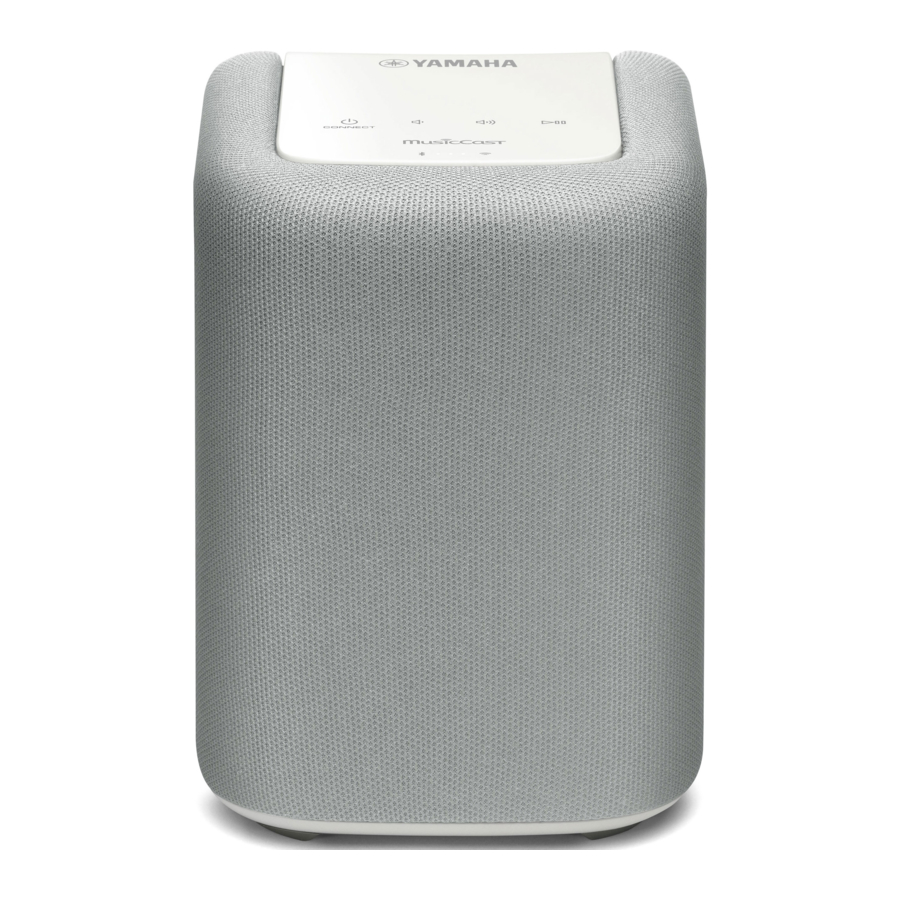
- WX-010
![]()
- Power cable
![]()
- Anti-vibration pads


 To prevent the vibration from the sound from reaching the wall, attach the anti-vibration pads to the rear of the unit (4 places).
Install the MusicCast CONTROLLER app to the mobile device

To use the unit, you need the dedicated app "MusicCast CONTROLLER" for the operation. Search for the free app "MusicCast CONTROLLER" on App Store (for iOS devices) or Google Play (for Android devices) and install it to your device.


For details, refer to the instructions for this app in each store.
Names and functions of top panel touch sensors and indicators

| 1 |  (power) / CONNECT (power) / CONNECT | Turns the unit on/off and connects to the network. |
| 2 |  | Turns down the volume. |
| 3 |  | Turns up the volume. |
| 4 |  | Plays/pauses. |
| 5 | Bluetooth indicator | Lights during Bluetooth connection. |
| 6 | Power indicator | Lights while the unit is turned on. |
| 7 | Wi-Fi indicator | Lights while the unit is connected to the wireless (Wi-Fi) network. |
INSTALLATION
Plug the power cable into the wall outlet after completing installation.
When installing on a shelf
Install in a stable place, being careful of the following points.
 Note
Note
- Do not place on top of steel or other metal plates.
- Do not cover with a cloth, etc.
- When hanging the unit on the wall

- Install screw (commercially available) into a solid wall or wall support as shown in theillustration. Use 3.5 to 4 mm (1/8") diameter self-tapping screw.
- Hang the unit by its keyhole slot onto the protruding screw.

Note
- Make sure the shaft of the screw is seated in the narrow part of the keyhole slot. Otherwise, the unit may fall.
- Do not mount the unit on thin plywood or on a wall with a soft surface material. Otherwise, the screw may pull out of the surface and the unit may fall, possibly damaging the unit or causing personal injury.
- Do not affix the unit to a wall using nails, adhesives, or unstable hardware. Long-term use and vibration may cause the unit to fall.
- To avoid accidents resulting from tripping over loose cables (such as a power cable), affix the cables to the wall.
- When using the brackets to mount the unit on a wall / ceiling, please use safety wire (not included) between the unit and the bracket to prevent the unit from falling.
- If you are not sure of a safe way to install the unit, consult a professional installer or a building contractor.
- To mount the unit to a wall mount hanger


The unit can be mounted to the wall using a commercially available wall mount hanger. Use the wall mount hanger hole on the rear panel to mount.
Use a wall mount hanger that is compatible for a unified coarse screw, such as those used for the tripod stand of a camera.
Specification of mounting screw: UNC 1/4-20
| Diameter | 6.35 mm |
| Screw thread | 20 (per 1") |
Specifications of the screw hole
| Diameter | 6.35 mm |
| Depth | 9 mm |
Note
- If using a wall mount hanger, use the one compatible for this unit.
- Use the wall mount hanger whose withstand load capacity is over 4.5 kg.
- Follow the instructions in the owner's manual of the wall mount hanger and mount the unit correctly.
- If you mount the unit incorrectly or use a wall mount hanger that is not compatible for the unit, the unit may fall and cause injury.
- Check the safety after mounting the unit. Yamaha is not responsible for any accidents which may be caused due to an incorrect installation position or incorrect installation methods, or for any malfunction of the wall mount hanger. If you are worried about the safety, ask a professional to install.
TURNING ON THE POWER

- Plug the power cable into the wall outlet.
- Tap
![]() (power)/CONNECT.
(power)/CONNECT.
 (power)/CONNECT.
CONNECTING TO THE NETWORK

- For details on Internet connection, refer to the owner's manuals of your connecting devices.
- Some security software installed on your PC or the firewall settings of connecting devices (such as a router) may block the access of the unit to the connecting devices or the Internet. In this case, change the setting of the security software or connecting devices.
- If you connect the unit to the network with a network cable, connect with a commercially available STP (shielded twisted pair) network cable (straight, CAT-5 or higher).
- Using the MusicCast CONTROLLER app, make sure that the unit and other connecting devices are connected to the same router.
- Start the app.
After the app starts, select "Setup." - Turn on the unit.
The power indicator lights. - Touch and hold the
![]() (power)/CONNECT on the unit for 5 seconds.
(power)/CONNECT on the unit for 5 seconds.
The Wi-Fi and the Bluetooth indicators flash quickly. Follow the guidance displayed in the app to set.
Playing back music on mobile devices

Using a mobile device installed with MusicCast CONTROLLER, you can play back music files stored on your mobile device from this unit.
- Start up the MusicCast CONTROLLER app on the mobile device.
- In the MusicCast CONTROLLER screen, select the room name that was specified for this unit.
- Select "This Phone" or "This Tablet" in the MusicCast CONTROLLER screen.
The displayed name differs depending on the mobile device being used. - In the MusicCast CONTROLLER screen, select the music file to be played back.
Playing/pausing and adjusting the volume can also be performed from the unit.
Use the dedicated MusicCast CONTROLLER app to enjoy the following features, and take full advantage of all of the unit's functions!
- LISTENING TO THE INTERNET RADIO
- LISTENING TO THE SONGS IN THE COMPUTER AND NAS
- PERFORM THE NETWORK SETTINGS OF THIS UNIT, AND CONNECT TO THE Wi-Fi NETWORK
- DISTRIBUTE AND RECEIVE AUDIO BETWEEN THE UNIT AND OTHER Yamaha MusicCast DEVICES
- USING THE EQUALIZER
- USING THE SLEEP TIMER
- UPDATING THE FIRMWARE
For more details and a lineup of MusicCast compatible products, visit our website.
http://www.yamaha.com/musiccast/
Specifications
| Power Voltage/Frequency | (Japan model) AC 100 V, 50/60 Hz |
| (Other models) AC100 to 240 V, 50/60 Hz | |
| Power consumption | 8 W |
| Standby power consumption | Maximum 2.0 W |
| Minimum 0.2 W (Network Standby off/Bluetooth standby off) | |
| Weight | 1.7 kg |
| Dimensions (W × H × D) | 120 mm × 160 mm × 130 mm |
| Ethernet interface | 100Base-TX/10Base-T |
| Wireless LAN Standards | IEEE 802.11 b/g/n (2.4 GHz) |
| Bluetooth version | Ver 2.1+EDR |

Documents / Resources
References
Download manual
Here you can download full pdf version of manual, it may contain additional safety instructions, warranty information, FCC rules, etc.
Download Yamaha MusicCast WX-010 - Wireless Streaming Speaker Quick Manual
Advertisement
Thank you! Your question has been received!


Need Assistance?
Do you have a question about the MusicCast WX-010 that isn't answered in the manual? Leave your question here.