D-Link DAP-1320 - Wireless Range Extender Manual and SetUp
- Quick installation manual (96 pages) ,
- User manual (74 pages) ,
- Manual (17 pages)
Advertisement
Follow the easy steps in this guide to properly set up your extender.
Package Contents
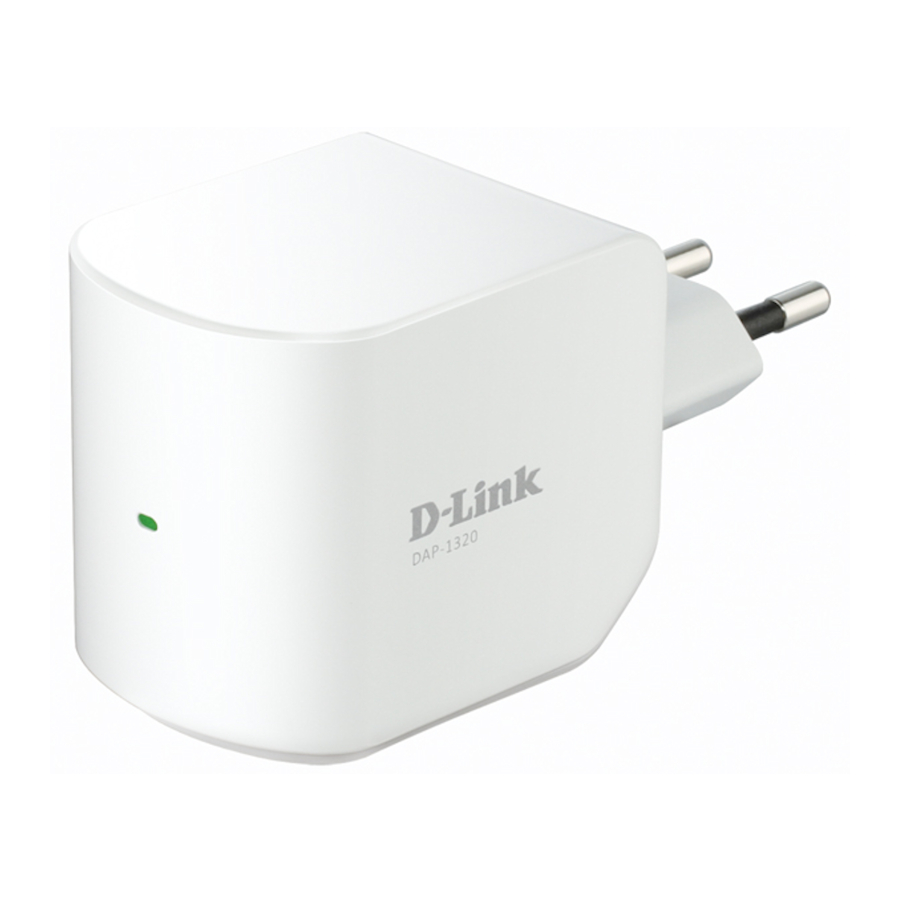
- DAP-1320 Wireless Range Extender
- Wi-Fi Configuration Card
- Quick Install Guide
If any of the above items are missing, please contact your reseller.
Product Overview

| LED | Color | Status | Description |
| Power/Status LED | Green | Solid | Successfully connected to a wireless router or AP. |
| Blinking | The device is processing a connection when the WPS button is pushed. | ||
| Amber | Blinking | Not connected to a wireless router or access point. | |
| Red | Solid | The device is booting up. | |
| Off | The device is not receiving power. Try a different outlet. |
Before You Begin
- Make sure the area that you want to plug the extender into has a solid connection to your router. Use a wireless laptop, tablet, or mobile phone in that area to test the connection to verify.
- If your wireless router or access point does not support WPS, follow the steps under Configure the DAP-1320 Using a Web Browser to connect to the DAP-1320 and run the Setup Wizard. If you are not sure how to enable WPS on your wireless router, please refer to your router user manual.
Recommended Placement

A Range Extender only works as well as the signal it is extending. Therefore, proper placement of your DAP-1320 is important in achieving desired results.

For best performance, place your DAP-1320 in between your router and your dead zone, making sure it's placed in a location where the signal is still strong.
Connect to Your Router Using WPS
- Find an available outlet near your wireless router. Plug the DAP-1320 in and wait until the LED is blinking amber.

- Press the WPS button on your wireless router.

- Within one minute, press the WPS button on the DAP-1320. The LED will start to blink.

When the LED turns solid green, this indicates that the DAP-1320 is securely connected to your wireless router or access point. - You can now unplug and move the DAP-1320 to a location between your wireless router and the area that you need wireless coverage.


Connect Your Wireless Devices
- From your wireless device go to the Wireless Utility to display the available wireless networks and select the Wi-Fi Network Name (SSID) that is located on your configuration card (ex: dlink-a8fa). Then, enter the Wi-Fi password which is also located on your configuration card. (ex: akbdj19368).

- Your device is now connected to the DAP-1320 and can connect to your wireless router. If you want to change your network settings, password, etc., follow the steps under Configure the DAP-1320 Using a Web Browser to connect and configure the DAP-1320. To connect additional devices, repeat step 5.

Your setup is complete!
Configure the DAP-1320 Using a Web Browser
You may log into the web-based configuration utility on the DAP-1320 to perform the following tasks:
- Run the setup wizard
- Upgrade firmware
- Change wireless and network settings
- Plug the DAP-1320 in an available outlet near your router. You may move it to a more suitable location after configuration.
- Open the wireless utility on your wireless device or computer. Select the Wi-Fi Network name (from the Wi-Fi Configuration Card) and enter the password.

- Open a web browser (e.g., Internet Explorer, Firefox, Safari, or Chrome) and enterhttp://dlinkap.local./. You may also enter the IP address* of the DAP-1320. Windows XP users can enter http://dlinkap.
![]()
- Once you connect, the login page will appear. Enter your password and click Log in. By default the password is blank.
Note: If this is the first time logging in the DAP-1320, you will be directed to the setup wizard automatically.
![]()
* The default IP address is 192.168.0.50. Once the DAP-1320 connects to your router, it will get assigned a new IP address based on your router/network's DHCP settings. You will need to log in to your router and view the DHCP table to see what IP address was assigned to the DAP-1320. The MAC address is printed on the label on the DAP-1320. - The home page will display your current status. A green check mark represents a successful connection to your wireless router or Access Point (AP).

If the check mark is red, you may connect to your wireless router or AP by clicking on the Uplink Router icon.


Visit http://www.dlink.com/DAP-1320 to download the user manual for more information.
Troubleshooting
Why can't I connect to my wireless router or my wireless connection drops?
- Verify that the DAP-1320 is within range of your wireless router. Try plugging it into a location closer to the router and verify the LED is solid green.
- Note that when repeating a wireless signal from a router or access point, devices connected to the extender will not get the same speed/throughput as when connected directly to the router.
How do I change the wireless settings on the DAP-1320?
- Open a web browser (e.g., Internet Explorer, Firefox, Safari, or Chrome) and go to http://dlinkap.local./ (or http://dlinkap on Windows XP).
- At the login screen, click or press the Log in button (no password by default).
- Go to Settings > Extended Wi-Fi Settings.
- Enter a new wireless name (SSID) and password.

- Click or press Save.
Note: If you have changed the Wi-Fi Network name, the device you are currently using to connect to the DAP-1320 will drop. You will need to open your wireless utility and connect to the DAP-1320 using the new network name and password.

What if I forgot my DAP-1320 password?
- If you forgot your password or want to reset the DAP-1320 back to the factory default settings, press and hold the reset button using a paper clip and release after 10 seconds.
![]()
This process will erase all your settings. - You may repeat the WPS process on the other side of this QIG or log in and run the Setup Wizard. Follow the steps under Configure the DAP-1320.

Documentation available at http://www.dlink.com/DAP-1320.
Technical Support
Having trouble installing your new product? D-Link's website contains the latest user documentation and software updates for D-Link products. U.S. and Canadian customers can contact D-Link Technical Support through our website.
United States
http://support.dlink.com
Canada
http://support.dlink.ca

VideosD-Link DAP-1320 Wi-Fi Extender. Unboxing, Installation, Configuration and Test Video
Documents / Resources
References

Download manual
Here you can download full pdf version of manual, it may contain additional safety instructions, warranty information, FCC rules, etc.
Download D-Link DAP-1320 - Wireless Range Extender Manual and SetUp
Advertisement
Thank you! Your question has been received!


Need Assistance?
Do you have a question about the DAP-1320 that isn't answered in the manual? Leave your question here.