Bang & Olufsen BeoLab 1 - Speakers Manual
- User manual (13 pages) ,
- Important notes (28 pages)
Advertisement
Legal notice


To reduce the risk of electric shock, do not remove cover (or back). No User-serviceable parts inside. Refer servicing to qualified service personnel.

To prevent fire or electric shock, do not expose this appliance to rain or moisture.
 This symbol indicates that a dangerous voltage constituting a risk of electric shock is present within this unit.
 This symbol indicates that there are important operating and maintenance instructions in the literature accompanying this unit.
Introduction
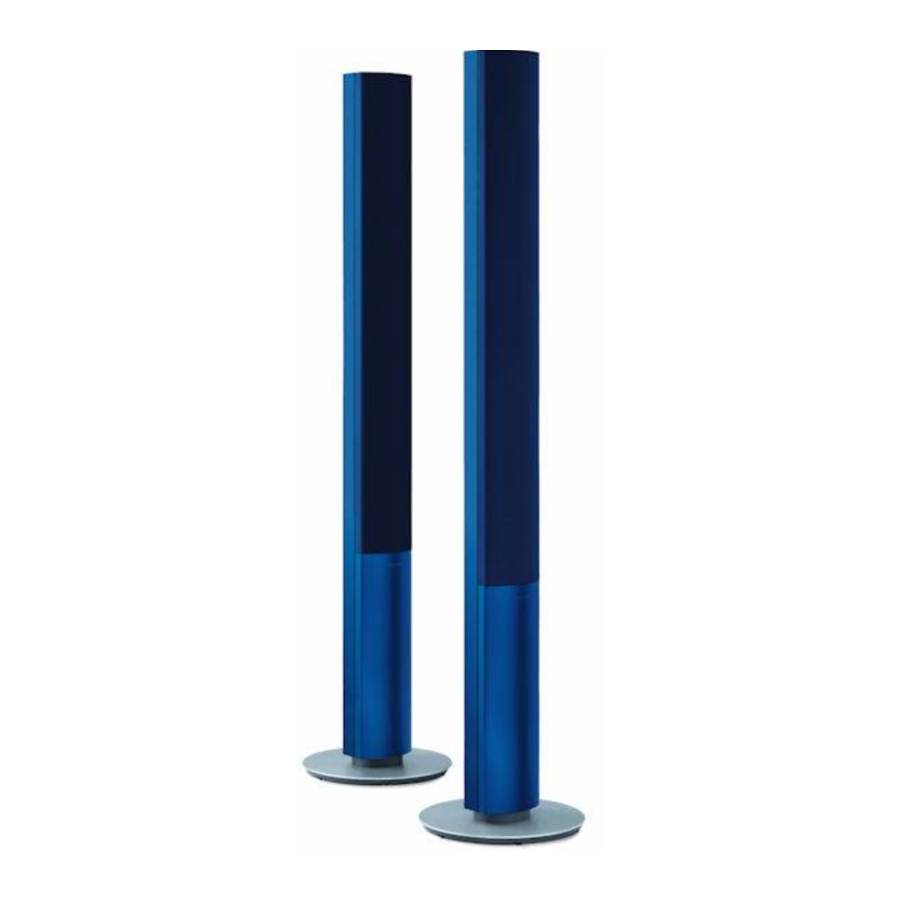
The BeoLab 1 loudspeaker is separated in two boxes: one containing the loudspeaker column, and the other the base plate.
This User's guide describes how to assemble the BeoLab 1 loudspeaker column and base plate, how to connect the BeoLab 1 loudspeaker, and how to adjust it to your surroundings. Likewise, the guide gives some advice on how to place the BeoLab 1.
How to set up the BeoLab 1 loudspeaker
NOTE! We urge you to read this part before you start assembling your loudspeakers.
We recommend that you follow this procedure when setting up the BeoLab 1 loudspeaker:
- Finish unpacking and assemble the column and base plate.
- Disconnect your Bang & Olufsen system from the mains.
- Connect your loudspeaker.
- Set the L • R • LINE switch and the Speaker Position switch to the correct setting on each BeoLab 1.
- Lift the assembled BeoLab 1 off the packing materials, and place it. As for the placement of each speaker.
- Connect both loudspeakers (and your system) to the mains – and enjoy!
Before you start...
Here we have a list of things which should be considered before setting up the BeoLab 1:
- Make sure that the BeoLab 1 is set up(placed and connected) in accordance with the instructions in this Guide.
- Always place your BeoLab 1 on a firm andstable surface.
- The BeoLab 1 is designed for indoor use indry, domestic environments only, and for use within a temperature range of 10–40°C (50– 105°F).
- Remember that all speakers in a setup need aconnection to a mains outlet, and that they, in order to switch on automatically, are designed to be connected to the mains at all times.
- Do not turn the power on for any units inyour system, until after you have all the cables plugged in.
- On the top of the BeoLab 1 is a small recess. This is for ventilation of the powerful BeoLab 1 amplifiers. Do not cover up this recess (and do not use it as 'a carrying handle' when moving your BeoLab 1 loudspeaker).
- Do not attempt to open your BeoLab 1.Leave such operations to qualified service personnel.

Bottom view of the BeoLab 1 showing access to the panel with the sockets and switches. The use and purpose of the sockets and switches.
Assemble the column and base plate
To prevent the column from being scratched, we recommend that you do not remove the foamy wrapping completely. Just un-wrap it at the bottom-end of the column to get access to the screw holes, socket panel, etc.
Due to the weight of the base plate, it is packed in a separate box. Open the box with the base plate, find the bag with the screws and the Allen key, then assemble the column and base plate as illustrated.

Assembly
While the BeoLab is still lying on the packaging, lift it up at the base-end and place an extra piece of packaging material underneath. Fix the base plate into place. The groove for the cables must point downwards (A), and the base plate guiding pin will engage the corresponding hole in bottom part of the column. Fasten the base with the six screws provided.

Rubber feet adjustment
To compensate for an uneven floor surface the BeoLab 1 base plate has been fitted with six adjustable rubber feet (indicated by the little arrows). Adjust if appropriate, but wait until you have raised and placed the loudspeaker.

Connect your loudspeakers
You gain access to the BeoLab 1 socket panel through the base plate. So, connect the cables (and set the two switches) while the BeoLab 1 is still lying on the packaging. The setting of the L • R • LINE switch is explained on this page, and the setting of the Speaker Position switch. Use the overview on the next page and the graphics imprinted on the socket panel for reference, when locating the sockets and switches. Note: To make a neat installation, we suggest that you run the cables through the cable cover as explained on the next page.
...to a Bang & Olufsen product
Connect the BeoLab 1 to your audio (or video) system using the enclosed 8-pin Power Link cable:

- Plug one end of the cable into one of thesockets marked POWER LINK on the BeoLab 1, and the other end into any one of the two sockets marked POWER LINK on the audio or video system (please refer to the Guide for the system in question).
- The switch marked L • R • LINE must be setto either L or R: L for the left-hand speaker/sound channel; set the switch to its utmost left position. R for the right-hand speaker/sound channel; set the switch to its middle position.
Looping the signals through from speaker to speaker...
To avoid cables running from both loudspeakers to your system, you can loop the signal through from speaker to speaker:

- Connect one BeoLab 1 loudspeaker to yoursystem as previously described, e.g. the lefthand speaker.
- Make a connection from the first BeoLab 1 tothe other one, using the second Power Link socket.
You may connect more than one pair of BeoLab 1 speakers to your system (as many as ten pairs, in fact). You just have to run a Power Link cable from speaker to speaker. Remember though, to set the L • R • LINE switch to the proper position for the leftand right-hand speakers, respectively.
...to a non-Bang & Olufsen product
The phono socket marked LINE must be used instead of the Power Link sockets if the BeoLab 1 is to be connected to a nonBang & Olufsen product (using e.g. a cable, part no. 6270595). The signal must be on a regulated low-voltage level.

- Connect one speaker to each of the soundchannels.
- The switch marked L • R • LINE must, in thiscase, be set to LINE on both speakers (set the switch to its utmost right position).
...to the mains
Connect the enclosed mains cord to the socket marked POWER, but do not connect it to the wall socket yet.
Running the cables – cable cover, cable clamps
You might find it easier to "thread" the cables into the enclosed cable cover before you connect them to the BeoLab 1.
Cable cover: Use the enclosed tool to "zip up" the cable cover when you have placed both the mains cord and the Power Link cable inside it.


Cable clamps: For safety reasons you must fasten the cables and cable cover with the two clamps, as shown.
Adapt the BeoLab 1 to its surroundings
The BeoLab 1 can be placed almost anywhere in your room. However, the most natural sound and best stereo perspective is obtained if the BeoLab 1 is set up according to the guidelines. To filter out the natural bass boost obtained if a loudspeaker is placed e.g. in a corner – compared to a more freestanding position – the BeoLab 1 has a three-position switch referred to as the Speaker Position switch.
Note: As the Power Link cable carries both the left and the right sound channel it is important that you remember to set the L • R • LINE switch to the correct setting on each of the loudspeakers.
Setting the speaker Position switch
The purpose of the Speaker Position switch is to ensure that the bass level suits the placement of the BeoLab 1, and thus the surroundings. Which switch position to choose depends on the distance from the BeoLab 1 to the walls and corners of the room.
The Speaker Position switch has three settings:
- FREESTANDING: This is the neutral setting, i.e. no filtering at all. Use this setting if the BeoLab 1 is placed more than 40 cm from the wall (shown by the large lightest grey area in the overview on the next page). However, we recommend that you do not place the BeoLab 1 more than approx. 1 m away from the wall as this gives a lower bass output.
- AGAINST WALL: The next level of filtering. Usethis setting if the BeoLab 1 is placed closer than 40 cm to a wall, and no closer to a corner than 130 cm (shown by the light grey areas along the walls in the overview).
- IN CORNER: This is the setting with the mostfiltering. Use this setting if the BeoLab 1 is placed in a corner (shown by the darkest grey areas in the overview).
The examples, and the dimensions shown, are meant as guidelines only. You may, of course, set the switch to any of the three positions you prefer.

How to measure? The measurements are both 'taken' from the edge of the BeoLab 1 bottom plate which is placed closest to the wall (the zone along the walls of the room is approx. the width of the BeoLab 1 bottom plate).


Placement/listening position. To obtain the most natural sound and best stereo perspective set up your favourite listening position according to the guidelines shown here.
Example 1: The loudspeakers are placed in one end of the room (but not against the wall), and not near the side walls. Thus, the Speaker Position switch should be set to FREESTANDING on both the left- and right-hand loudspeaker.

Example 2: One loudspeaker is placed against the wall, and the other is placed in a corner of the room.
Speaker L: Should be set to AGAINST WALL.
Speaker R: Should be set to IN CORNER.

Example 3: As in example 2, one loudspeaker is placed against the wall, and the other is placed in a corner. The shape of the room has no influence on the settings.
Speaker L: Should be set to AGAINST WALL.
Speaker R: Should be set to IN CORNER.

Daily use
When you have finished setting up your BeoLab 1, connect your entire Bang & Olufsen system to the mains. The stand-by indicator lights up in red, indicating that the BeoLab 1 is in stand-by, ready to be used.
As the BeoLab 1 speakers are designed to be left in stand-by mode when not in use, i.e. the power should not be switched off at the switch on the wall.
Please note: The BeoLab 1 is designed to protect itself if the loudspeaker units or the amplifiers become overheated. The loudspeaker protection circuits will become active after a period of playing very loud music, etc. at a high level.
Switching on and off – indicator
When you switch on your music system, the BeoLab 1 loudspeakers switch on simultaneously. The red stand-by indicator light turns green, indicating that the speakers are switched on.
When you switch off your system, or mute the sound, the red indicator light appears immediately, indicating that the BeoLab 1 speakers are not in use.
If the BeoLab 1 speakers are connected to a non-Bang & Olufsen system – via the phono socket (LINE) – they switch on automatically when a signal is received from the system. They switch off automatically a few minutes after the signal has disappeared.
Loudspeaker protection
If the loudspeaker units become overheated, the BeoLab 1 will instantly reduce the sound level. When the situation has stabilised, the sound level is slowly returned to normal. If the loudspeaker is played constantly at such a high level, the BeoLab 1 will eventually mute the sound completely.
If the amplifier units become overheated, the BeoLab 1 will reduce the sound level and mute.
Should the BeoLab 1 mute, the sound will fade and the indicator light turn red.
To restore the sound:
- Disconnect the BeoLab 1 from the mains.
- Allow the loudspeakers and amplifiers timeto cool off.
- Reconnect the BeoLab 1 to the mains.
Should the problem persist, please contact your Bang & Olufsen dealer.

Cleaning the BeoLab 1
Clean the surfaces of the BeoLab 1 using a soft, lint-free cloth which you have wrung firmly in a solution of lukewarm water containing a few drops of for example a dish washing detergent.
The front speaker cloth may be cleaned with a vacuum cleaner, set to the lowest level.
Note: Never use alcohol or other solvents to clean any part of your BeoLab 1!

Documents / ResourcesDownload manual
Here you can download full pdf version of manual, it may contain additional safety instructions, warranty information, FCC rules, etc.
Advertisement
Thank you! Your question has been received!


Need Assistance?
Do you have a question about the BeoLab 1 that isn't answered in the manual? Leave your question here.