Cisco WAP4410N - Wireless-N Access Point Quick Start Guide
- Administration manual (92 pages) ,
- User manual (88 pages) ,
- Datasheet (5 pages)
Advertisement
Package Contents
- WAP4410N Wireless Access Point
- Detachable Dipole Antennas (3)
- Power Adapter
- Desktop Stands (2)
- 5-Foot Category 5 Ethernet Cable (1.5 meters)
- Administration Guide on CD-ROM
Product Overview
The WAP4410N Access Point enables you to add Wireless-N (802.11n) devices to your network without so much as a power plug. The WAP4410N allows for greater range and mobility within your wireless network while also allowing you to connect the wireless network to a wired environment, as shown in the following sample wireless network setup.

The WAP4410N Access Point supports the 802.11n Draft 2.0 Specification by IEEE. It also support 802.11g and 802.11b clients in a mixed environment. This access point can support 802.11n connections, which are much faster than the earlier 802.11b/g technologies. In addition, this access point provides longer coverage by using multiple antennas to transmit and receive data streams in different directions.
Use the instructions in this Quick Start Guide to install and perform the initial setup of the access point. More detailed setup and configuration instructions are in the WAP4410N Wireless-N Access Point with Power Over Ethernet Administration Guide, which you can get from Cisco.com, as indicated in Section 4, "Where to Go From Here."
Front Panel
The LEDs of the access point on the front panel display information about network activity.

POWER LED—(Green) Lights up and remains lit when the access point is powered on.
PoE LED—(Green) Lights up when the access point is powered through an Ethernet cable.
WIRELESS LED—(Green) Lights up when the wireless module is active on the access point. This LED flashes when the access point is actively sending to or receiving data from a wireless device.
ETHERNET LED—(Green) Lights up when the access point successfully connects to a device through the Ethernet network port. This LED flashes when the access point is actively sending to or receiving data from one of the devices over the Ethernet network port.
Back Panel
The ports of the access point are located on the back panel of the switch.

RESET Button—There are two ways to reset the access point to the factory default configuration. Either press the Reset button for approximately 10 seconds or restore the defaults using the web-based utility of the access point.
ETHERNET Port—Connects to Ethernet network devices, such as a switch or router that may or may not support PoE.
POWER Port—Connects the access point to power using the supplied 12VDC power adapter.
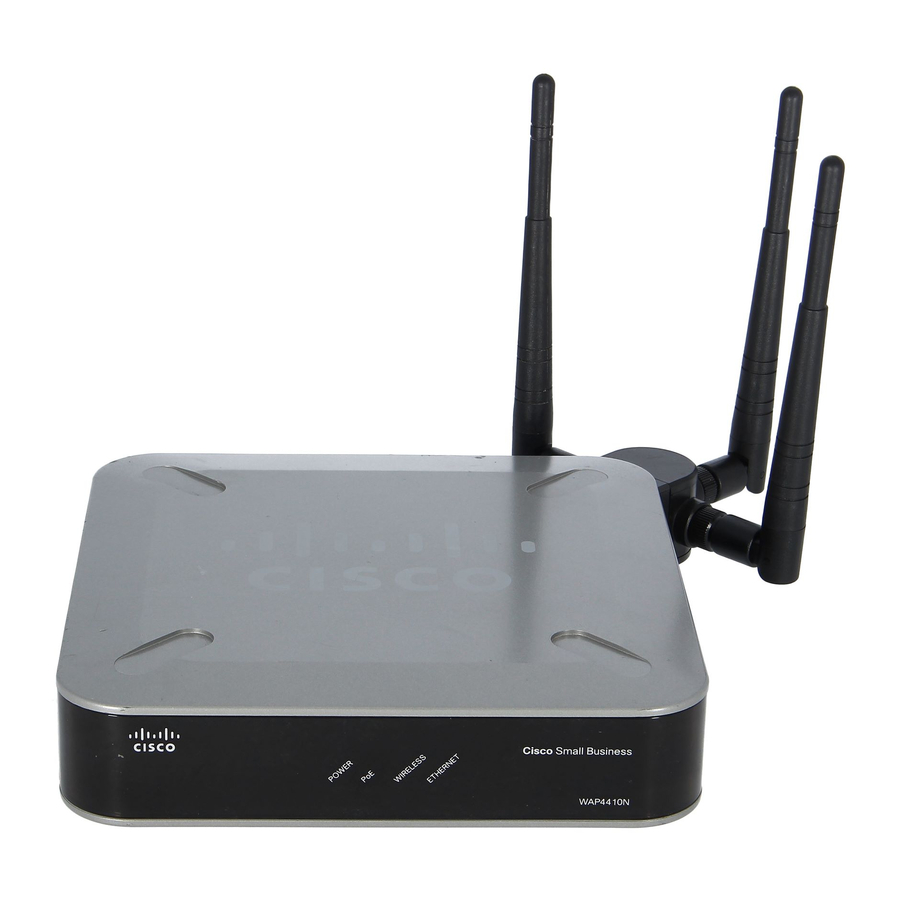
WAP4410N Access Point Antennas
The WAP4410N Access Point has three detachable 2dBi omni-directional antennas. These antennas are located on the back of the device.
The three antennas have a base that can rotate 90 degrees when in the standing position. The three antennas support 3X3 "multiple in, multiple out" (MIMO) diversity in wireless-N mode.
Placement Options
You can place the WAP4410N Access Point horizontally on its rubber feet, vertically in a stand, or mount it on the wall.
Desktop Option
For desktop mounting, place the access point horizontally on a surface so it sits on its four rubber feet.
Wall-Mount Option
To mount the WAP4410N Access Point on a wall, follow these steps.
STEP 1 Determine where you want to mount the WAP4410N Access Point and install two screws (not supplied) that are 2-15/16 inches apart (approximately 7.46 cm.).
STEP 2 With the back panel pointing up (if installing vertically), line up the WAP4410N Access Point so that the wall-mount crisscross slots on the bottom of the access point line up with the two screws.

STEP 3 Place the wall-mount slots over the screws and slide the WAP4410N
Access Point down until the screws fit snugly into the wall-mount slots.
Stand Option

To place the access point vertically in a stand, follow these steps.
STEP 1 Locate the left side panel of the WAP4410N Access Point.
STEP 2 With the two large prongs of one of the stands facing outward, insert the short prongs into the little slots in the WAP4410N Access Point, and push the stand upward until the stand snaps into place.
Repeat this step with the other stand.

Connecting the WAP4410N Access Point to the Network
You can connect the WAP4410N Access Point to your network in one of the following ways:
- Using a PoE switch
- Using a standard switch
Using a PoE Switch to Connect the WAP4410N to the Network
To connect the WAP4410N Access Point to your network using a PoE switch, simply connect the Ethernet port of the access point to a PoE port on the PoE switch.

The LEDs on the front panel light up as soon as the WAP4410N Access Point powers on.
Using a Standard Switch to Connect the WAP4410N to the Network
To connect the WAP4410N Access Point to your network using a standard switch, follow these steps.
STEP 1 Use the supplied Ethernet cable to connect the Ethernet port of the access point to an Ethernet port on the switch.
STEP 2 Connect the included power adapter to the Power port of the WAP4410N Access Point.
STEP 3 Plug the power adapter into an electrical outlet.

The LEDs on the front panel light up as soon as the WAP4410N Access Point powers on.
Configuring the WAP4410N Access Point
The WAP4410N Access Point works right out of the box with the default settings. However, you can change these settings to suit your needs by accessing the access point using a web-based configuration utility.
Launching the Web-Based Configuration Utility
To configure the WAP4410N Access Point, follow these steps to access the WAP4410N web-based configuration utility from your computer.
STEP 1 Connect your computer to the same network the WAP4410N Access Point is connected to.
STEP 2 Configure your computer to be on the same subnet as the access point (for example 192.168.1.199).
By default, the WAP4410N Access Point has an IP address of 192.168.1.245 and a default mask of 255.255.255.0.
STEP 3 Launch a web browser, such as Internet Explorer or Mozilla Firefox.
STEP 4 In the Address field enter 192.168.1.245 and press the Enter key.
STEP 5 In the User Name and Password fields enter admin.
The default user name and password is admin.
STEP 6 Click Log in.
Upgrading the Firmware
To upgrade the firmware of the WAP4410N Access Point:
STEP 1 Download the firmware upgrade file from:
www.cisco.com/en/US/products/ps10052/index.html
STEP 2 In the configuration utility, Click Administration > Firmware Upgrade.
STEP 3 Click Browse, select the firmware upgrade file, and click OK.
STEP 4 Click Upgrade and follow the on-screen instructions.
Configuring the Access Point
When you access the WAP4410N Access Point using the web-based configuration utility for the first time or after a firmware upgrade, you should change the default password of the access point to protect it from unauthorized use. Additionally, depending on your deployment requirements, you might need to change some of the configuration parameters of the access point.
For more information on how to change the password and configure the access point, refer to the WAP4410N Wireless-N Access Point with Power Over Ethernet Administration Guide. This guide is on the CD-ROM that comes with the product. You can also access this guide and other related documentation on Cisco.com, as indicated in the next section.
Cisco Systems, Inc.
170 West Tasman Drive
San Jose, CA 95134-1706
USA
http://www.cisco.com
Tel: 408 526-4000
800 553-NETS (6387)
Fax: 408 527-0883
© 2009 Cisco Systems, Inc. All rights reserved.

Documents / Resources
References
Cisco WAP4410N Wireless-N Access Point - PoE/Advanced Security - Retirement Notification - Cisco
Networking, Cloud, and Cybersecurity Solutions - Cisco
Download manual
Here you can download full pdf version of manual, it may contain additional safety instructions, warranty information, FCC rules, etc.
Download Cisco WAP4410N - Wireless-N Access Point Quick Start Guide
Advertisement
Thank you! Your question has been received!


Need Assistance?
Do you have a question about the WAP4410N that isn't answered in the manual? Leave your question here.