Table of Contents
Advertisement
Quick Links
INSTRUCTION MANUAL
Catalog Number PSL12
Thank you for choosing Black & Decker! Go to
www.BlackandDecker.com/NewOwner
PLEASE READ BEFORE RETURNING
THIS PRODUCT FOR ANY REASON:
If you have a question or experience a problem with your
WWW.BLACKANDDECKER.COM/INSTANTANSWERS
If you canʼt find the answer or do not have access to the internet,
call 1-800-544-6986 from 8 a.m. to 5 p.m. EST Mon. - Fri
Please have the catalog number available when you call.
SAVE THIS MANUAL FOR FUTURE REFERENCE.
VEA EL ESPAÑOL EN LA CONTRAPORTADA.
POUR LE FRANÇAIS, VOIR LA COUVERTURE ARRIÈRE.
INSTRUCTIVO DE OPERACIÓN, CENTROS DE SERVICIO Y
PÓLIZA DE GARANTÍA. ADVERTENCIA: LÉASE ESTE
INSTRUCTIVO ANTES DE USAR EL PRODUCTO.
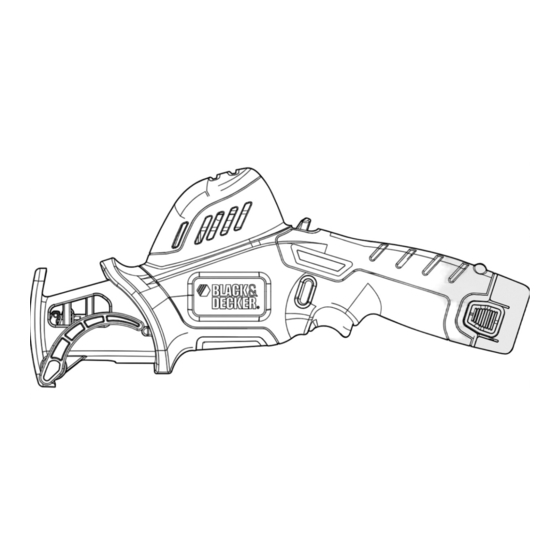
Piranha Saw
to register your new product.
Black & Decker purchase, go to
for instant answers 24 hours a day.
to speak with an agent.
Advertisement
Table of Contents

Related Manuals for Black & Decker PSL12


Summary of Contents for Black & Decker PSL12
- Page 1 INSTRUCTION MANUAL Piranha Saw Catalog Number PSL12 Thank you for choosing Black & Decker! Go to www.BlackandDecker.com/NewOwner to register your new product. PLEASE READ BEFORE RETURNING THIS PRODUCT FOR ANY REASON: If you have a question or experience a problem with your Black &...
-
Page 2: Safety Guidelines - Definitions
SAFETY GUIDELINES - DEFINITIONS It is important for you to read and understand this manual. The information it contains relates to protecting YOUR SAFETY and PREVENTING PROBLEMS. The symbols below are used to help you recognize this information. Indicates an imminently hazardous situation which, if not avoided, will result in death or serious injury. -
Page 3: Specific Safety Rules
that have the switch on invites accidents. d) Remove any adjusting key or wrench before turning the power tool on. A wrench or a key left attached to a rotating part of the power tool may result in personal injury. e) Do not overreach. - Page 4 give the operator an electric shock. • Use clamps or another practical way to secure and support the work piece to a stable platform. Holding the work by hand or against your body leaves it unstable and may lead to loss of control. •...
- Page 5 To reduce your exposure to these chemicals, wear approved safety equipment such as dust masks that are specially designed to filter out microscopic particles. ALWAYS use safety glasses. Everyday eyeglasses are NOT safety glasses. Also use face or dust mask if cutting operation is dusty. ALWAYS WEAR WARNING: CERTIFIED SAFETY EQUIPMENT: •...
- Page 6 8.) AVOID UNINTENTIONAL STARTING - Donʼt carry plugged in appliance with finger on switch. Be sure switch is off when plugging in. 9.) DONʼT FORCE APPLIANCE. It will do the job better and with less likelihood of a risk of injury at the rate for which it was designed. 10.) DONʼT OVERREACH - Keep proper footing and balance at all times.
-
Page 7: Important Safety Instructions For Battery Packs
IMPORTANT SAFETY INSTRUCTIONS FOR BATTERY PACKS WARNING: For safe operation, read this manual and manuals originally supplied with tool before using the charger. The battery pack is not fully charged out of the carton. Before using the battery pack and charger, read the safety instructions below. Then follow charging procedures outlined. - Page 8 Recharge discharged batteries as soon as possible after use or battery life may be greatly diminished. For longest battery life, do not discharge batteries fully. It is recommended that the batteries be recharged after each use. CHARGER DIAGNOSTICS This charger is designed to detect certain problems that can arise with the battery packs or the power source.
- Page 9 This equipment generates, uses and can radiate radio frequency energy and, if not installed and used in accordance with the instructions, may cause harmful interference to radio or television reception, which can be determined by turning the equipment off and on, the user is encouraged to try to correct the interference by one or more of the following measures: .
- Page 10 NOTE: This tool has no provision to lock the switch in the ON position, and should never be locked in the ON position by any other means. USING THE CLAW (FIGURE F) To release claw (7): • Pull back on claw release button (5). This will release the claw.
-
Page 11: Maintenance
• Guide the tool using light pressure. • Always cut down from the top. This way you will avoid pinching the saw blade. • Remove branches starting from branch tip. Reduce the branch in logical steps cutting off small sections. •... -
Page 12: Troubleshooting
TROUBLESHOOTING • Unit will not start. • Battery pack not installed properly. • Check battery pack PROBLEM POSSIBLE CAUSE POSSIBLE SOLUTION installation. • Battery pack not charged. • Check battery pack charging requirements. • Battery pack will not charge. • Battery pack not inserted into charger. • Insert battery pack into charger until green LED appears. - Page 13 LATIN AMERICA: This warranty does not apply to products sold in Latin America. For products sold in Latin America, check country specific warranty information contained in the packaging, call the local company or see the website for warranty information. Imported by See ʻTools-Electricʼ...