Advertisement
Table of Contents
Contents
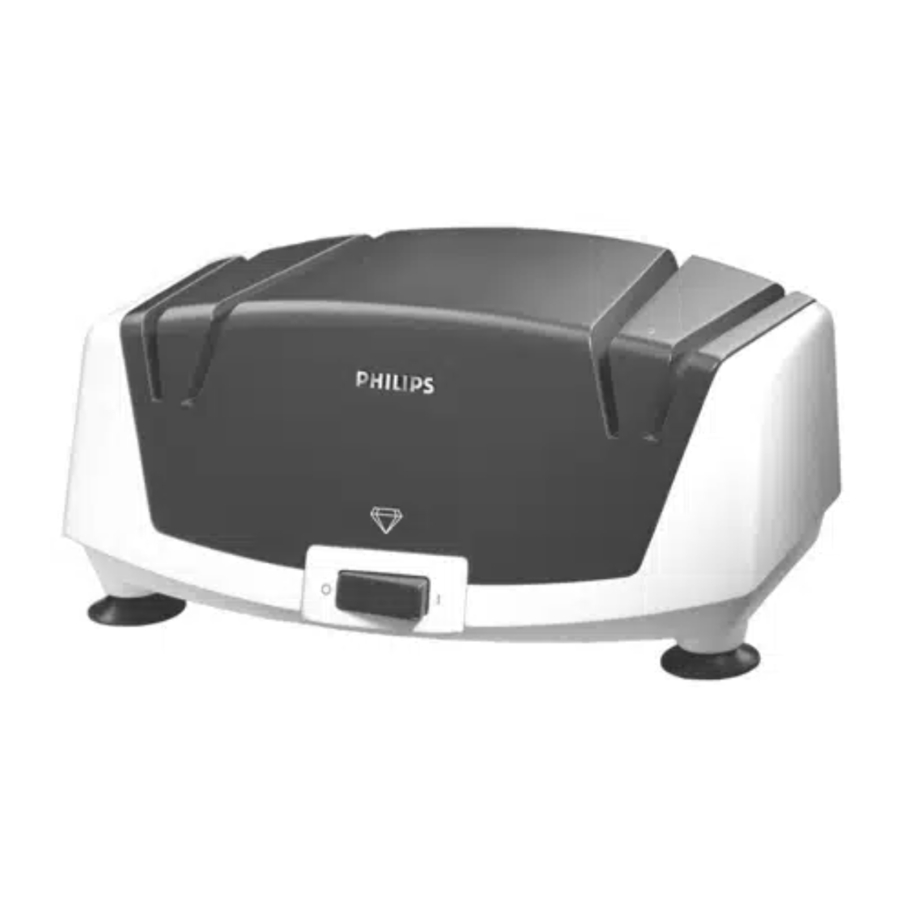
Philips HR 2577 - Knife Sharpener Manual
General description
- Read these instructions in conjunctionwith the illustrations before using the appliance.
- Before connecting the appliance ensurethat the voltage indicated on the underside of the appliance corresponds with the mains voltage in your home.
- Do not immerse the appliance into water. You can clean it with a damp cloth.
- Only sharpen knives with this appliance. Clean the knives well before grinding: a dirty grindstone will not sharpen effectively.
- With this appliance you can also sharpenserrated table knives. In this case you only grind the non-serrated side of the cutting edge. As a little steel is ground off with each sharpening, the serration will gradually disappear.
- This appliance is not suitable for coarselyserrated blades such as breadknives and the blades of an electric knife.
- If the mains cord of this appliance isdamaged, it must only be replaced by Philips or their service representative, as special tools and/or parts are required.
(fig. 1)

- On/Off switch (| = On; O = Off)
- Blade guide slots for coarse grinding
![]()
- Blade guide slots for fine grinding, deburring
![]()
- Suction pads (for stable positioning)


Sharpening knives
- Place the knife sharpener on a stable, horizontal surface (e.g. work top, table top).
- During operation some grinding dust will come from the appliance. Use the knife sharpener on a surface which can easily be cleaned.
- Switch on (fig. 2).
![]()
- Pull the knife smoothly (without hampering or stopping!) through the guide slot (fig. 3, 4). This action takes 2-3 seconds.

- Of astraight cutting edge sharpen both sides (fig. 5).

- First use the two guide slots for coarse grinding
![]() .
.
Alternately use the left side slot and the right side slot.
If required, repeat this a couple of times. - Subsequently use the two guide slots for fine grinding
![]() in the same manner.
in the same manner. - Of a serrated cutting edge only sharpen the straight (non serrated) side.
For this purpose use only one of the two guide slots for fine grinding![]() .
. - Serrated side on the left: use only the left side guide slot (fig. 6).
![]()
- Serrated side on the right: use only the right side guide slot (fig. 7).
![]()
- Serrated side on the left: use only the left side guide slot (fig. 6).
- Never try to move (push) the knife through aguide slot in adverse direction: this may cause damage to the knife and to the grinding stones (fig. 8).
![]()
- The best result will be obtained if you push theblade gently downwards during sharpening. Do not apply excessive pressure!
- If you push the blade downwards too much, theappliance may be blocked. If this happens, just lift the knife a little.
- First practice sharpening using a less valuableknife.
- Never run your finger along the cutting edge tocheck the sharpness. Use e.g. a piece of paper for this purpose.
- Wash the knife after sharpening to prevent grindings to come into your food.


Cleaning
- Remove the mains plug from the wall socket.
- Clean the appliance with a damp cloth.
- A few times per year hold the appliance upside down and shake out the grindings (fig. 9). You can also use a vacuum cleaner to remove grindings from the appliance.
![]()


Documents / ResourcesDownload manual
Here you can download full pdf version of manual, it may contain additional safety instructions, warranty information, FCC rules, etc.
Advertisement
Thank you! Your question has been received!


Need Assistance?
Do you have a question about the HR 2577 that isn't answered in the manual? Leave your question here.