Advertisement
Information for Your Safety
- The unit can be used after being attached to a digital camera compatible with the lens mount standard for the Micro Four ThirdsTM system and a compatible lens.
- It cannot be mounted on the Four ThirdsTM mount specification camera.
- The unit can be used in combination with an interchangeable lens (H-ES200).
(As of January 2018)
For the most up-to-date information on compatible lenses other than this lens, check the Panasonic website. - Do not attach any parts other than a compatible lens. Doing so may damage the unit or the lens or adversely affect its performance.
- The instructions provided in this manual use the digital camera illustrations of DC-G9 and the interchangeable lens illustrations of H-ES200 as examples.
- The appearance and specifications of products described in this manual may differ from the actual products you have purchased due to later enhancements.
- Micro Four ThirdsTM and Micro Four Thirds Logo marks are trademarks or registered trademarks of Olympus Corporation, in Japan, the United States, the European Union and other countries.
- Four ThirdsTM and Four Thirds Logo marks are trademarks or registered trademarks of Olympus Corporation, in Japan, the United States, the European Union and other countries.
- Other names of systems and products mentioned in these instructions are usually the registered trademarks or trademarks of the manufacturers who developed the system or product concerned.
Precautions
Handling the unit
- The unit is designed to be dust- and splash-proof. Keep the points below in mind when using the unit. If it is not working properly, contact your dealer or nearest Service Center.
- Attach the unit to a digital camera and lens that are dust- and splash-proof before use. The unit is not designed to be dust- and splash-proof when attached to a digital camera and lens that are not dust- and splash-proof.
- When attaching or removing the unit, be careful so that foreign materials such as sand, dust, and water droplets do not adhere to or enter the lens mount rubber, the contact points, the digital camera or the unit.
- The unit is not waterproof and therefore cannot be used for underwater recording. The splash-proofing of the unit is designed to minimize water entry. If the unit is exposed to water splashes, wipe them off with a soft dry cloth after use.
- To enhance the dust- and splash-proof performance of the unit, a lens mount rubber is embedded in the mount. As you attach and remove the unit many times, the lens mount rubber may eventually leave its mark on the mount of the digital camera body, but this will not affect the performance of the digital camera. For information about the replacement of the lens mount rubber, contact your nearest Service Center.
- Do not press the lens surface of the unit with force.
- When there is dirt (water, oil, and fingerprints, etc.) on the surface of the unit, the picture may be affected. Lightly wipe the surface of the unit with a soft, dry cloth before and after taking pictures.
- To prevent dust and other particles from accumulating on or entering the unit, attach the lens rear cap when the unit is not in use.
About Condensation (Fogging of the Lens)
- Condensation occurs when the ambient temperature or humidity changes. Please be careful, as it may cause the lens to become dirty and lead to mould and malfunctioning.
- If condensation occurs, turn the power off and leave it for about two hours. Once the camera acclimatizes to the surrounding temperature the condensation will go away naturally.
Supplied Accessories (A)

Product numbers correct as of January 2018. These may be subject to change.
- Lens Pouch
- Lens Cap
- Lens Rear Cap
- The lens rear cap and lens cap are attached to the unit at the time of purchase.
Names and Functions of Components (B)

- Fitting mark
- Lens release button
- Lens fitting mark
- Contact points
- Do not place the unit with its contact points facing down to protect them. In addition, be careful not to stain them.
- Lens mount rubber
Attaching/Removing the Teleconverter (C)

- Before attaching or removing the teleconverter, verify that the digital camera is turned off.
- Remove the lens cap and the lens rear cap.
To attach the teleconverter
(See illustration 1/2)
- Align the fitting mark
![]() on the teleconverter with the lens fitting mark
on the teleconverter with the lens fitting mark ![]() on the interchangeable lens (
on the interchangeable lens (![]() ), and rotate the teleconverter in the arrow direction until a clicking sound is heard. (
), and rotate the teleconverter in the arrow direction until a clicking sound is heard. (![]() )
) - Align the lens fitting mark
![]() on the teleconverter with the lens fitting mark
on the teleconverter with the lens fitting mark ![]() on the digital camera (
on the digital camera (![]() ), and rotate the lens in the arrow direction until a clicking sound is heard. (
), and rotate the lens in the arrow direction until a clicking sound is heard. (![]() )
)
 on the teleconverter with the lens fitting mark
  on the interchangeable lens (
 ), and rotate the teleconverter in the arrow direction until a clicking sound is heard. (
 )
) on the teleconverter with the lens fitting mark
  on the digital camera (
 ), and rotate the lens in the arrow direction until a clicking sound is heard. (
 )
)- When attaching the lens to the digital camera, do not press the lens release button
![]() and the lens release button on the teleconverter.
and the lens release button on the teleconverter.
 and the lens release button on the teleconverter.
To remove the teleconverter
(See illustration 3/4)
- While pressing and holding the lens release button
![]() on the digital camera, rotate the lens fitted with the teleconverter in the arrow direction until it stops and remove it (
on the digital camera, rotate the lens fitted with the teleconverter in the arrow direction until it stops and remove it (![]() ,
, ![]() ).
). - While pressing and holding the lens release button
![]() on the teleconverter, rotate the teleconverter in the arrow direction until it stops and remove it (
on the teleconverter, rotate the teleconverter in the arrow direction until it stops and remove it (![]() ,
, ![]() ).
).
 on the teleconverter, rotate the teleconverter in the arrow direction until it stops and remove it (
 Note
Note
- When the teleconverter is mounted, the minimum f-number will be set to a value two steps greater than the original value.
- When updating the interchangeable lens firmware to the latest version, remove the teleconverter before performing the update.
Cautions for Use
When carrying the unit, do not drop it or hit it against a hard surface. In addition, take care not to apply excessive pressure on the unit.
- Be careful not to drop the bag containing the unit or hit it against a hard surface, as doing so will expose the unit to impact. Otherwise, the unit may stop operating correctly or pictures may no longer be recorded. Damage to the unit may also result.
When using pesticides and other volatile substances around the camera make sure that they do not get onto the unit.
- If such substances get onto the unit they can damage the exterior case or cause the paint to peel.
Do not point the unit at the sun or other strong light sources.
- This could cause the unit to collect an excessive amount of light, resulting in fire and malfunction.
- Avoid using or storing the unit in any of the following locations as this may cause problems in operation or malfunctioning:
- In direct sunlight or on a beach in summer
- In locations with high temperatures and humidity levels or where the changes in temperature and humidity are acute
- In locations with high concentrations of sand, dust or dirt
- Where there is fire
- Near heaters, air conditioners or humidifiers
- Where water may make the unit wet
- Where there is vibration
- Inside a vehicle
- Refer also to the operating instructions of the digital camera.
- When the unit is not going to be used for a prolonged period, we recommend storing with a desiccant (silica gel). Failure to do so may result in performance failure caused by mold, etc. It is recommended that you check the unit's operation prior to use.
- Do not leave the unit in contact with rubber or plastic products for extended periods of time.
- Do not touch the unit's contact points. Doing so may cause malfunction.
- Do not disassemble or alter the unit.
Do not leave the unit in direct contact with the skin in cold temperatures for long periods of time.
- In cold locations (environments below 0 ºC (32 ºF), such as ski slopes), prolonged direct contact with the metal parts of the unit may cause skin injury. Use gloves or similar when using the unit for long periods of time.
Do not use benzine, thinner, alcohol or other similar cleaning agents to clean the unit.
- Using solvents can damage the unit or cause the paint to peel.
- Wipe off any dust or fingerprints with a soft, dry cloth.
- Use a dry, dust-free cloth to remove dirt and dust on the lens mount rubber.
- Do not use a household detergent or a chemically treated cloth.
Specifications
Specifications are subject to change without notice.
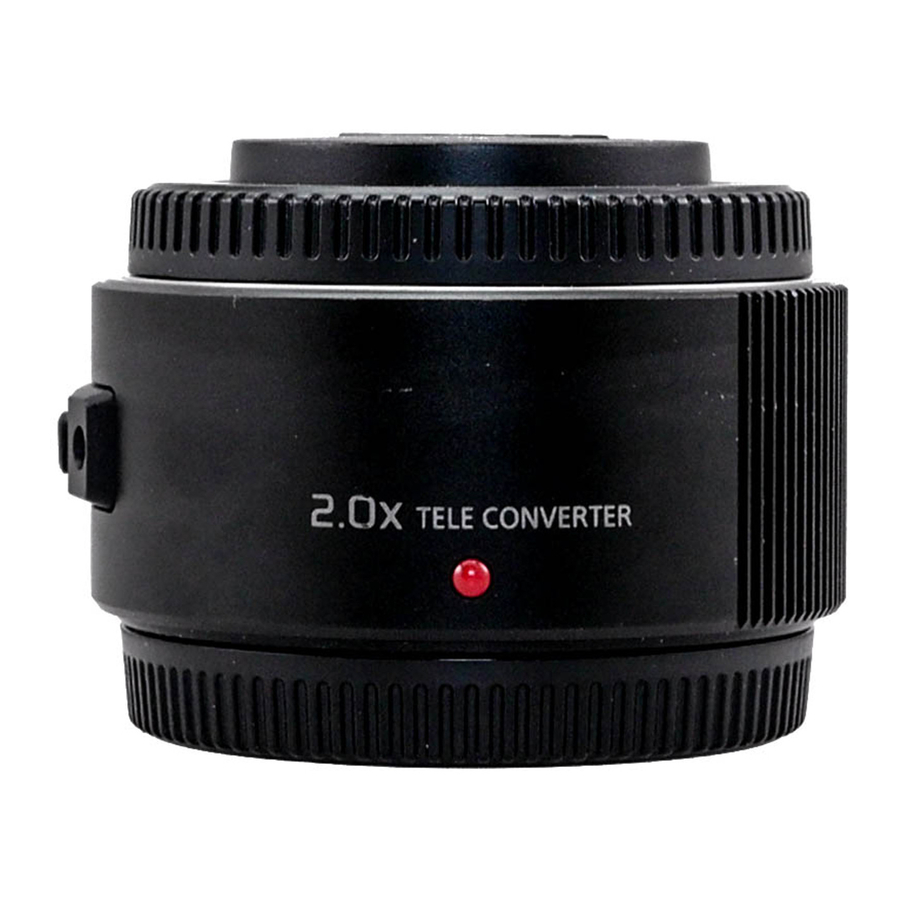
2.0x Teleconverter (DMW-TC20)
| Focal length |
| 2.0k that of the attached lens. |
| Lens construction |
| 8 elements in 5 groups |
| Max. diameter |
| Ø58 mm (2.3 inch) |
| Overall length |
| Approx. 34 mm (1.3 inch) (from the tip of the lens to the base side of the lens mount) |
| Mass |
| Approx. 160 g (0.353 lb) |
| Operating temperature |
| –10 ºC to 40 º C (14 º F to 104 º F) |
| Dust-proof and splash-proof |
| Available |

VideosPanasonic Leica 50-200mm f/2.8-4 | DMW-TC20 (2x Teleconverter) | Panasonic Lumix GH5 | Review Video
Documents / ResourcesDownload manual
Here you can download full pdf version of manual, it may contain additional safety instructions, warranty information, FCC rules, etc.
Advertisement
Thank you! Your question has been received!


Need Assistance?
Do you have a question about the DMW-TC20 that isn't answered in the manual? Leave your question here.