D-Link DUB-E100 - USB 2.0 Fast Ethernet Adapter Quick Install Guide
- Quick installation manual (81 pages) ,
- User manual (25 pages) ,
- Installation manual (8 pages)
Advertisement
Package Contents
Follow the easy steps in this guide to properly set up your adapter. Please verify that all the package contents below are available.
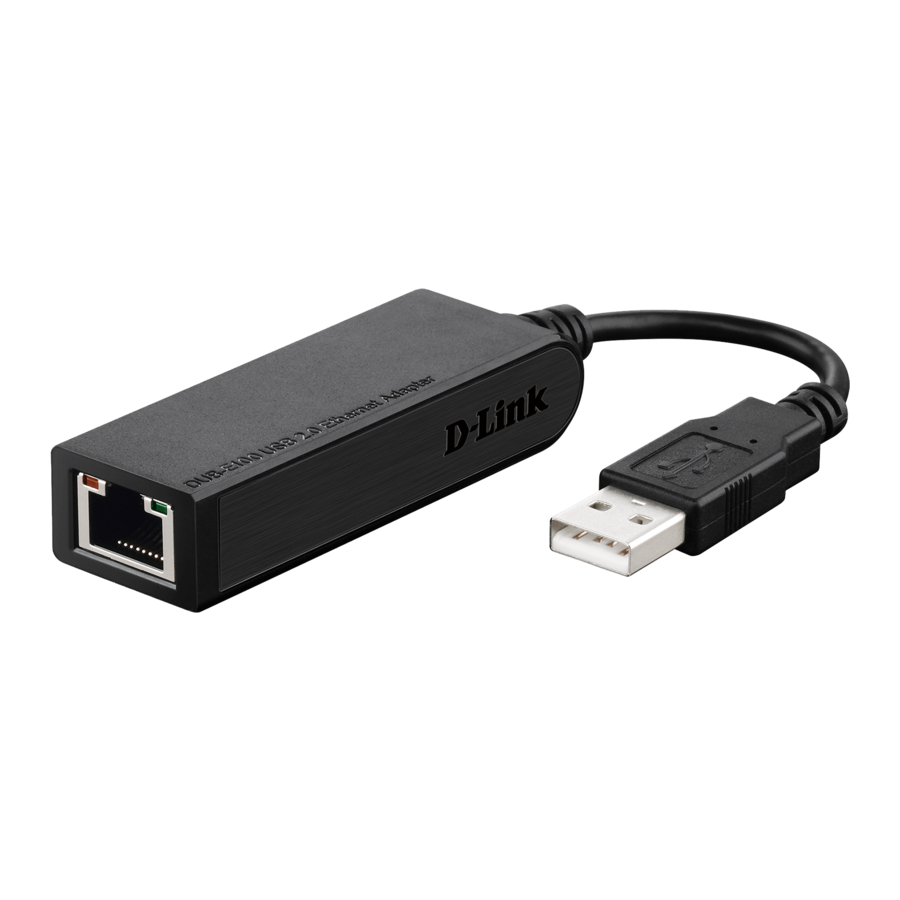
 DUB-E100 USB 2.0 Fast Ethernet Adapter
 CD with drivers and User Manual
If any of the above items are missing, please contact your reseller.
Minimum System Requirements
- Computer with Microsoft Windows® 8, Windows® 7, Vista®, XP (Service Pack 2), or 2000 (Service Pack 4); Mac OS® 10.5 and above, Linux 2.6 and above
- Available USB port
- At least 32 MB of memory
- CD-ROM Drive
Product Overview

- Speed LED
Lights up solid amber when the network connection is at 100 Mbps and remains off when connected to a 10 Mbps network. - Tx/Rx LED
Flashes green when data is being transmitted or received.
Installation - Windows® 8 / 7 / Vista® / XP
This driver installation process is for Windows® 8, Windows® 7, Vista®, and XP. It might vary slightly for older Windows® operating systems. To install the DUB-E100 on a Mac or Linux system, please refer to the DUB-E100 user manual on the Installation CD. Drivers can also be support.dlink.com (USA) or support.dlink.ca (CAN).
Step 1
Insert the Installation CD into your CD drive. When the DUB-E100 user interface menu appears, click on Install to begin the DUB-E100 driver installation. The InstallShield Wizard will appear and complete the installation.
Note: If the user interface does not start up, please browse to the Autorun folder in your PC's CD drive and open the autorun.exe file.

Step 2
Once you have completed the driver installation, plug the DUB-E100's USB cable into an available USB port on your computer.
Step 3
Attach an Ethernet cable to the Ethernet port on the DUB-E100.
Step 4
Attach the other end of the Ethernet cable to your network switch or router.
Step 5
Windows will detect the new hardware and prompt you for the drivers.
For Windows® 8 / 7 and Vista®
The driver software installation will start automatically.
For Windows® XP
The Found New Hardware Wizard box will appear. Select Yes, this time only and click Next to continue.
On the next screen, select the option to install the software automatically and click Next to continue. The driver software installation will then start automatically.
Step 6
When the installation of the DUB-E100 is complete, the Speed LED will illuminate solid green when the DUB-E100 is connected to a 100 Mbps network and remains off when connected to a 10 Mbps network. The Tx/Rx LED will flash amber when data is being transmitted or received. If both LEDs are unlit, there may be a problem with the physical connection. Check the cables between your DUB-E100 and your switch or router. Verify that your network switch or router is powered on.
Networking Basics
If you are not using a DHCP capable gateway/router, or you need to assign a static IP address, please follow the steps below:
Step 1
| Windows 7 ® | Click on Start > Control Panel > Network and Internet > Network and Sharing Center > Change Adapter Setting. |
| Windows Vista ® | Click on Start > Control Panel > Network and Internet > Network and Sharing Center > Manage Network Connections. |
| Windows ® XP | Click on Start > Control Panel > Network Connections. |
| Windows 2000 ® | From the desktop, right-click My Network Places > Properties. |
Step 2
Right-click on the Local Area Connection which represents your network adapter and select Properties.
Step 3
Highlight Internet Protocol (TCP/IP) and click Properties.
Step 4
Click Use the following IP address and enter an IP address that is on the same subnet as your network or the LAN IP address on your router.

Example: If the router´s LAN IP address is 192.168.0.1, make your IP address 192.168.0.X where X is a number between 2 and 99. Make sure that the number you choose is not in use on the network. Set Default Gateway the same as the LAN IP address of your router (192.168.0.1).
Set Primary DNS the same as the LAN IP address of your router (192.168.0.1). The Secondary DNS is not needed or you may enter a DNS server from your ISP.
Step 5
Click OK twice to save your settings.
Technical Support
Having trouble installing your new product? D-Link's website contains the latest user documentation and software updates for D-Link products. U.S. and Canadian customers can contact D-Link Technical Support through our website.
| United States Internet: http://support.dlink.com | Canada Internet: http://support.dlink.ca |
Copyright ©2015 All rights reserved. D-Link and the D-Link logo are registered trademarks of D-Link Corporation or its subsidiaries. Other trademarks are the property of their respective owners. Maximum transfer rate based on USB 2.0 specifications. Actual data throughput will vary. Using a USB 1.1 port will affect device performance. The total power consumption of the connected USB devices must be less than 2.4A. Product specifications, size and shape are subject to change without notice, and actual product appearance may differ from that depicted on the packaging. Visit dlink. com (US) or dlink.ca (Canada) for more details.

Documents / Resources
References

Download manual
Here you can download full pdf version of manual, it may contain additional safety instructions, warranty information, FCC rules, etc.
Download D-Link DUB-E100 - USB 2.0 Fast Ethernet Adapter Quick Install Guide
Advertisement
Thank you! Your question has been received!


Need Assistance?
Do you have a question about the DUB-E100 that isn't answered in the manual? Leave your question here.