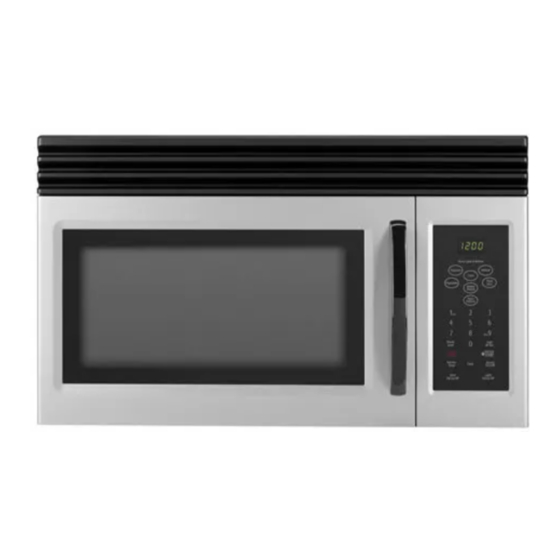
Summary of Contents for Maytag UMV1152
- Page 1 Installation Instruction Appendix A A–1 16021668 Rev. 0 ©2002 Maytag Appliances Company...
-
Page 2: Installation Instruction
YOU COULD GET AN ELECTRIC SHOCK. 16021668 Rev. 0 Electrical rating of this oven: 120V AC 60Hz. • 13 A / 1500 W (Microwave oven, Cooktop Lamps, Ventilation Fan) • You need a DEDICATED 120VAC / 60Hz / 20A, fused... - Page 3 Do not expose yourself to excessive microwave energy! • DO NOT try to operate the microwave oven with the door open. • DO NOT tamper with or defeat the safety interlocks. • DO NOT place objects between the microwave oven front face and the door.
-
Page 4: Parts, Tools, And Materials
One lock pin and one washer- One power cord clamp bushing - (for the cord hole in a metal upper cabinet) Four 1/4" x 3" toggle bolts - Four spring toggle heads - A–4 (for drywall holes) (for the toggle bolts) ©2002 Maytag Appliances Company... -
Page 5: Preparing Electrical Connection
NOTE: Duckwork needed for outside ventilation is not included with oven. Roof-Venting Oven is located on an outside wall near roof. ©2002 Maytag Appliances Company Roof Venting Roof cap 3 1/4"x10" duct Roof venting Roof cap 6"... - Page 6 3 1/4"x10" flat elbow =10ft. A–6 6ft. wall cap 2ft. 25 ft. 40 ft. 8 ft. 73 ft. For 6" Round Systems wall cap 6ft. 2ft. 5 ft. 20 ft. 40 ft. 8 ft. 73 ft. ©2002 Maytag Appliances Company...
-
Page 7: Preparing Venting Blower
4. Rotate blower unit so exhaust ports face the rear of the cabinet. ©2002 Maytag Appliances Company 5. Reconnect blower motor terminal plug, making sure the wire is under the supporter. 6. Place blower unit back into cabinet. Verify exhaust ports face towards the rear and are aligned with the holes in the back of the unit. -
Page 8: Preparing Wall And Upper Cabinet
• If wall studs cannot be located, consult a local building contractor. To avoid risk of property damage or personal injury, do not attempt to install microwave oven if wall studs cannot be located. 3. Align plumb line on wall with center line on the wall template. - Page 9 • Align the filler blocks with openings in the top of the microwave oven cabinet and attach to the cabinet with tape. ©2002 Maytag Appliances Company 4. Cut or drill a 2" hole at the area marked M, for power cord access into upper cabinet.
-
Page 10: Attaching Oven To The Wall
To prevent injury or property damage, use proper lifting and carrying techniques when moving unit. 1. Carefully lift microwave oven and hang it on support tabs at the bottom of the mounting plate. Reaching through upper cabinet, thread power supply cord through cutout in the bottom of the upper cabinet. - Page 11 Installation Instruction 6. Roof-vented installation: Align the damper/duct connector with the vent on top of the microwave oven. Damper should be on top of tab. Use two tapping screws (bright-colored) to attach damper/ duct connector to the microwave oven. damper...
- Page 12 Installation Instruction This page intentionally left blank. 16021668 Rev. 0 A–12 ©2002 Maytag Appliances Company...
- Page 13 Appendix B B–1 16021668 Rev. 0 ©2002 Maytag Appliances Company...
-
Page 14: Care And Cleaning
Authorized Service Center. Order Charcoal Filter Kit #: MVHRK3. 1. Disconnect power to oven. 2. Remove the two vent grille mounting screws. (2 middle screws) 3. Tip the grille forward, then lift out. B–2 ©2002 Maytag Appliances Company... -
Page 15: Oven Light Replacement
3. Replace bulb(s) with 30 or 40 watt appliance bulb(s). 4. Replace bulb cover. 5. Turn the power back on at the main power supply. ©2002 Maytag Appliances Company Oven Light Replacement 1. Unplug oven or turn off power at the main power supply.


