Table of Contents
Advertisement
Quick Links
Thank you for purchasing your new heater.
-
These operating instructions will help you use it properly and safely.
-
We recommend that you spend some time reading this instruction manual in order for you to
-
fully understand all of the operational features it offers.
Read all the safety instructions carefully before use and keep this instruction manual for future
-
reference.
Instruction Manual
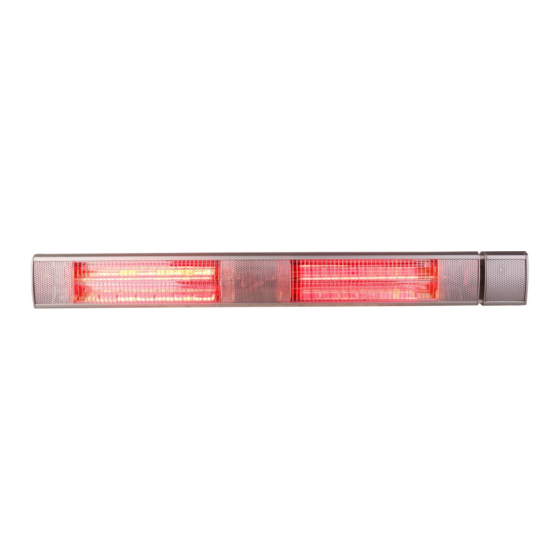
Wall Mounted Infrared Heater
Model: TW-30R
Advertisement
Table of Contents

Related Manuals for RADtec TW-30R


Summary of Contents for RADtec TW-30R
- Page 1 Instruction Manual Wall Mounted Infrared Heater Model: TW-30R Thank you for purchasing your new heater. These operating instructions will help you use it properly and safely. We recommend that you spend some time reading this instruction manual in order for you to fully understand all of the operational features it offers.
-
Page 2: Safety Warnings
Safety warnings READ ALL INSTRUCTIONS BEFORE ATTEMPTING TO OPERATE THIS UNIT. KEEP THE ASSEMBLY INSTRUCTIONS FOR FUTURE REFERENCE. -Read all instructions before using this unit. -Do not leave this unit unattended when in use. -This heater will get hot when in use. Do not touch hot surfaces. -Caution: Some parts of this product can become very hot and cause burns. - Page 3 -Do not use this heater with a programmer, timer, separate remote control system or any other device that switches the heater on automatically, since a fire risk exists if the heater is covered or positioned incorrectly. -Warning: This heater is not equipped with a device to control the room temperature. Do not use this heater in small rooms when occupied by persons not capable of leaving a room on their own, unless constant supervision is provided.
-
Page 4: Installation Steps
3.Installation Steps I. According to where the product installation location is, use a power drill to make four 8 mm round holes. II. Insert the six plastic wall anchors into the six holes. III. Fix the bracket using six ST4*35 screws and make sure the installation points are fixed securely. -
Page 5: Remote Control
Operating Instructions Use power switch on right side of product to control power on/off Remote control 1. On / Off Switches on or off the heater or stands it by. 2. First gear After turn on the heater, you can choose low heating. 3. -
Page 6: Limited Warranty
Except as provided below, RADtec is not liable for any loss, cost, expense, inconvenience or damage that may result from use or inability to use the heater. Under no circumstances shall RADtec be liable for any loss, cost, expense, inconvenience or damage exceeding the purchase price of the heater. -
Page 7: Warranty Conditions
(Within the USA including US 48 States, Alaska, and Hawaii.) This warranty covers only normal use of the heater. RADtec shall not be liable under this warranty if any damage or defect results from (i) mi suse, abuse, neglect, improper shipping or installation; (ii) disasters such as fire, flood, lightning or improper electric current; or (iii) service or alteration by anyone other than an authorized RADtec representative;... -
Page 8: Warranty Exclusions
RADtec accepts no liability for problems caused by after-market parts and hardware modifications or additions. RADtec is not responsible for giving any technical support concerning the installation or integration of any component the customer did not pay RADtec to install. This warranty is null and void if the defect or malfunction was due to damage resulting from operation not within manufacturer specifications.