Table of Contents
Advertisement
Quick Links
Operation Manual
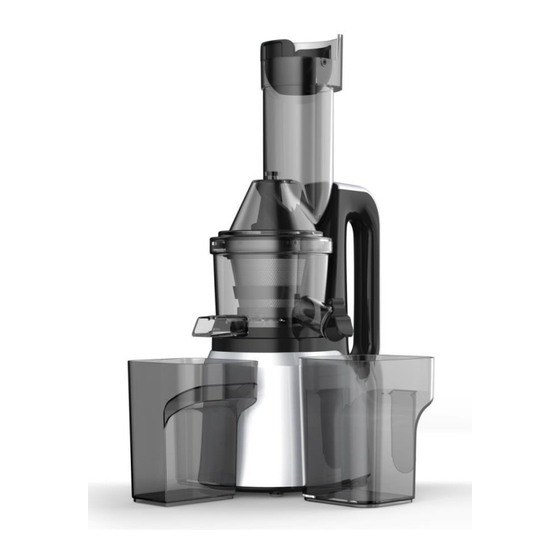
Juicer(Slow juicer)
Model:H8002
⚫ Thank you for your purchase. Please read the instruction book carefully before the
product is used, and please use the machine according to the instruction book.
Please properly retained for reference because the continuous improvement of
products are subject to change without notice.
⚫ The picture diagram only and could be similar as the product.
⚫ The product is applicable to family use, and it is inapplicable to commercial use,
otherwise it's service life may be shorten.
LOVAS
Advertisement
Table of Contents

Summary of Contents for Fancy Miracle H8002
- Page 1 LOVAS Operation Manual Juicer(Slow juicer) Model:H8002 ⚫ Thank you for your purchase. Please read the instruction book carefully before the product is used, and please use the machine according to the instruction book. Please properly retained for reference because the continuous improvement of products are subject to change without notice.
-
Page 2: Table Of Contents
Table of Contents Safety Notes (1) Product Specifications (3) Product Part Name (3) Accessory Description (4) Instructions (4) Assembling Method (6) Method of Usage (9) Cleaning Method (12) Troubleshooting (13) Circuit Principle (14) Service Description (15) Warranty Card (16)... -
Page 3: Safety Notes
Safety Notes For safety, to avoid loss or hurt to you or others, please be sure to observe the following safety precautions;If you do not follow the safety precautions and wrong usage may lead to accidents. This product does not consider the following:Appliance used by children or the disabled. - Page 4 If the fine strainer damage, do not use the appliance. After using the product, please unplug the power in time and clean the product. The case of this product can not be started. Please refer to "troubleshooting" Guide page, if still can not be started, product should be sent to the company's maintenance departmet to maintian, please do not disassemble by yourself.
-
Page 5: Product Specifications (3
Product Specifications Rating power:220-240V/50HZ Item Size(mm) Power(W) Rated Time H8002 220*290*518 240W Up to 20mins continuously Product Part Name Turnover Cap... -
Page 6: Accessory Description (4
Accessory Description Name Quantity Name Quantity Name Quantity Pusher Instruction Cleaning Brush Juice Cap The actual product maybe a little different to the illustration. Remark: Instructions Product Features ⚫ Non-grinding juicing method featured by slow squeezing is adopted for the product, so the natural flavor and nutrient elements of fruits and vegetables are well retained. - Page 7 materials). 5. The juice amount will be small if the materials are not fresh. When dry materials stored in refrigerator are used for squeezing, the materials shall be squeezed after being immersed in clear water for sufficient water absorption, so that the effect will be better.
-
Page 8: Assembling Method (6
Assembling Method 1. Please make sure the squeezing rubber pad has been installed right before assembling the bowl. ① Make the squeezing rubber pad stuffed in a narrowly oblong hole. ② Make the squeezing rubber pad stoppered. 2.Make the bowl installed in the main body. ①Make the bowl inserted in the fixed point of the body. - Page 9 4 .Put the assembled fine strainer and spinning Brush into the bowl. *When installating,please make the marking Point on fine strainer align with that on the bowl. 5. Make the Squeezing Screw installed into the bowl. 6.Install the hopper into the main body When it is installed downwards,the marking point on hopper shall align with that on the bowl.
- Page 10 7. According to the figure.Put the juice container and pulp container at the appropriate position:one is used to receive juice,and another is used to receive pulp(the two containers have the same overall dimension). 8.Juicer cap assembling method The juice cap is split when packaging.Please put the juice cap to aim at the fixed leg, then gently inserted.
-
Page 11: Method Of Usage (9
Method of Usage 1. Turn on the switch (forward) Press Forward:push down fruits and vegetables for juicing Reverse: fruits and vegetables up return, to avoid Forward Reverse being stuck phenomenon occurs when the revolution Warning: 1)Do not touch the switch with wet hands. 2)prohibit idling products before putting fruits and vegetables. - Page 12 Disassembling method 1.Power off the machine,unplug the power cord. Attention:When finished juicing,please press the button of”Reverse” for easy to clean. 2.Catch hopper in one hand and the other catch the bowl and counterclockwise rotated, then it can be isolated. 3.Catch the juice mouth of bowl and counterclockwise rotated then it can be Isolated. 4.Take out the squeezing screw, fine strainer and spinning brush.
- Page 13 5.Disperse the auger,rotation squeezing screw,fine strainer and spinning brush.
-
Page 14: Cleaning Method (12
Cleaning Method Cleaning 1.Wash the disassembled parts with flowing water,if the meshes are blocked up by dreg, please use the cleaning brush for the cleaning. Attention:Please do not use iron wire brush,abradant or sharp cleaning tool for the cleaning. 2. Do not make the mainframe put into water for cleaning and be sure to use wringed soft cloth to clean it. -
Page 15: Troubleshooting (13
Troubleshooting Phenomenon Cause Troubleshooting method Whether the power plug is Make the plug inserted into the socket properly inserted First,press”reverse”for 2-3s to make the materials return upwards.Then press the The quantity of materials put The running “forward”botton(repeat the process about 3 into the machine is too large machine stops times).If the machine still not run,please clean... -
Page 16: Circuit Principle (14
above-mentioned If the product still does not work by check, please go to the designated repair center to maintain and inquiry. Circuit Principle... -
Page 17: Service Description (15
Service Description 1. The product warranty for one year (from the date of invoicing, the product intended for home use only). 2. During the warranty period, where failure caused by the quality of the product itself please sent to the company for free repair with the completed "Warranty Card" and machine invoices. -
Page 18: Warranty Card (16
Warranty Card Relevant information User Name: Tel: Add: Model no. of Product: Item no. of Product: Purchasing Shop: Purchasing Date: Maintenance Point: Invoice No.: Maintenance Record Maintenance Date: Fault Content: Details of Maintenance: Name of Maintenance Company: Sign by Maintenance Company: Tel of Maintenance Company: Maintenance Tel: When buying our products, please fill out this warranty card immediately...