Advertisement
Quick Links
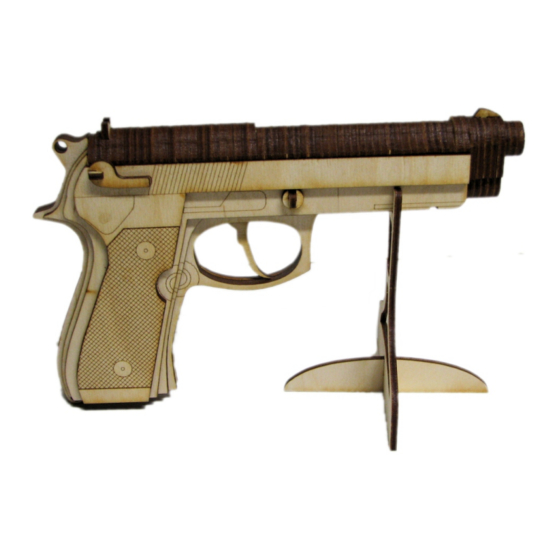
M9A1 Pistol Assembly Instructions
To assemble the kit, start with the "Magazine Assembly", followed by "Pistol Body", then "Pistol
Top" and finally "Pistol Stand" You will need glue to hold it together, but dry fit all parts prior to
gluing together.
This kit was designed by Sanaloma Laser, LLC
2
Pistol Body: Start by inserting "1" into the slot on "A" with the notch facing forward, fit "5" into the
notch on "1". Next, add layer "B" to "A" and insert "2" the slot on "B" with the notch facing down, fit
"6" into the notch on '2". Add layers "C" to "I", aligning the top side even with the rest of the body,
except for "E", that layer forms a rib used to align the top pieces "D" and "E". Finally add "3" and "4"
to "1" and "2' as shown to help lock the layers together.
After dry fitting, disassemble, insert the magazine and use glue to hold the layers together and
clamp as needed, being careful not the glue the magazine in, it is used here to help leave enough
space to allow it to be inserted/removed when the pistol is completed.
A
1
B
B
2
C
C
D
D
E
E
NOTE: THERE ARE EXTRA "6" INCLUDED
There are 2 sizes of the #1 and #2
cross bars, "L" for long and "S" for short.
5
Use the ones that fit the best.
I <---> A
Notches face forward
6
H <---> B
I
Notches face down
H
3
H
G
G
F
F
1
C
B
Magazine: Start by lightly sanding the top part
(above the slot) of "D" on both sides to help
provide a "not to tight" of fit. (Not the "D" with the
arrow on it)
3
5
3
Next, assemble the magazine in alphabetic order.
4
After gluing it together, sand the outside surfaces
lightly. Once the pistol is complete, you may need
6
to sand some more for a good fit.
4
Pistol Top: Start with "A" and set the top pieces onto the center slot from the rear and
working forward in alphabetical order, noting the quantity and position of each piece.
There are 1 each of "A", "B" and "C", 22 "D" and 27 "E" used on the top of the pistol. As
you fill in the top pieces, work it out so the final "D" piece is flush with the front end of the
top.
Pistol Front: Fit the front parts "A" to "D" to the pins on the front of the barrel, next add
"E" and then the 2 "F"s and "G", use the ring on "E" to help align "F" and "G". Finally, fit the
front sight into the slot in "C".
Qty: 20 Qty: 27 Qty: 2
E
A to D
SanaLoma
Cutting and Engraving at LightSpeed
www.SanaLomaLaser.com
Magazine Assembly
D
Qty: 2
Qty: 2
D
D
D
C
A
B
B
B
C
C
A
This kit is made from 3mm (1/8") Baltic Birch Plywood and
has been designed for persons over the age of 12.
THIS PRODUCT IS NOT A TOY!
Front Sight
This end forward
A
B
C
D
Laser
LLC
4
Pistol Stand:
Join at the slot and
glue together.
NOTE: THERE ARE EXTRA
"D" AND "E" TOP PIECES
E
Qty: 2
G
F
Advertisement

Summary of Contents for SanaLoma Laser M9A1 Pistol
- Page 1 Top” and finally “Pistol Stand” You will need glue to hold it together, but dry fit all parts prior to gluing together. Cutting and Engraving at LightSpeed This kit was designed by Sanaloma Laser, LLC www.SanaLomaLaser.com Magazine Assembly Pistol Body: Start by inserting “1” into the slot on “A” with the notch facing forward, fit “5” into the notch on “1”.
- Page 2 SanaLoma Laser Cutting and Engraving at LightSpeed www.SanaLomaLaser.com...