Asus Xonar D2X User Manual
Hide thumbs
Also See for Xonar D2X:
- Quick installation manual (71 pages) ,
- User manual (88 pages) ,
- Quick installation manual (10 pages)
Table of Contents
Advertisement
Quick Links
Advertisement
Table of Contents

Related Manuals for Asus Xonar D2X


Summary of Contents for Asus Xonar D2X
- Page 1 Xonar D2X Audio Card User’s manual...
- Page 2 Product warranty or service will not be extended if: (1) the product is repaired, modified or altered, unless such repair, modification of alteration is authorized in writing by ASUS; or (2) the serial number of the product is defaced or missing.
-
Page 3: Table Of Contents
Connecting Analog Speaker Systems ......22 Connecting Microphone ........... 27 Connecting Line-In Audio Sources ........27 Connecting Digital Audio Sources ........28 Xonar D2X Driver Guide ............... 29 Introduction to the Xonar D2X Audio Center GUI .... 29 Main Setting ..............31 Mixer/Volume ..............40... - Page 4 Ableton Live Software Guide ............60 Cakewalk Production Plus Pack Software Guide ...... 60 RMAA Test Guide ................61 10.1 Setting Up Xonar D2X Audio Card ........61 10.2 Configuration and Test with RMAA........64 10.3 RMAA Testing Results............69 Troubleshooting and FAQs ............
-
Page 5: Notices
You are also entitled to have the goods repaired or replaced if the goods fail to be of acceptable quality and the failure does not amount to a major failure. If you require assistance please call ASUS Customer Service 1300 2787 88 or visit us at http://support.asus.com. -
Page 6: Safety Information
Trademarks Xonar and ASUS logo are trademarks of ASUSTek Computer Inc. “Dolby” and “Dolby Digital Live”, “Dolby Pro Logic IIx”, “Dolby Virtual Speaker”, “Dolby Headphone” are trademarks of Dolby Laboratories. “DTS” and “DTS CONNECT”, “DTS Interactive”, “DTS Neo: PC”... -
Page 7: Introduction
Introduction Package Contents • ASUS Xonar D2X audio card • ASUS Xonar D2X support CD (including Portable Music Processor™ utility) • Ableton™ Live software CD • Cakewalk™ Production Plus Pack CD (Sonar LE, Dimension LE, and Project5 LE) • PowerDVD 7.0 software DVD player CD •... -
Page 8: Specifications Summary
-Compatible with X1, X4, X8, X16 PCI Express slots Main Chipset Audio Processor ASUS AV200 High-Definition Sound Processor (Max. 192KHz/24bit) 24-bit D-A Converter of Digital Sources: TI Burr-Brown PCM1796 *4 (123dB SNR, Max. 192kHz/24bit) 24-bit A-D Converter for Analog Inputs: Cirrus-Logic CS5381* 1 (120dB SNR, Max. - Page 9 HW, DirectSound SW, A3D ® 1.0, OpenAL generic modes, 128 3D sounds processing capability XP: EAX ® 2.0&1.0, DirectSound ® DirectSound SW, A3D 1.0, OpenAL generic ® modes, 128 3D sounds processing capability (continued on the next page) ASUS Xonar D2X...
- Page 10 Accessories -3.5mm-to-RCA adaptor cable *4 (8ch) -S/PDIF optical adaptors *2 -S/PDIF optical cable *1 -Additional MIDI card, cable, and external standard MIDI adaptor Y cable *1 -Dolby Demo CD *Specifications are subject to change without notice. ASUS Xonar D2X...
-
Page 11: About Hardware
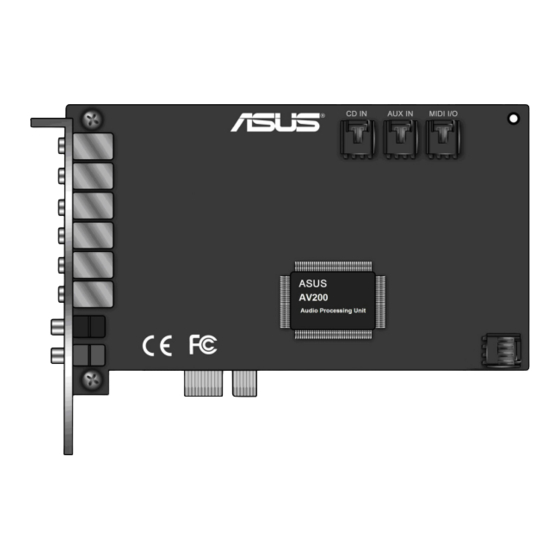
About Hardware Xonar D2X Audio Processing Card LED color definition MIC In Line In Blue Front Out Green Orange Side Surround Center & Subwoofer White Back Surround Amber No LED SPDIF In No LED SPDIF Out ASUS Xonar D2X... - Page 12 Audio Center software’s recording mixer.) MIDI I/O Header Connects to the additional MIDI board/bracket (available in the package) Main Audio Processor ASUS Xonar AV200 Audio Processing Unit (DuplexHD 192K/24bit) Connects to the PCI slot on your motherboard PCI Bus Golden Fingers...
-
Page 13: Midi Board/Cable
MIDI Board/Cable Item Description MIDI I/O Header Connects to the MIDI I/O header on the main Xonar D2X audio card Mini-DIN MIDI port Connects to the 6-pin mini-DIN connector of the MIDI Y cable (adaptor to 5-pin DIN standard MIDI I/O connectors) -
Page 14: Installing The Xonar Hardware
MIDI board in the package). Installing the Audio Processing Card Face the bracket of the Xonar D2X audio card toward the back panel of your computer and insert the audio card gently into an available PCI Express slot. - Page 15 If the power cable is not connected properly, the audio card will not work at all. When removing the power cable from the Xonar D2X audio card, make sure to pull outward the 4-pin header first, then unplug it from the power connector as the following pictures show.
-
Page 16: Installing The Midi Board
CD playback on Windows. Connect the CD-IN 4-pin header to the analog output on the back of your CD/DVD-ROM drive with the audio CD cable which is usually included with CD/DVD-ROM drive. ASUS Xonar D2X... -
Page 17: Connecting Tv Tuner Card
Using this setup, you can even turn on sound effects such as Pro-Logic IIx to expand the stereo TV audio to 5.1 or 7.1 channel surround sound. TV audio on your PC will become even better than on your TV set! ASUS Xonar D2X... -
Page 18: Installing Software
“END USER LICENCE AGREEMENT” in the process and make sure you understand and accept it before you continue the installation. When the installation finishes, you may be prompted to restart your computer. You can choose to restart the computer later if desired. ASUS Xonar D2X... -
Page 19: Installing The Pmp Software (Portable Music Processor)
Installing the PMP software (Portable Music Processor) From the installation CD menu, select the option to install the PMP software. Follow the instructions on the screen to complete the installation. After the installation is complete, click Finish. ASUS Xonar D2X... -
Page 20: Installing The Ableton Live
Follow the instructions on the screen to complete the installation. Please read the “END USER LICENCE AGREEMENT” and make sure you understand and accept it before you continue the installation. After the installation is complete, click Finish. ASUS Xonar D2X...