Table of Contents
Advertisement
Quick Links
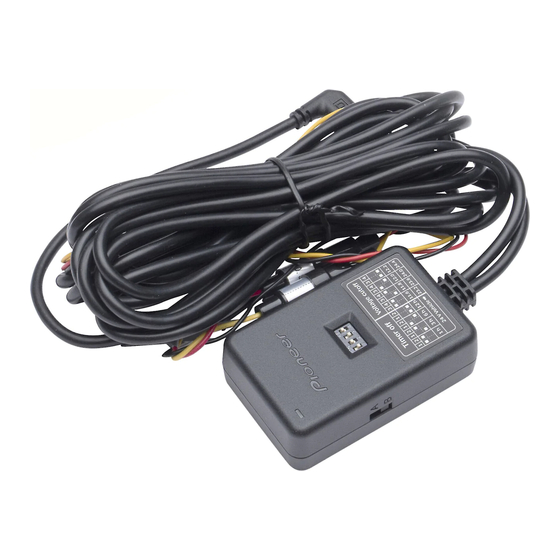
RD-HWK200
HARDWIRE KIT
TROUSSE D'ALIMENTATION PERMANENTE
Installation Manual
Manuel d'installation
PIONEER CORPORATION
28-8, Honkomagome 2-chome, Bunkyo-ku,
Tokyo 113-0021, Japan
PIONEER ELECTRONICS (USA) INC.
©2021 PIONEER CORPORATION.
P.O. Box 1540, Long Beach, California 90801-1540, U.S.A.
< KYTZ21H > < CRD5217-A >
TEL: (800) 421-1404
Advertisement
Table of Contents

Related Manuals for Pioneer RD-HWK200


Summary of Contents for Pioneer RD-HWK200
- Page 1 TROUSSE D’ALIMENTATION PERMANENTE Installation Manual Manuel d’installation PIONEER CORPORATION 28-8, Honkomagome 2-chome, Bunkyo-ku, Tokyo 113-0021, Japan PIONEER ELECTRONICS (USA) INC. ©2021 PIONEER CORPORATION. P.O. Box 1540, Long Beach, California 90801-1540, U.S.A. < KYTZ21H > < CRD5217-A > TEL: (800) 421-1404...
-
Page 2: Information To User
— FEDERAL COMMUNICATIONS COMMISSION SUPPLIER’S DECLARATION OF CONFORMITY Product Name: HARDWIRE KIT Model Number: RD-HWK200 Responsible Party Name: PIONEER ELECTRONICS (USA) INC. SERVICE SUPPORT DIVISION Address: 2050 W. 190TH STREET, SUITE 100, TORRANCE, CA 90504, U.S.A. Phone: 1-800-421-1404 URL: https://www.pioneerelectronics.com... -
Page 3: After-Sales Service For Pioneer Products
CAUTION This product is designed for professional installation only. We recommend that only authorized Pioneer service personnel, who have special training and experience in mobile electronics, set up and install this product. NEVER SERVICE THIS PRODUCT YOURSELF. The product constantly uses vehicle power, which puts a load on the vehicle battery. If not using the vehicle... - Page 4 Normal recording on Power off *1 When connecting to a Pioneer Dash Camera that supports ACC linkage, details of parking mode operation will differ depending on the connected Dash Camera. For details, refer to the instruction manual of the connected Dash Camera.
-
Page 5: Before Installing The Product
English Before Installing the Product Installation Precautions Use the included double-sided tape to securely affix the product to the vehicle. Bottom surface Double-sided tape application position Recommended mounting locations are within the inside the kick panel or glove compartment. Mount on a flat, oil-free surface. Mounting on anything other than a flat surface may result in the product falling off. -
Page 6: Connection Diagram
When handling the cables, DO NOT run cables near the driver’s feet as they may interfere with the opera- tion of the vehicle, potentially resulting in serious injury or death. Connection diagram Main Unit Pioneer Dash Camera (sold separately) 4 m (13 ft. 2 in.) Connect to a power terminal. - Page 7 Voltage cutoff/Timer off settings switch Up: ON Down: OFF ACC linkage switch ACC linkage settings Operate the ACC linkage switch in accordance with the specifications of the Pioneer Dash Camera connecting to this product. (Factory default: B mode) Switch position A mode...
-
Page 8: Switch Position
Voltage cutoff settings Move the voltage cutoff settings switches (3, 4) to set them depending on the vehicle battery voltage (12 V/24 V). When the vehicle battery voltage drops below the voltage cutoff settings value, the product will automatically stop operation. (Factory default: 11.8 V / 23.6 V) Switch position Voltage cutoff settings... - Page 9 U.S.A. and Canada that fail to function properly under normal use due to a manufacturing defect when installed and operated according to the owner’s manual enclosed with the unit will be repaired or replaced with a unit of comparable value, at Pioneer’s option, without charge to you for parts or actual repair work.
- Page 10 Votre entreprise de services Pioneer autorisée - peut effectuer des réparations pour la plupart des produits électroniques automobiles/marins, des haut- parleurs et des accessoires et peut vous conseiller sur le choix d’autres options, selon le cas. Visitez le site Web de Pioneer, cliquez sur « Soutien », puis sélectionnez «...