
Related Manuals for Makita XRM02W


Summary of Contents for Makita XRM02W
- Page 1 Radio Instruction manual Radio Manuel d’instructions Radio Manual de instrucciones XRM02...
-
Page 5: Important Safety Instructions
ENGLISH (Original instructions) 5. Do not short the battery cartridge: (1) Do not touch the terminals with any conductive material. IMPORTANT SAFETY (2) Avoid storing battery cartridge in a container with INSTRUCTIONS other metal objects such as nails, coins, etc. (3) Do not expose battery cartridge to water or rain. -
Page 6: Lcd Display
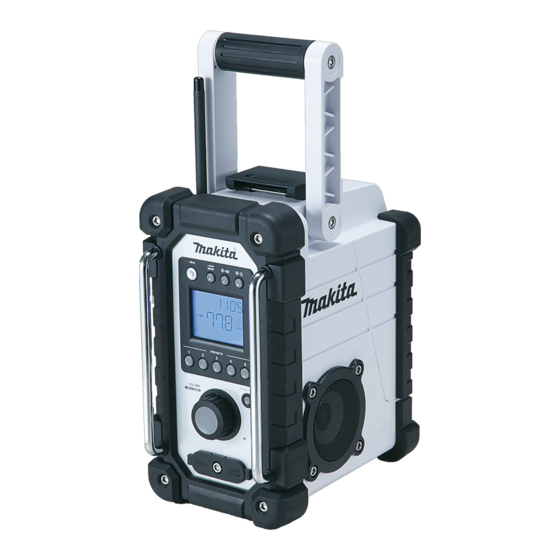
• Powered by both Makita battery pack and supplied power adaptor Explanation of general view (Fig. 1) Controls: 1. Power and Sleep timer 2. Band and Mono button 3. Radio alarm set 4. Buzzer alarm set 5. Preset stations 6. Scan tuning and Time set 7. - Page 7 The following tables indicate the operating time on a single charge. AT SPEAKER OUTPUT= Battery Cartridge Voltage 50 mW + 50 mW 7.2 V 9.6 V 10.8 V 12 V 14.4 V 18 V unit: Hour BL7010 Approx. 7.0 PA09 PA12 PA14 PA18...
-
Page 8: Setting The Clock
Note: 3. Press and release Scan button (long press Scan The battery pack can’t be charged via the supplied AC button more than 2 seconds will activate time setting), power adaptor. LCD display will flash Scan symbol and the radio will search and stop automatically when it finds a radio station. -
Page 9: Recall Stations From Preset Memories
Recall stations from preset The HWS alarm will sound for one hour until turning off by pressing the Power button. Press the Power button whilst memories the alarm is activated will cancel the alarm for 24 hours. 1. Press the Power button to turn on the radio. 1. -
Page 10: Maintenance
How to play other audios CAUTION: Unplug this apparatus before connecting other audios. • There are 2 AUX in sockets. AUX 1 is located on the front panel, and AUX 2 is located in the battery compartment. • Connect a stereo or mono source (i.e. iPod, MP3, or CD player) to either AUX 1 or AUX 2 by audio cord. -
Page 11: Consignes De Sécurité Importantes
FRANÇAIS (Mode d’emploi original) 2. Ne démontez pas la batterie. 3. Cessez immédiatement l’utilisation si le temps de CONSIGNES DE SÉCURITÉ fonctionnement devient excessivement court. Il existe un risque de surchauffe, de brûlures, voire IMPORTANTES d’explosion. 4. Si un électrolyte pénètre dans vos yeux, rincez-les AVERTISSEMENT : avec de l’eau et consultez immédiatement un Lors de l’utilisation d’outils électriques, il faut toujours... -
Page 12: Installation Des Batteries
• Design dépouillé compatibles pour cette radio sont répertoriées dans le • Résistance à l’eau - IPX 4 tableau suivant. • Alimenté par des piles Makita ou l’adaptateur secteur fourni Descriptif (Fig. 1) Contrôles : 1. Mise en marche et fonction de sommeil 2. - Page 13 Le tableau suivant indique le temps de fonctionnement par charge. À LA SORTIE DU HAUT-PARLEUR = Tension de la batterie 50 mW + 50 mW 7,2 V 9,6 V 10,8 V 12 V 14,4 V 18 V unité : heure BL7010 Environ 7,0 PA09...
-
Page 14: Recherche Automatique
Recherche automatique batterie sur l’écran sont les signes qu’il est nécessaire de changer de batteries. 1. Appuyer sur le bouton de mise en marche pour activer Remarque : la radio. Les batteries ne peuvent pas être rechargées à l’aide 2. Sélectionner la bande de fréquence en appuyant sur de l’adaptateur secteur fourni. -
Page 15: Fonction « Sommeil
Stockage des stations de radio en présélectionnées. Appuyer sur le bouton pour finir le réglage. L’écran affiche mémoire présélectionnée 2. Quand l’heure de l’alarme radio et la station sont Il y a 5 mémoires présélectionnées sur chaque bande de réglées, appuyer sur le bouton de l’alarme radio fréquence. -
Page 16: Eclairage De L'écran
Relâcher le bouton de mise en marche quand l’heure Fréquence FM 87,50 - 108 MHz sélectionnée apparaît à l’écran. Le symbole (0,1 MHz/pas) apparaît à l’écran et la radio se met en marche sur la AM (MW) 520 - 1 710 kHz dernière station sélectionnée. -
Page 17: Instrucciones Importantes De Seguridad
ESPAÑOL (Instrucciones originales) el cargador de baterías, (2) la batería, y (3) el producto con el que se utiliza la batería. INSTRUCCIONES IMPORTANTES 2. No desarme el cartucho de batería. 3. Si el tiempo de uso del cartucho de batería se acorta DE SEGURIDAD demasiado, deje de usarlo inmediatamente. -
Page 18: Pantalla Lcd
• Grado de protección IPX 4 contra el agua paquete de baterías principal que alimentará la radio. • Alimentación tanto por paquete de baterías de Makita y Los paquetes de baterías adecuados para esta radio por adaptador de cable eléctrico incluido se listan en la tabla que se muestra a continuación. - Page 19 La tabla a continuación indica el tiempo de operación en una sola carga. A NIVEL DE SALIDA DEL Voltaje del cartucho de batería ALTAVOZ= 50 mW + 50 mW 7,2 V 9,6 V 10,8 V 12 V 14,4 V 18 V unidad: Hora BL7010 Aprox.
-
Page 20: Ajuste Del Reloj
Sintonía por exploración de que el paquete de baterías requiere ser reemplazado. 1. Presione el botón de encendido de la radio para Nota: encenderla. El paquete de baterías no puede recargarse mediante 2. Seleccione la banda de frecuencia requerida al el adaptador del cable eléctrico de CA. - Page 21 4. Continúe girando la perilla de control de sintonía / 4. La pantalla mostrará la hora parpadeando, gire la volumen hasta que haya conseguido mostrar la perilla de control de sintonía / volumen para frecuencia deseada en la pantalla. seleccionar la hora y luego presione el botón 5.
-
Page 22: Mantenimiento
presione el botón de ajuste de hora nuevamente • Hay 2 enchufes de entrada AUX. AUX 1 se ubica en el para completar el ajuste de la alarma de timbre HWS. panel delantero, y AUX 2 se encuentra en el 6. - Page 24 Makita Corporation 3-11-8, Sumiyoshi-cho, Anjo, Aichi 446-8502 Japan www.makita.com XRM02(DMR102)-NA3-0914...